
Setting Up a Telegram MTProto Proxy with Katabump
What Is This Method?
This method allows you to set up a dedicated MTProto proxy for Telegram using Katabump (a free Node.js/Python hosting service). This version has a small modification compared to the original project: every time the server starts, a new random secret is generated, and in addition to the link displayed in the Console, a simple web page is also served on the same port, showing the proxy link with a copy button.
Important Note
Katabump's free plan requires manual renewal (Renew) every 4 days. If you forget the due date, the server and proxy will shut down completely, and you'll need to start it again.
Prerequisites and Required Links
You'll need the following links for this tutorial:
No obfuscation or compilation is needed; the entire project runs with plain Python and is ready to upload as-is.
📦 Attached File (zip)
Note
Extract the file above; its contents (mtprotoproxy.py, config.py, and the pyaes folder) will be used directly in the file upload step.Step 1: Sign Up
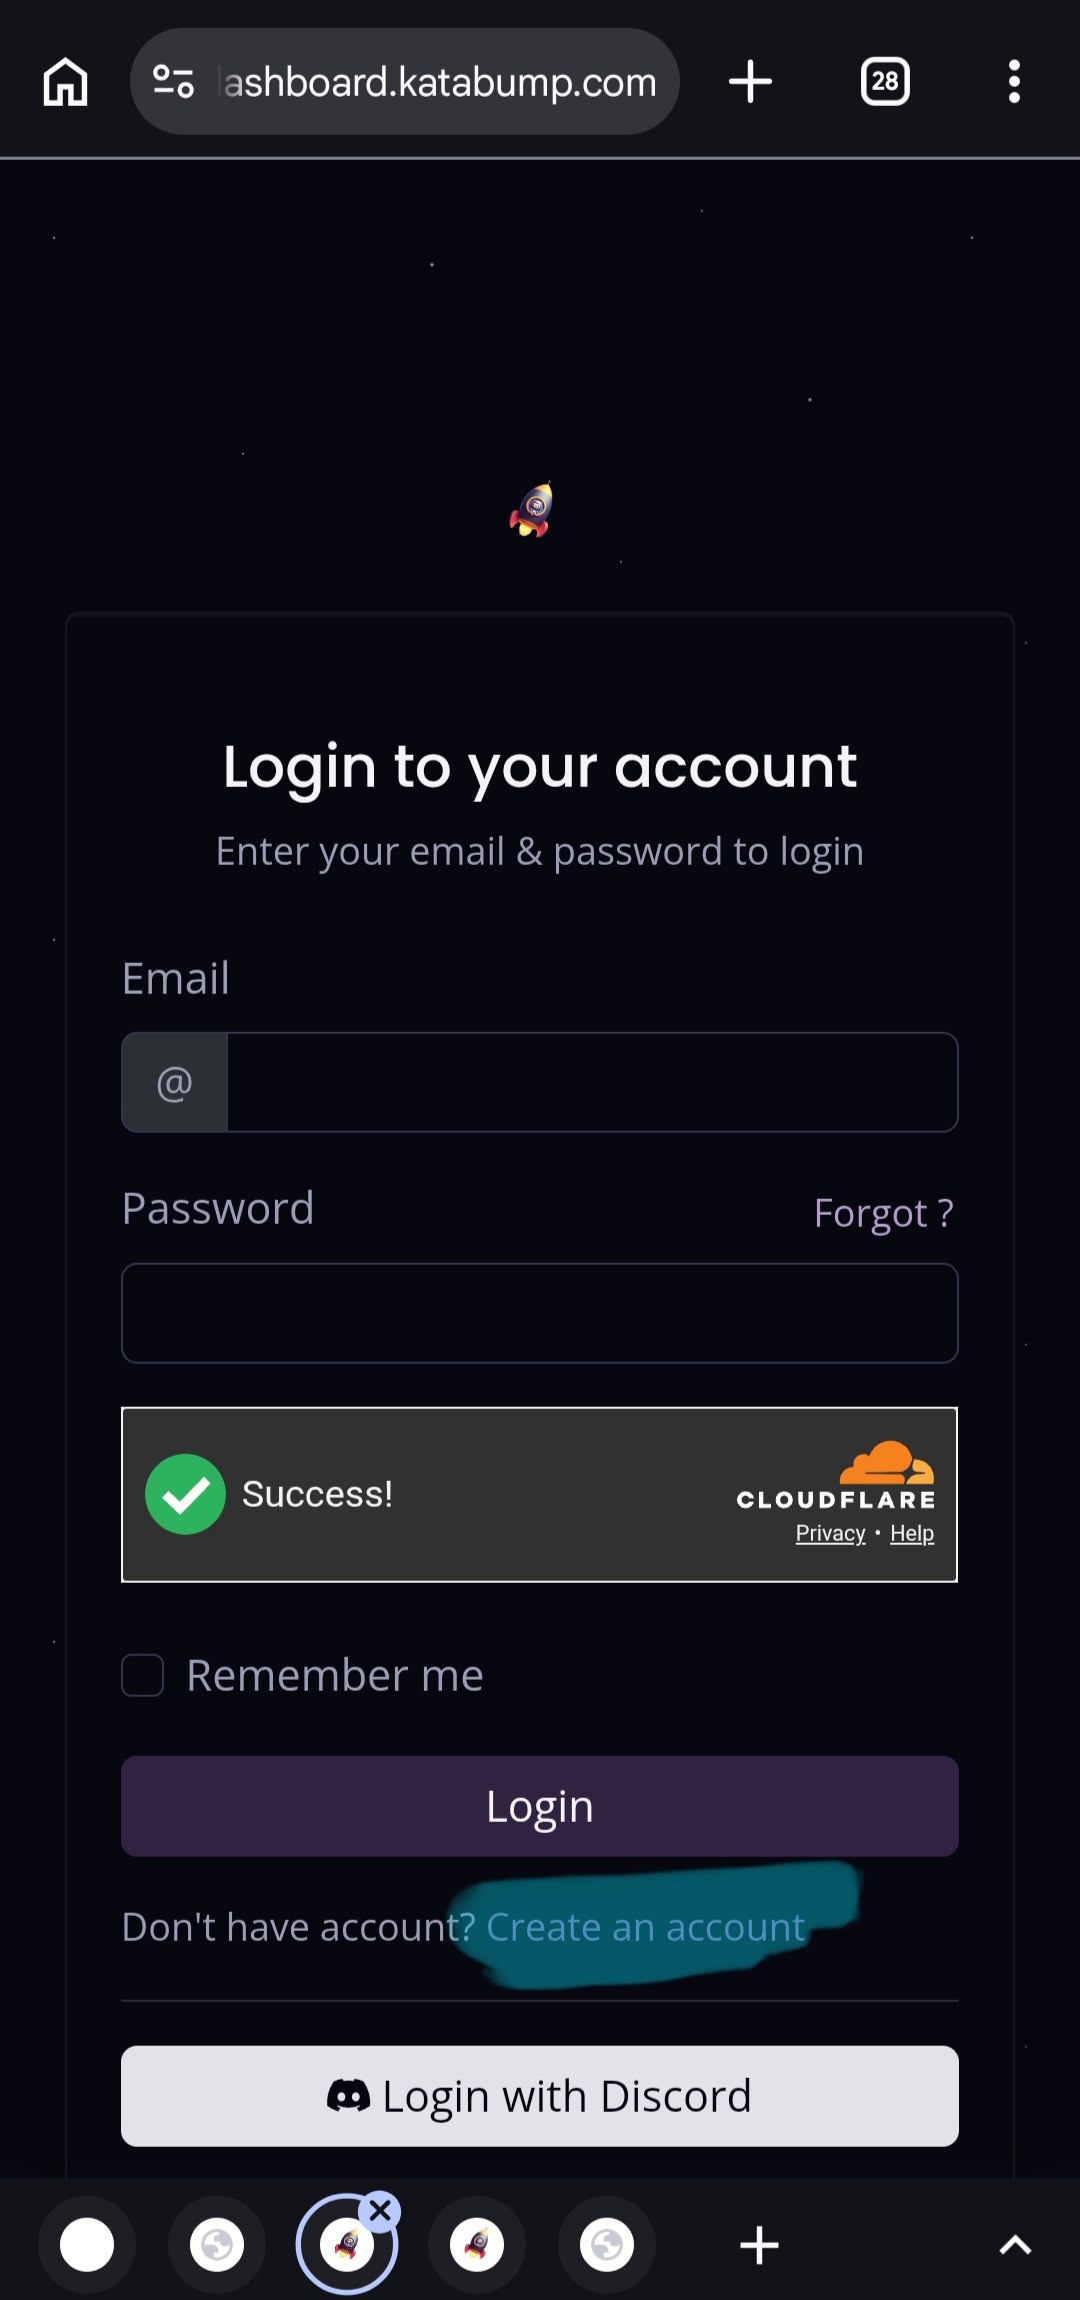
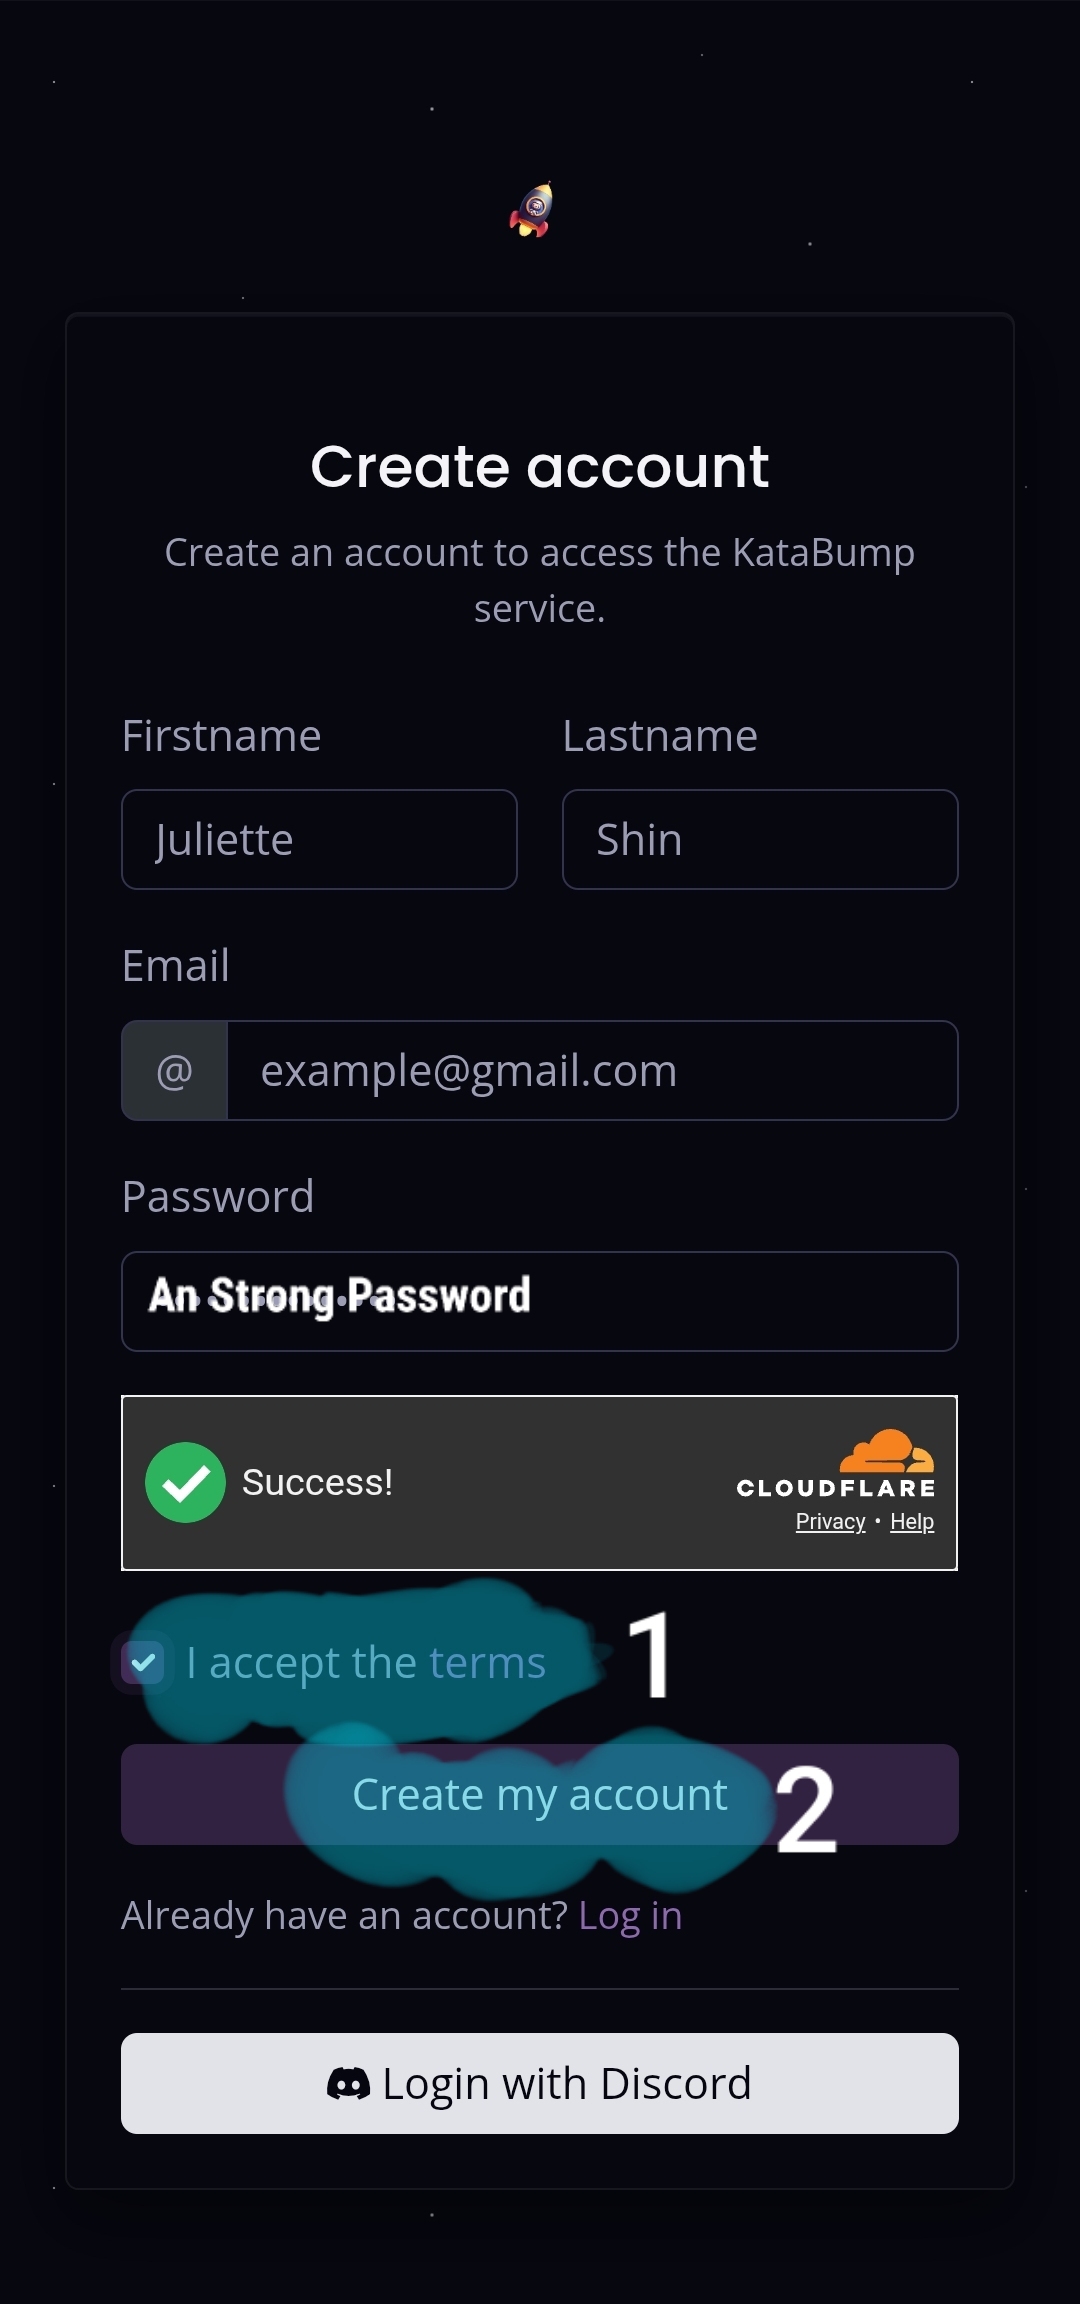
To get started, you need to create an account on Katabump. You can sign up with Gmail. The First Name and Last Name fields must each contain more than one character. For the password, you can either enter one yourself or use the browser's suggested password.
📷 Image 1 of 15:
📷 Image 2 of 15:
Step 2: Accessing the Dashboard and Creating a New Server
After logging into the Katabump dashboard, click the Create Server option.
📷 Image 3 of 15:
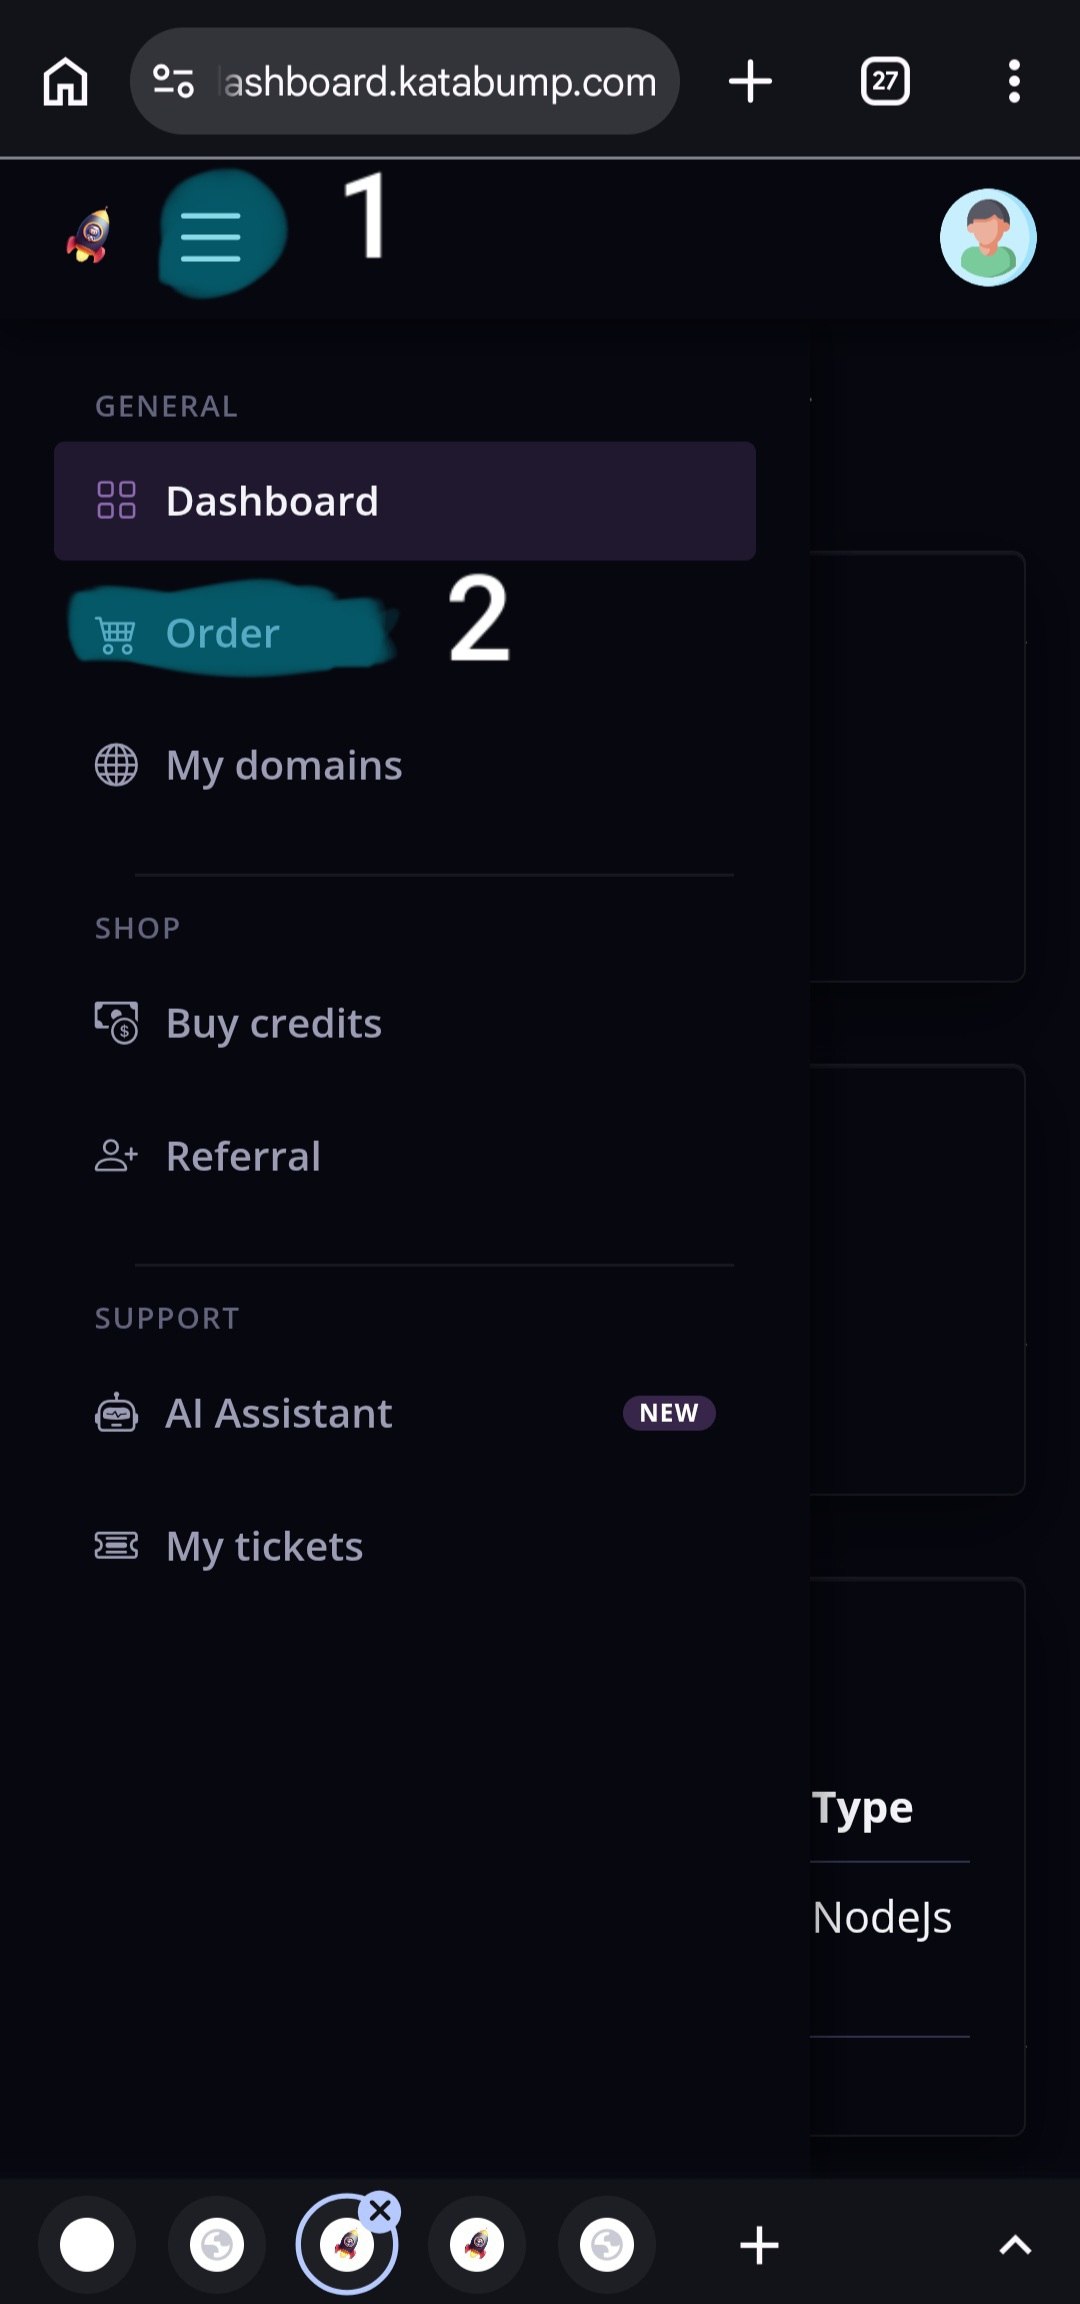
📷 Image 4 of 15:
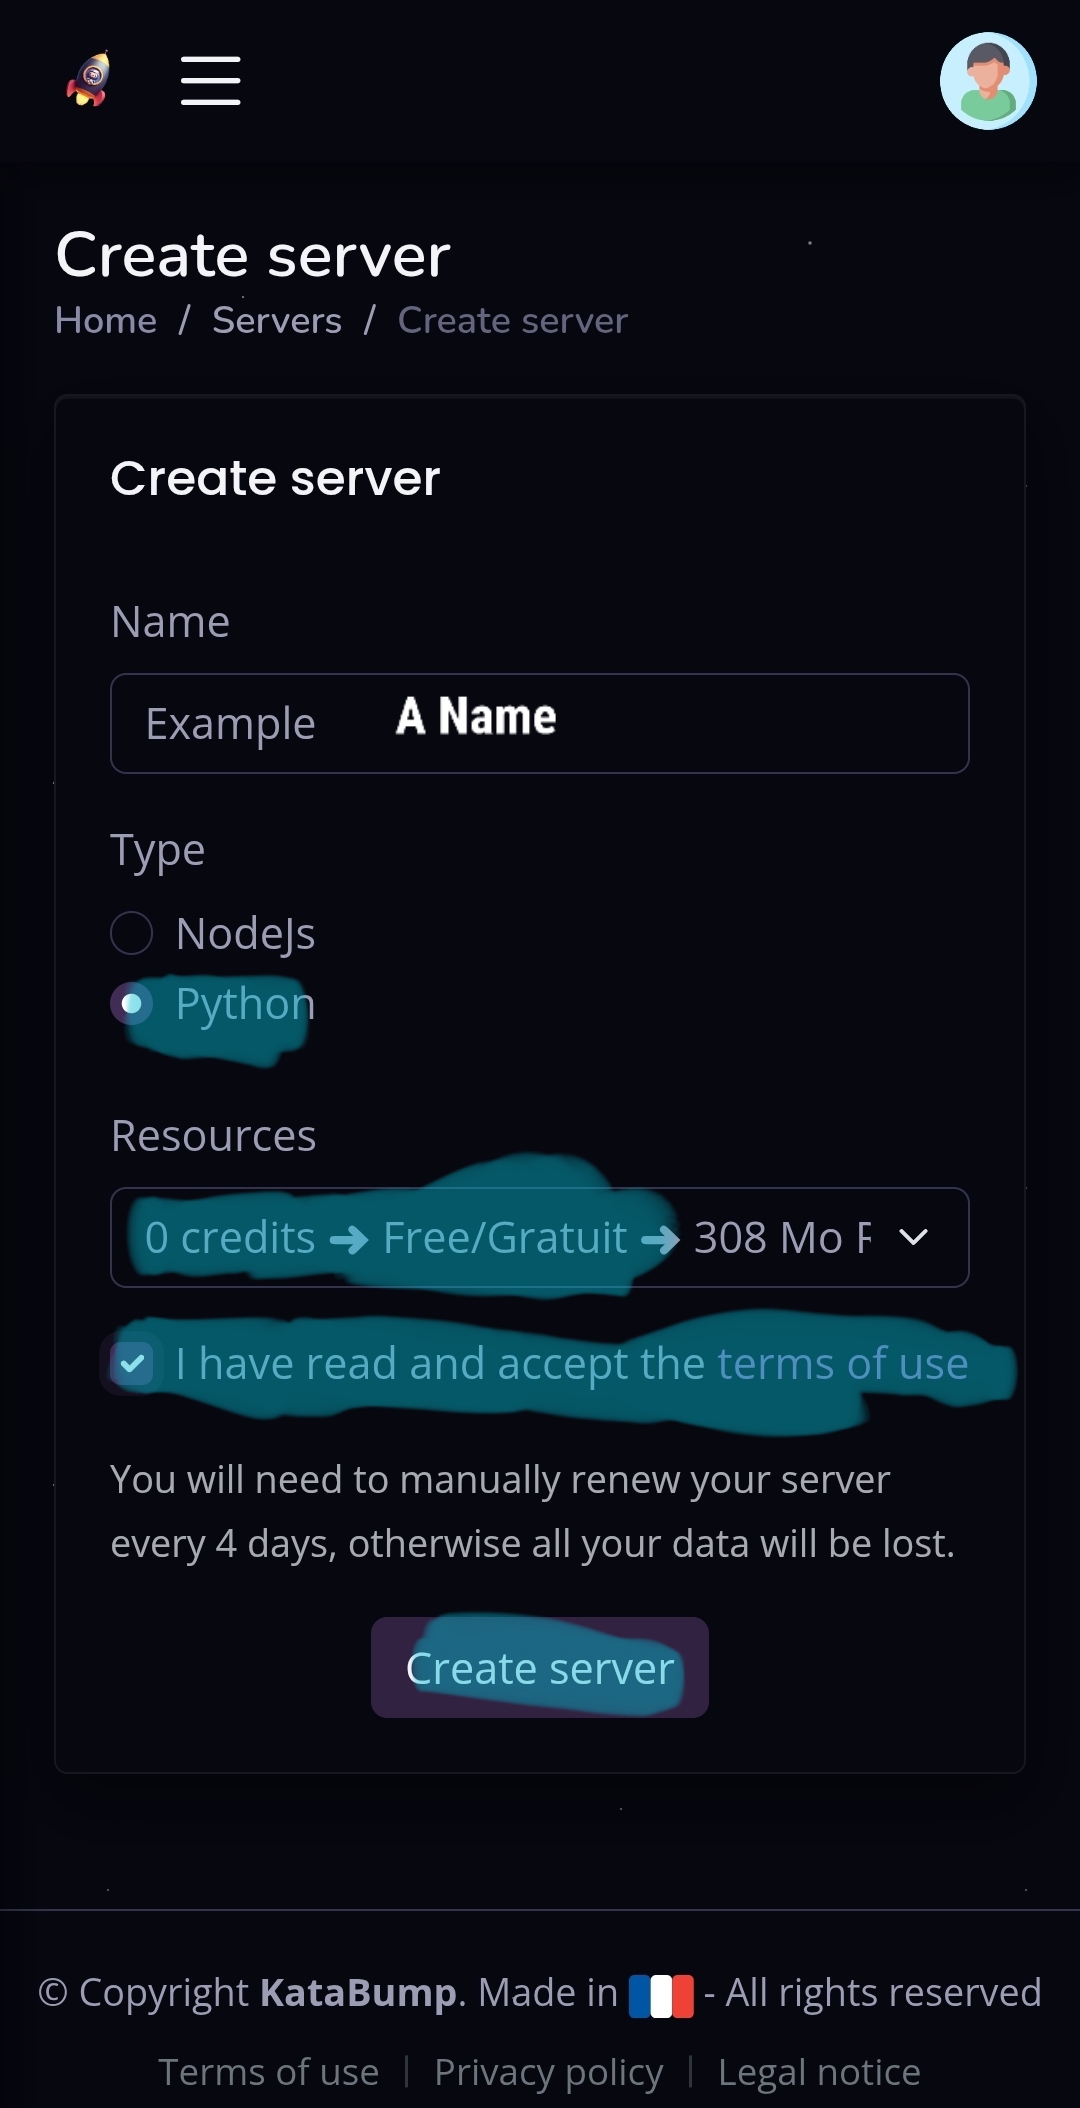
📷 Image 5 of 15:
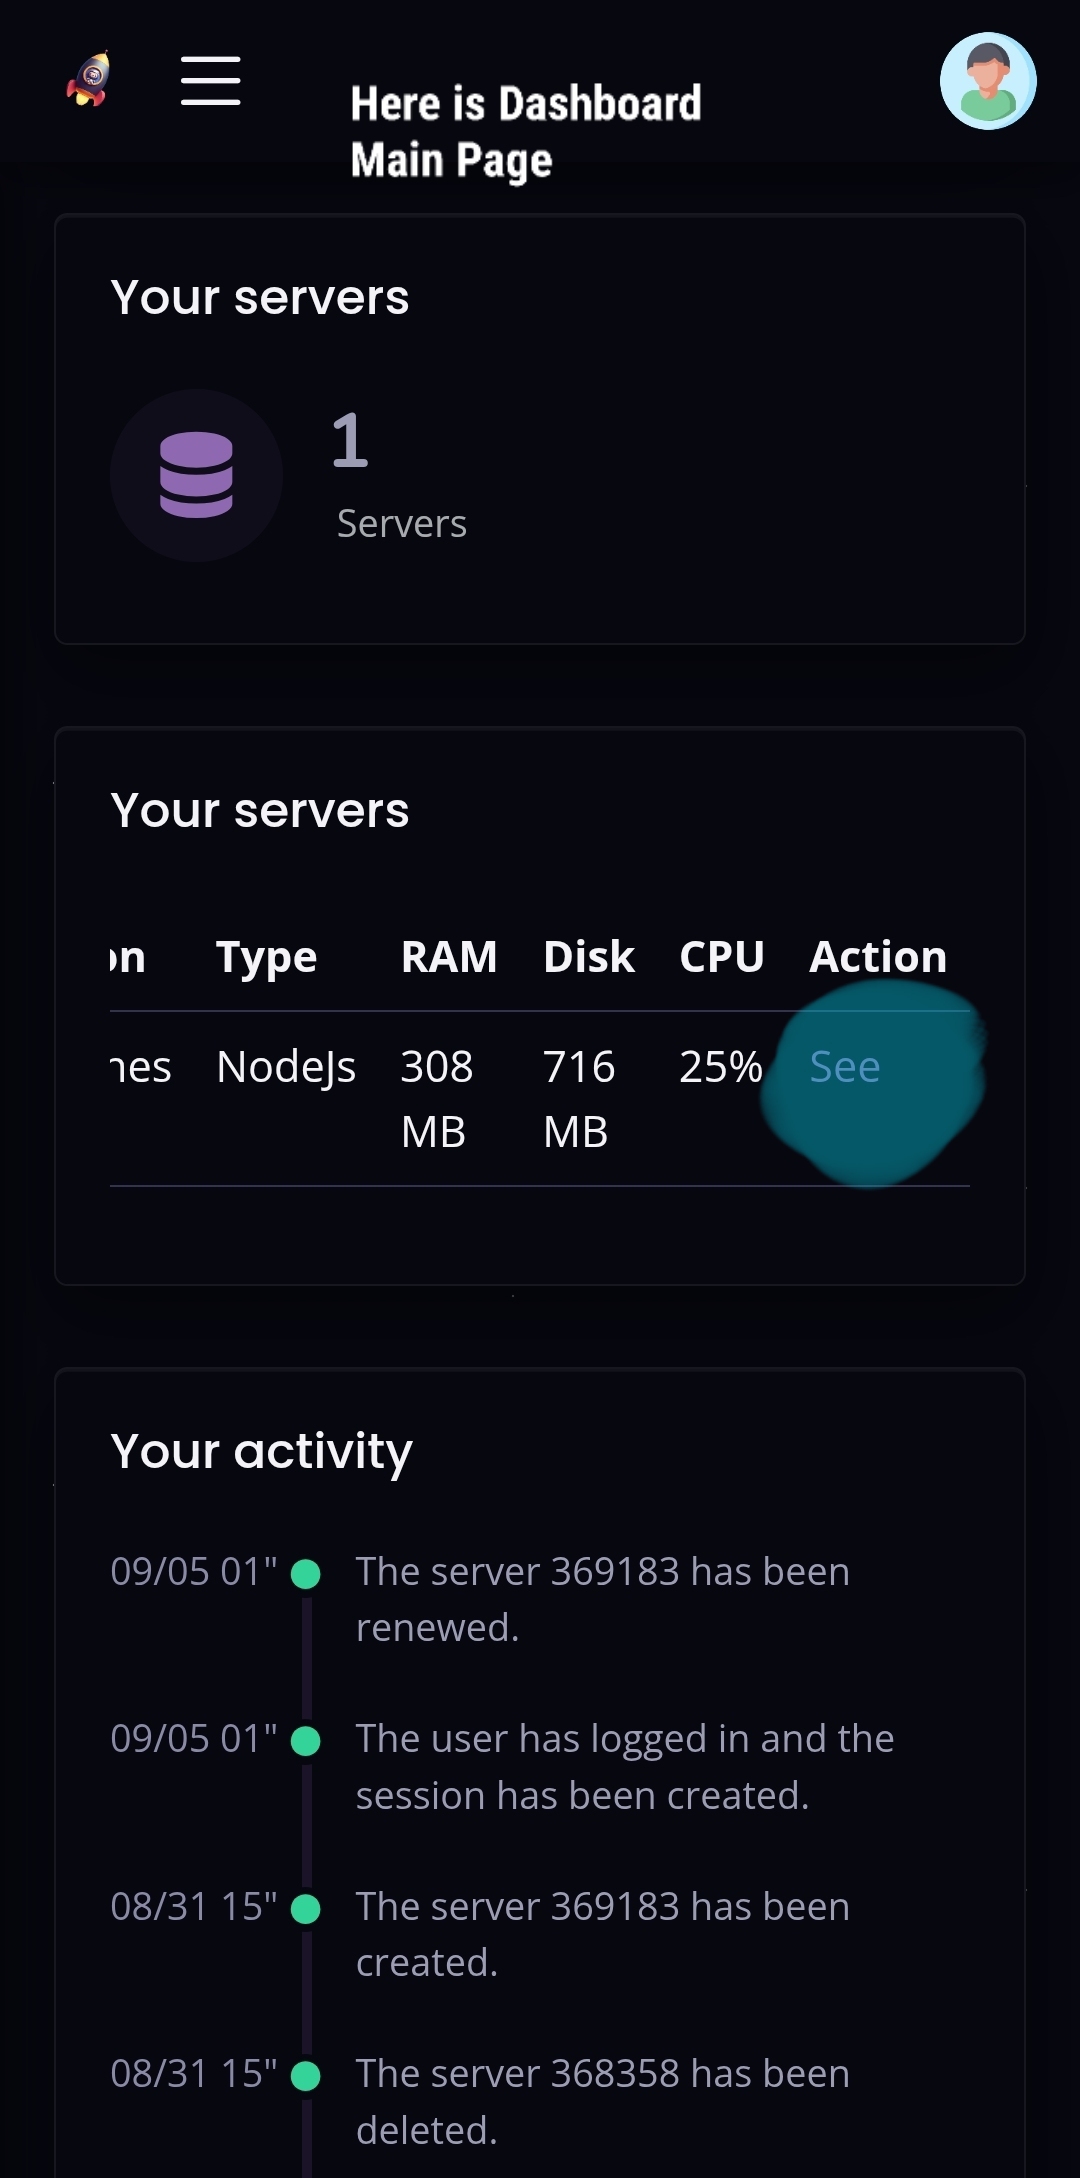
Step 3: Selecting the Python Environment
In the Startup tab of the server panel, set the environment type to Python (not Node.js), since the proxy runs on Python.
📷 Image 6 of 15:
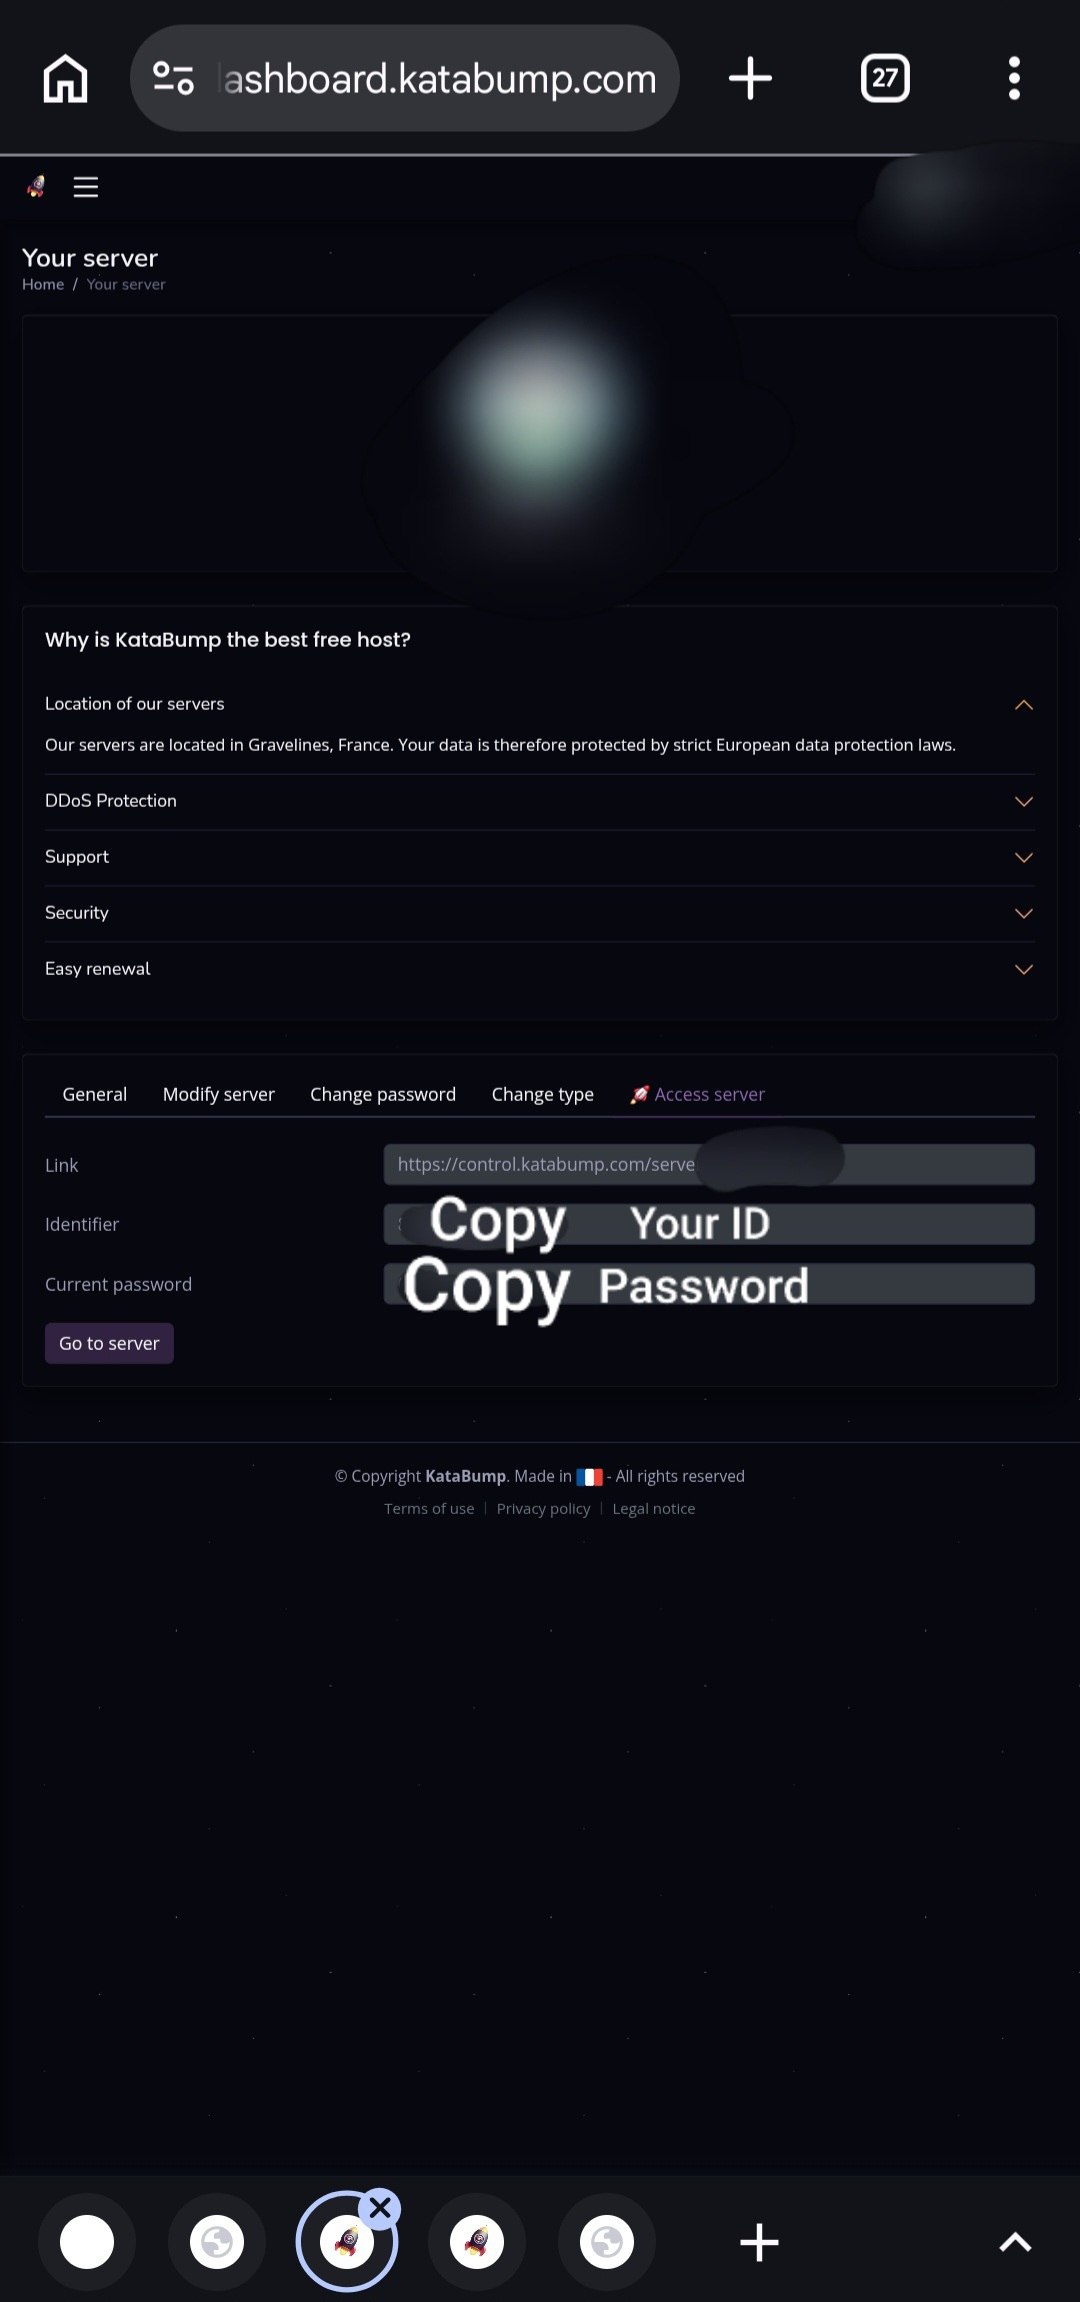
Step 4: Finding the Server's Public Port
Each server on Katabump has a dedicated public port, which is displayed in the server's Settings section. This port is typically a five-digit number (e.g., something like 25565 or 31842).
📷 Image 7 of 15:
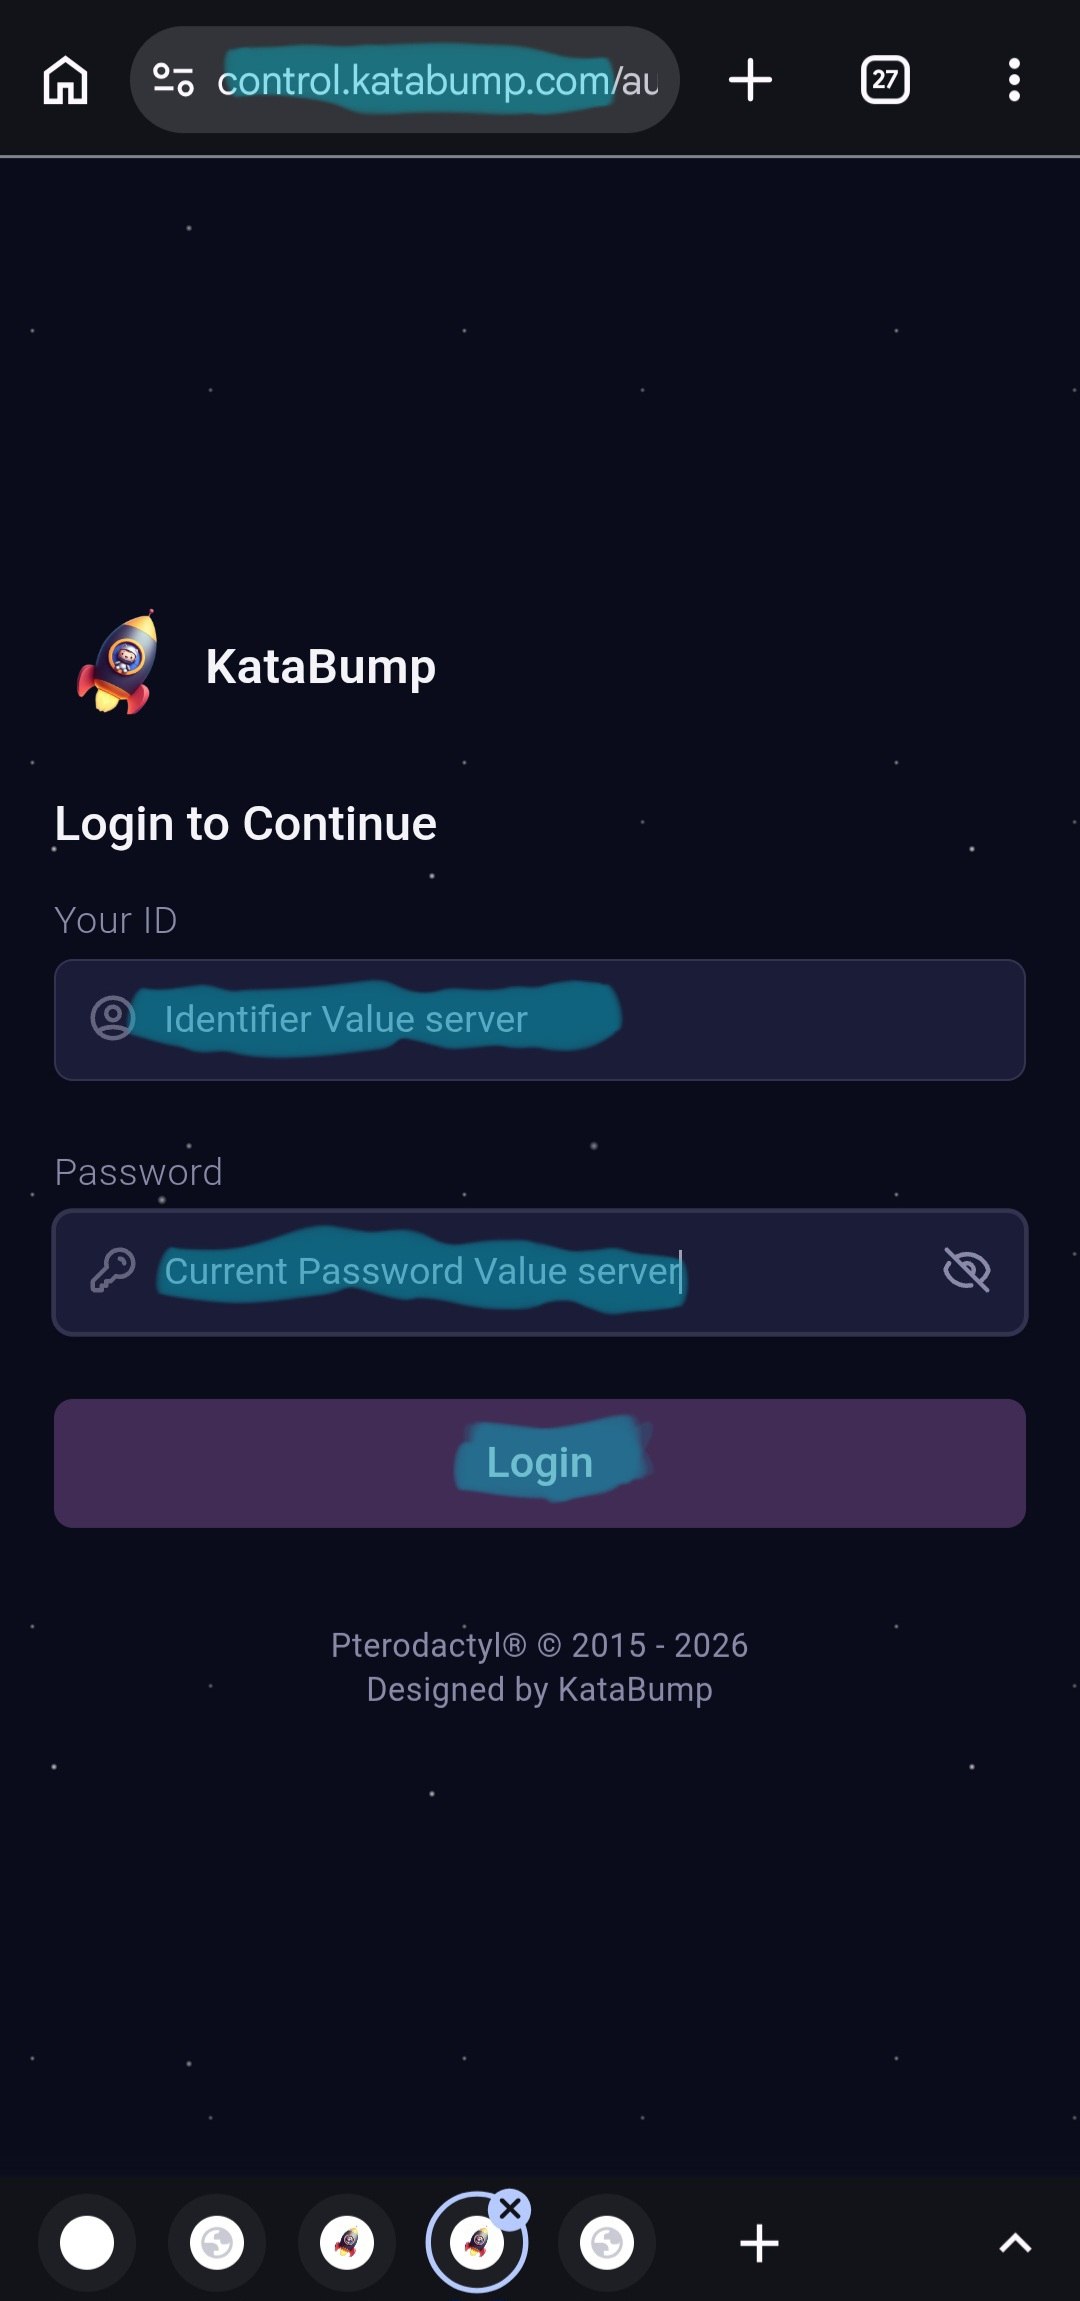
Step 5: Setting the Port in config.py
Replace the port number you found in the previous step inside the config.py file. Note that the number 25565 below is just an example and must be replaced with your actual port:
PORT = 25565 # replace with your own public portAttention
This is the only value that needs to be set manually; everything else (secret and links) is generated automatically.
📷 Image 8 of 15: Example of a five-digit public port in the panel
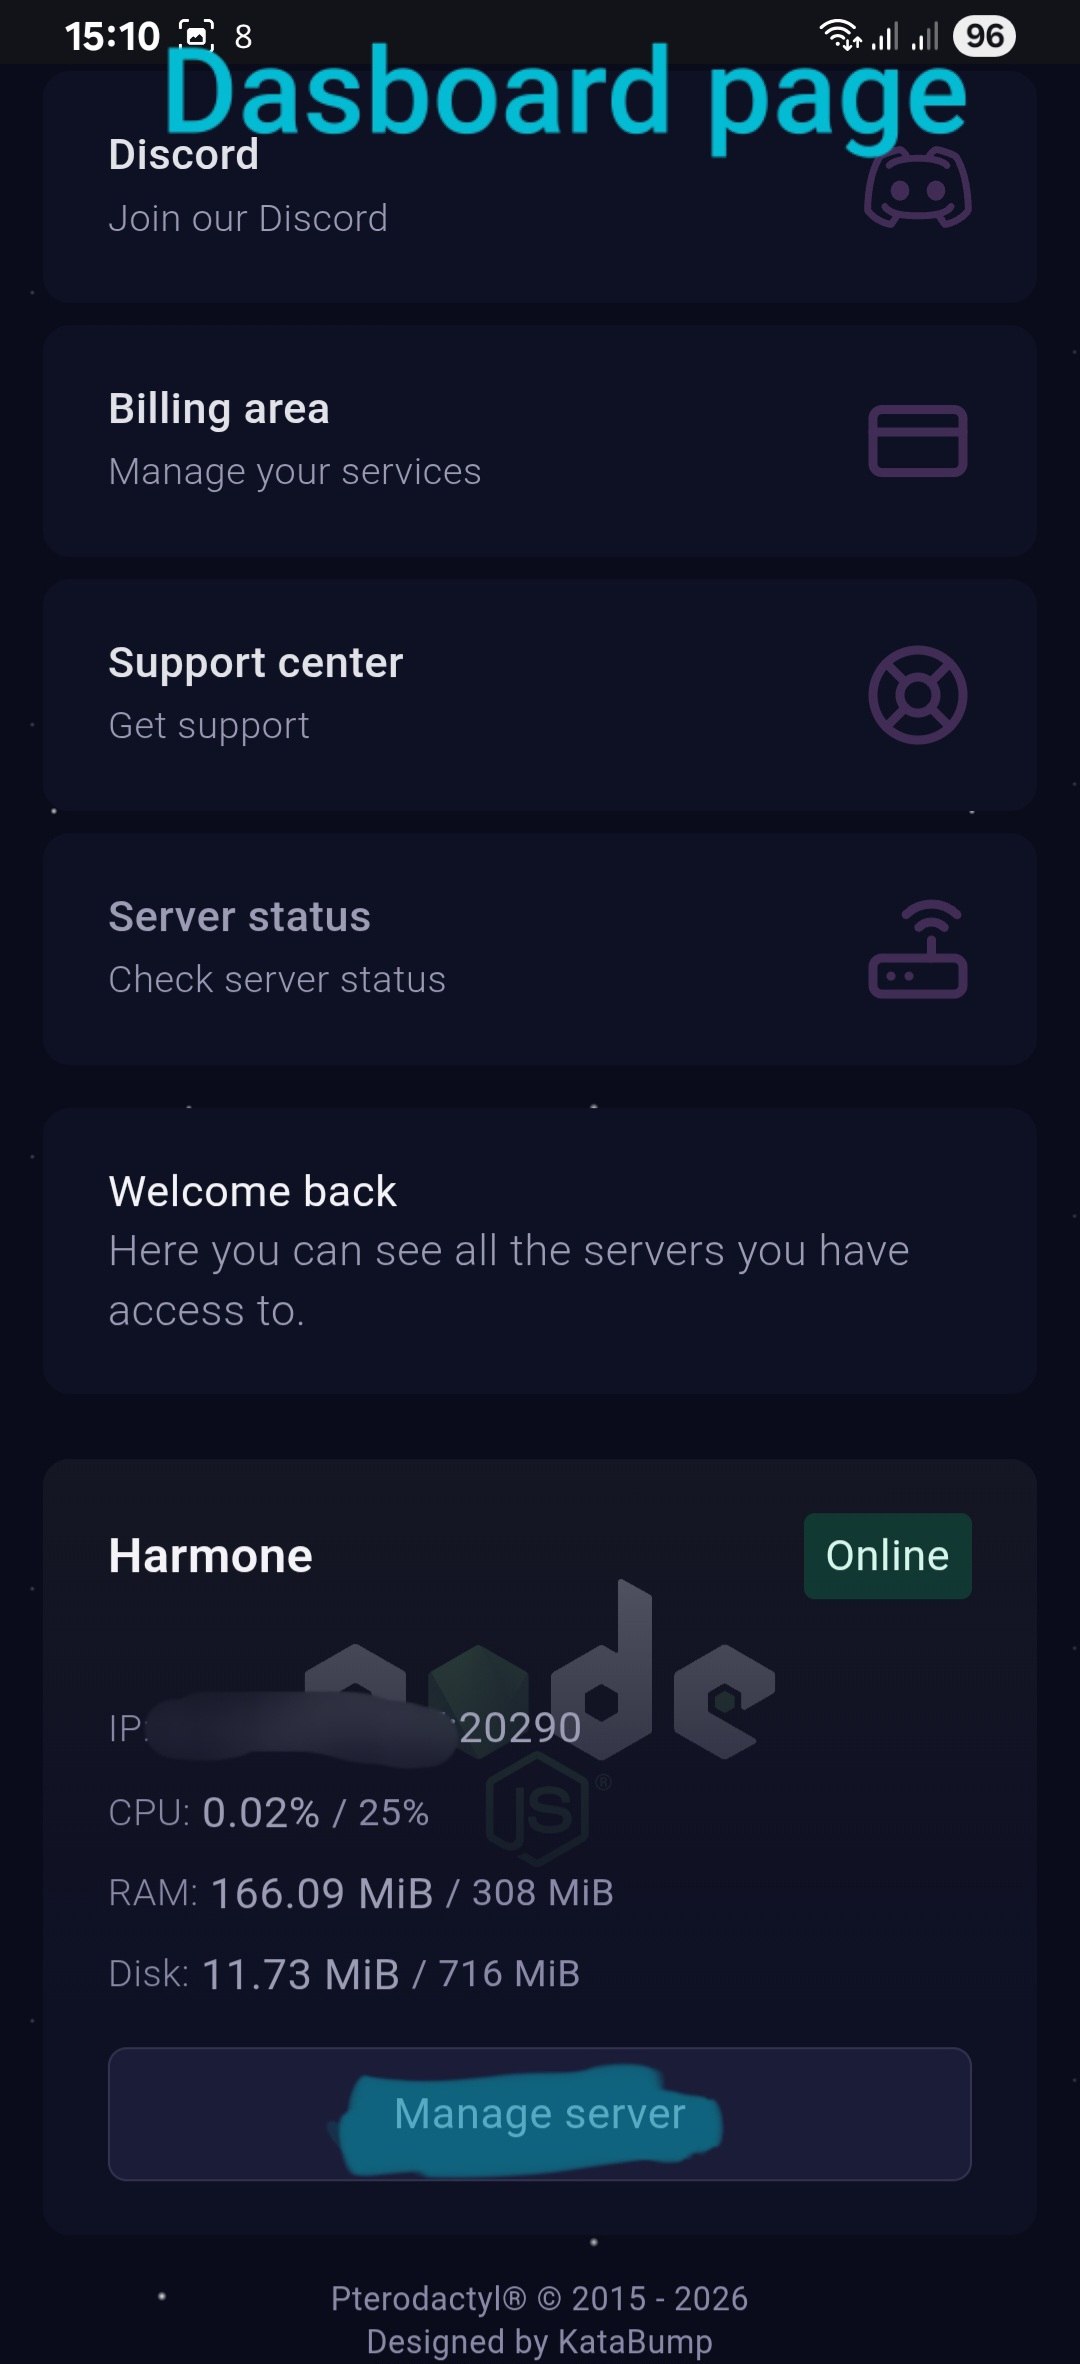
Step 6: Uploading the Files
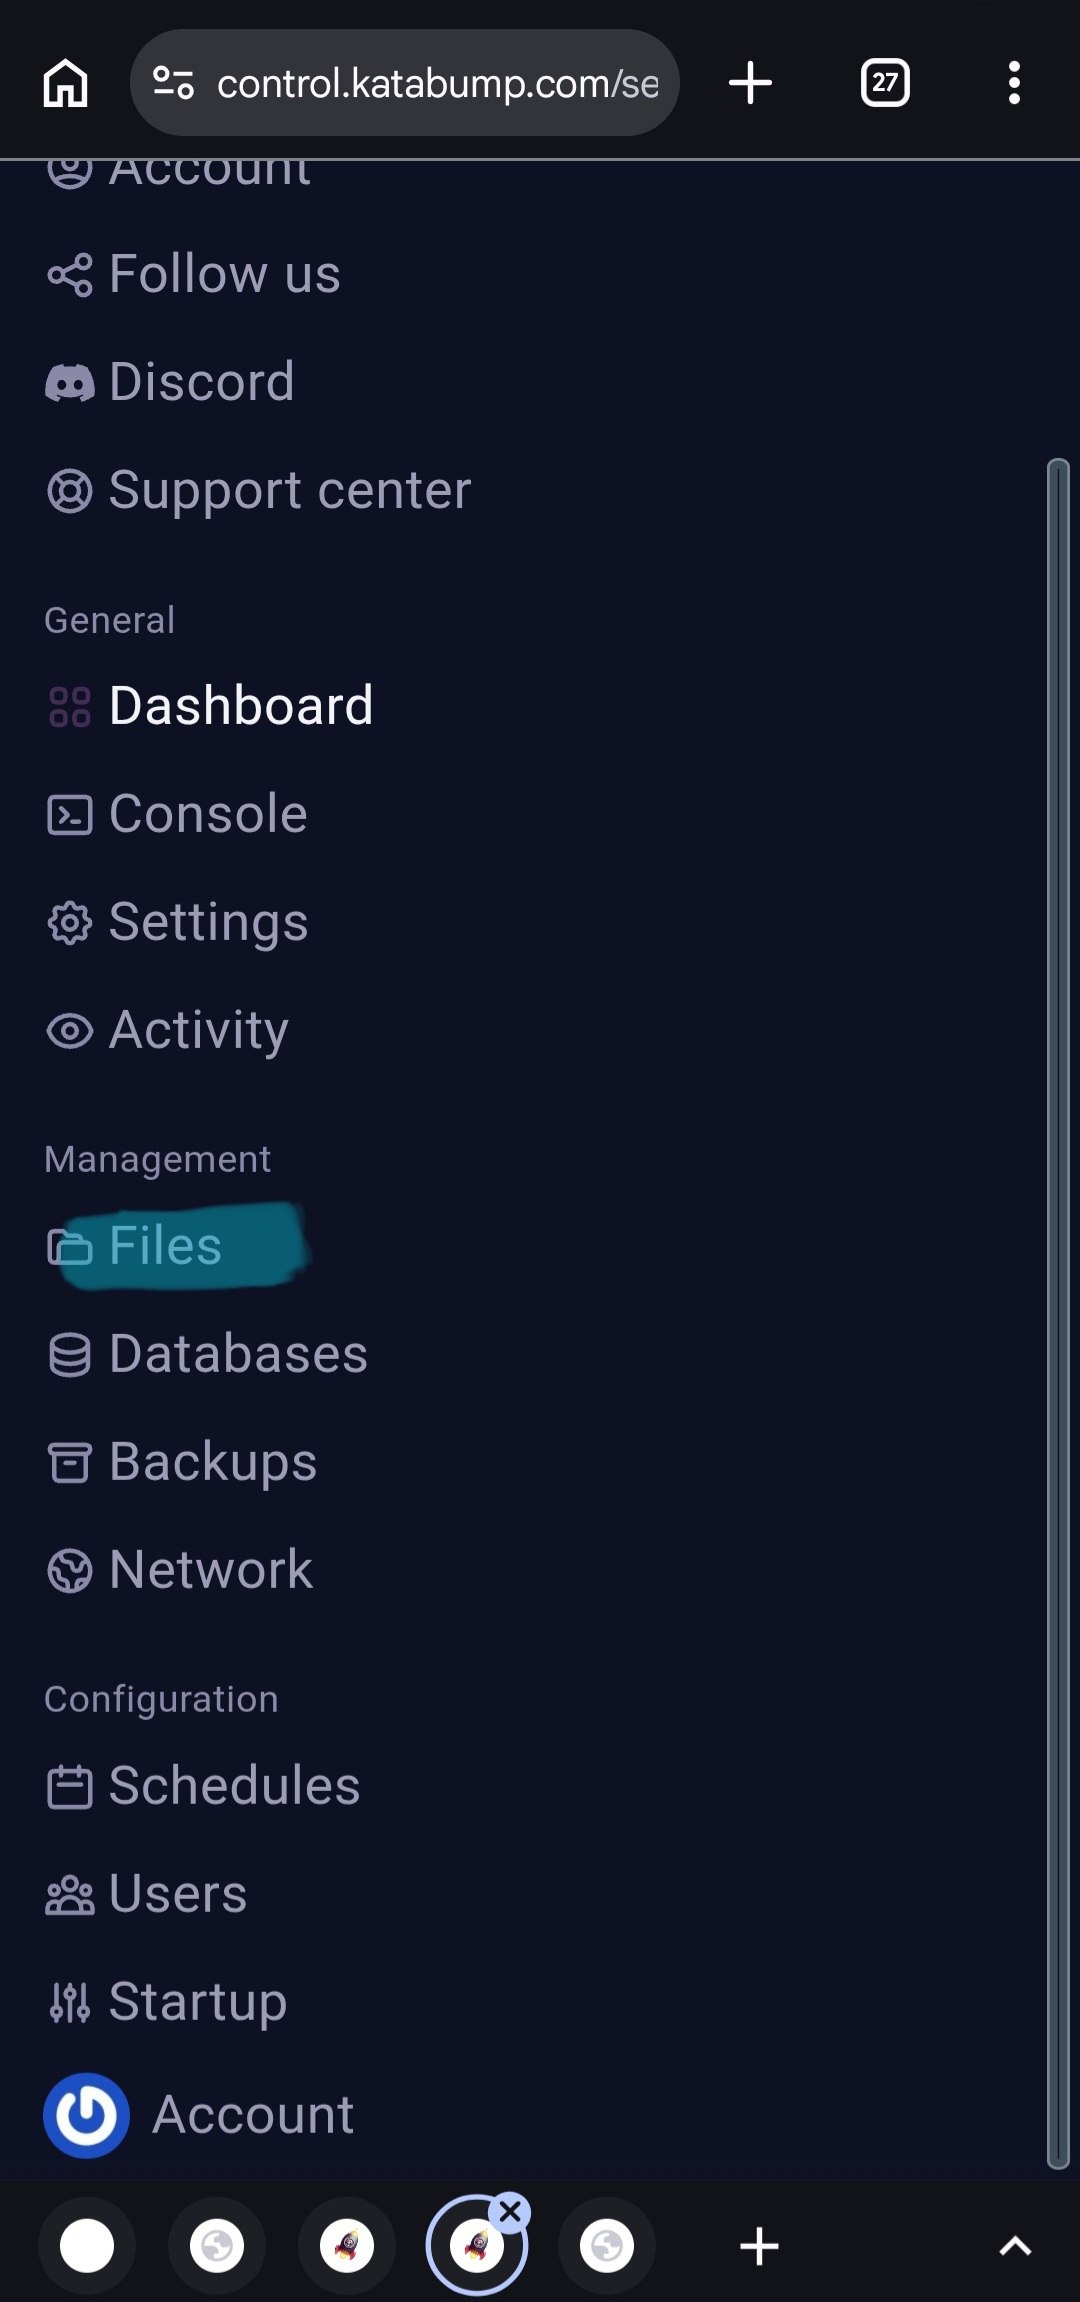
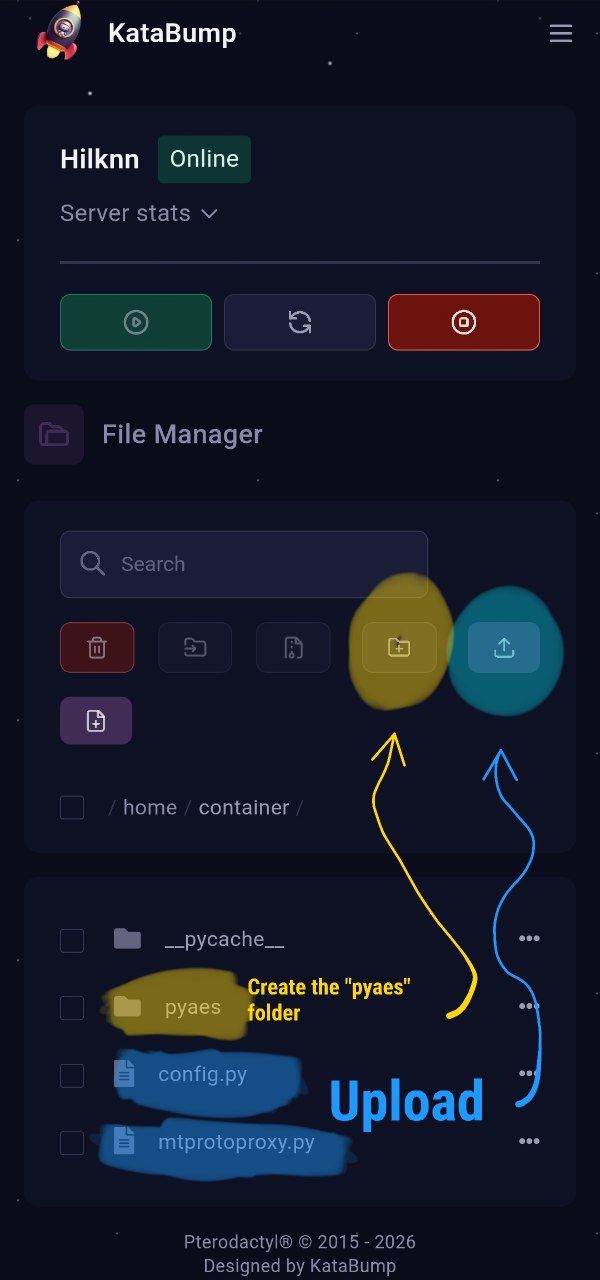
Extract the zip file provided in the Prerequisites section. All files and the pyaes folder must be uploaded directly (without nested folders) to the server root at /home/container/ — via the Web File Manager or SFTP.
The final structure should look like this:
/home/container/
├── mtprotoproxy.py
├── config.py
└── pyaes/
    ├── __init__.py
    ├── aes.py
    ├── blockfeeder.py
└── util.py📷 Image 9 of 15:
📷 Image 10 of 15:
Step 7: Configuring Startup (Entrypoint)
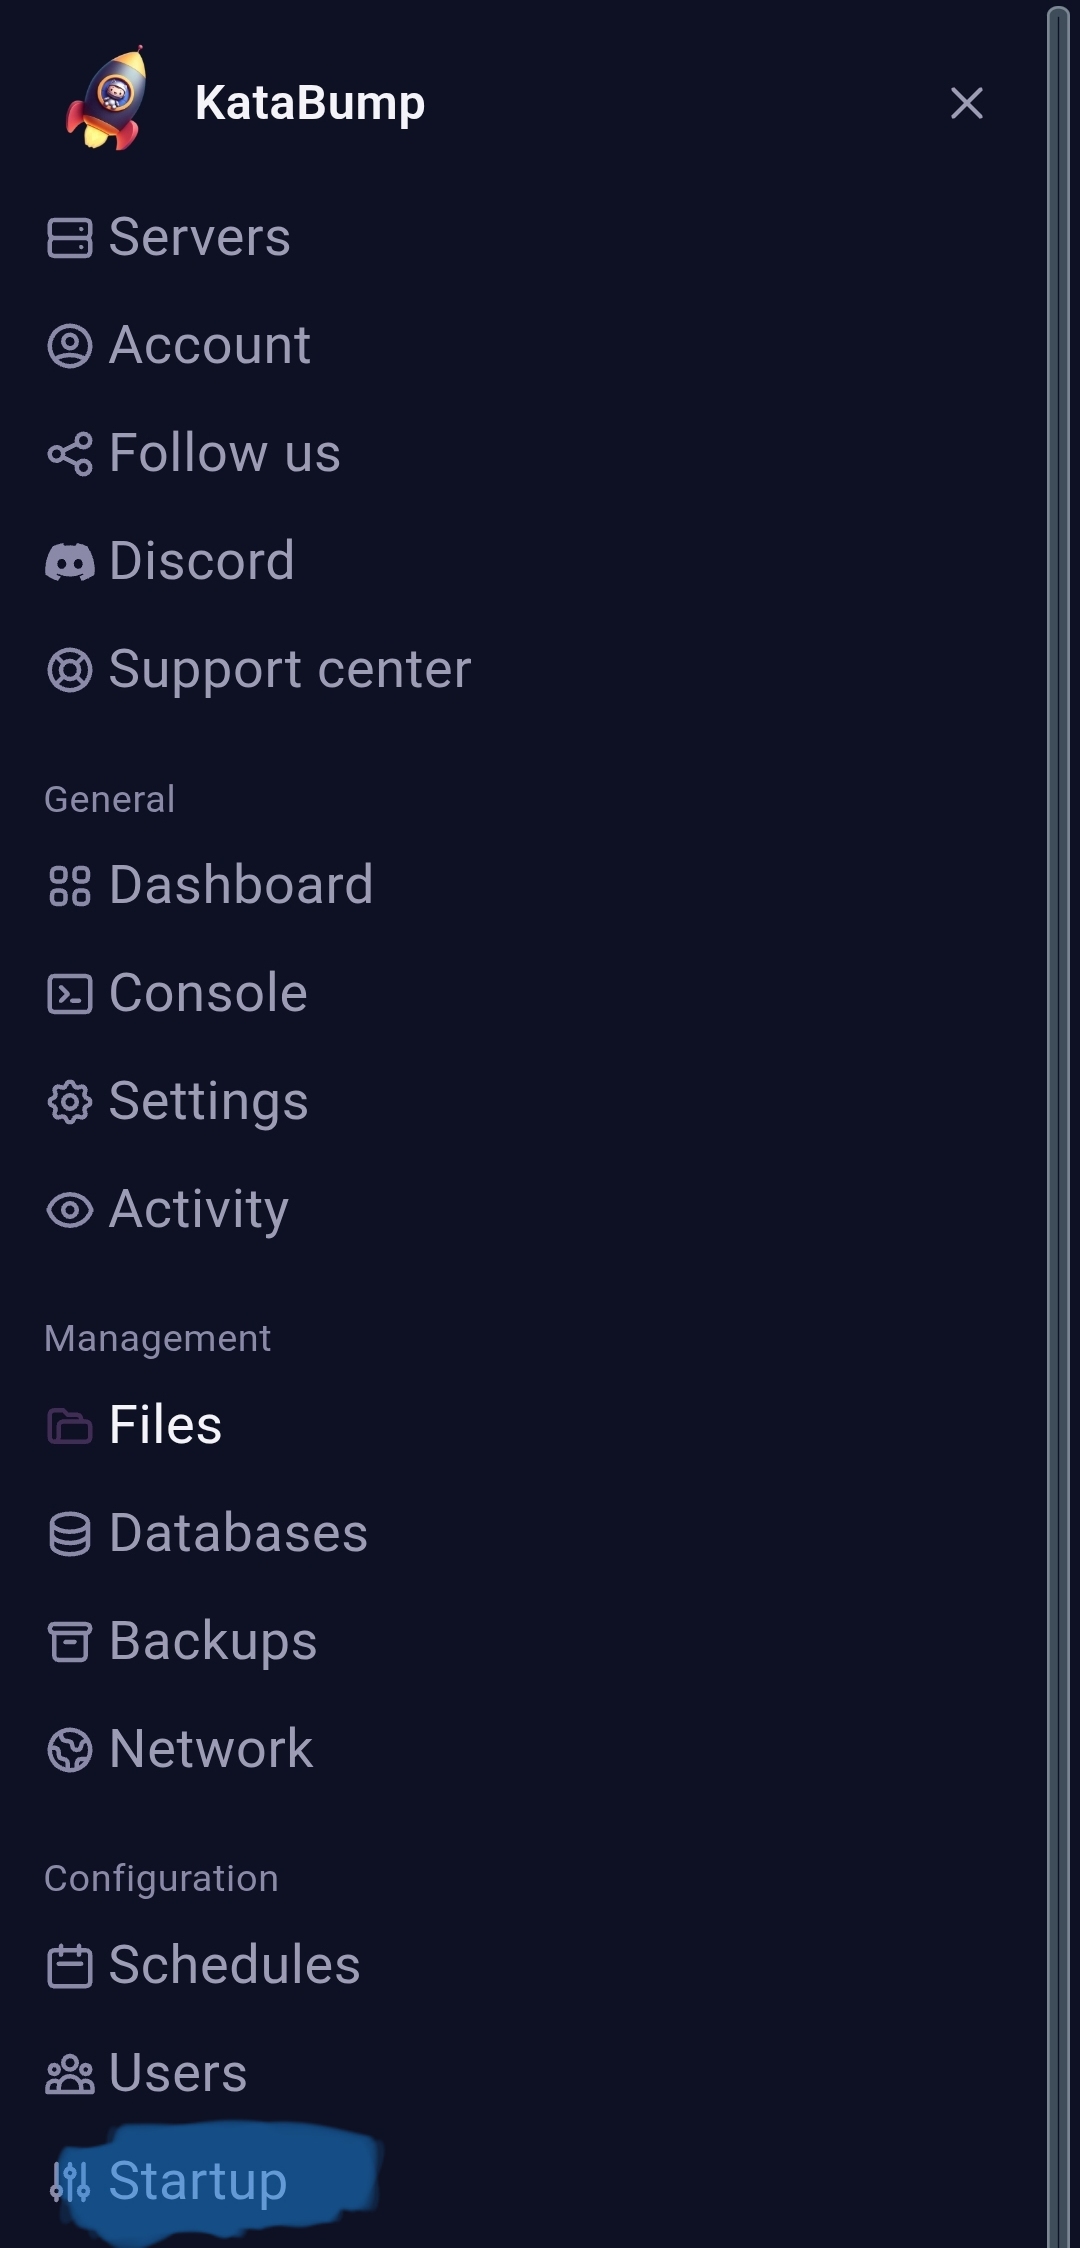
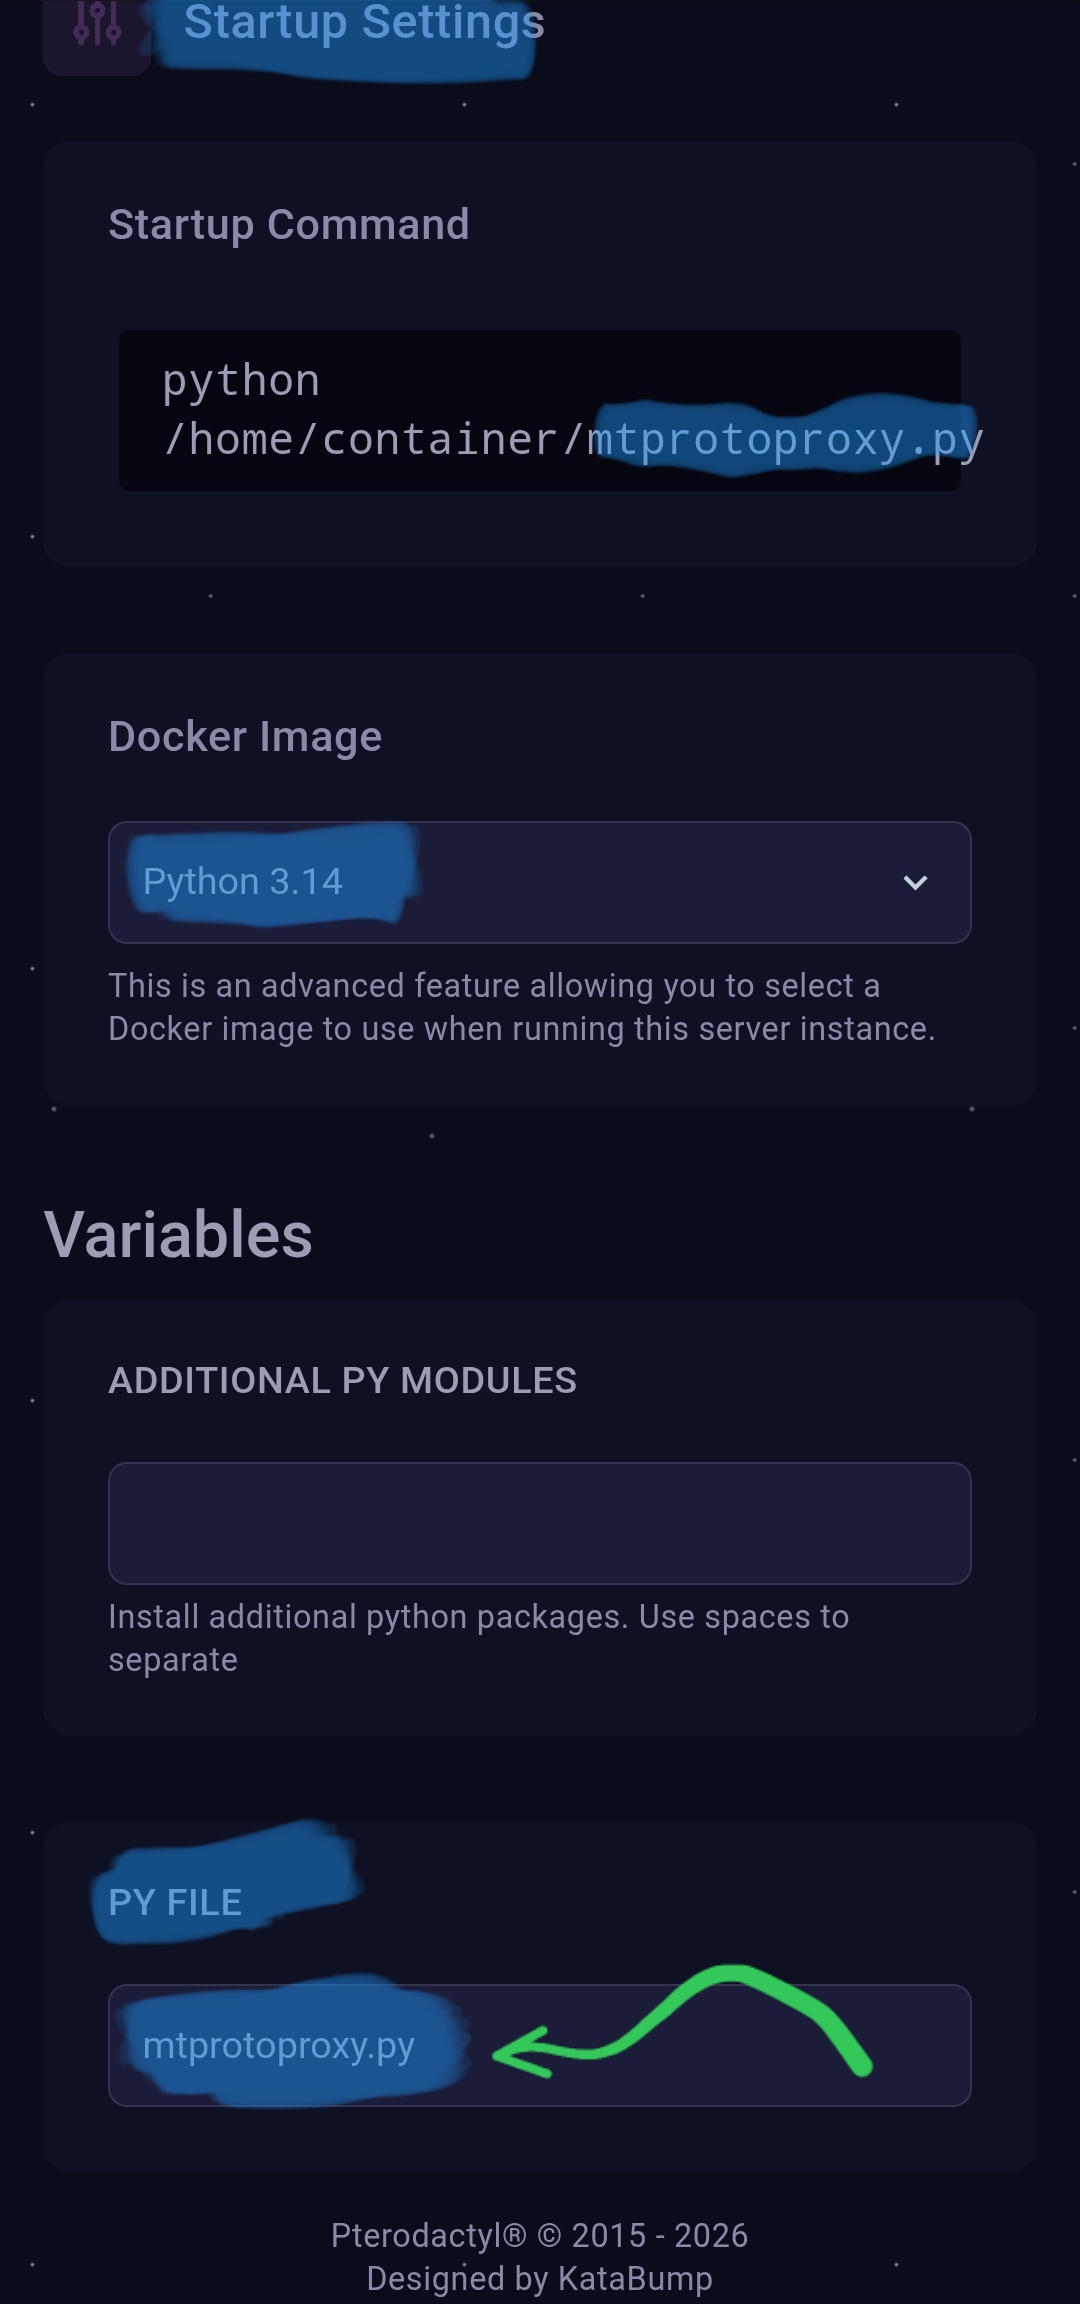
In the Startup tab of the panel, find the PY FILE field (or Main File / Entry Point) and enter exactly this value:
mtprotoproxy.pyThen click Save.
📷 Image 11 of 15:
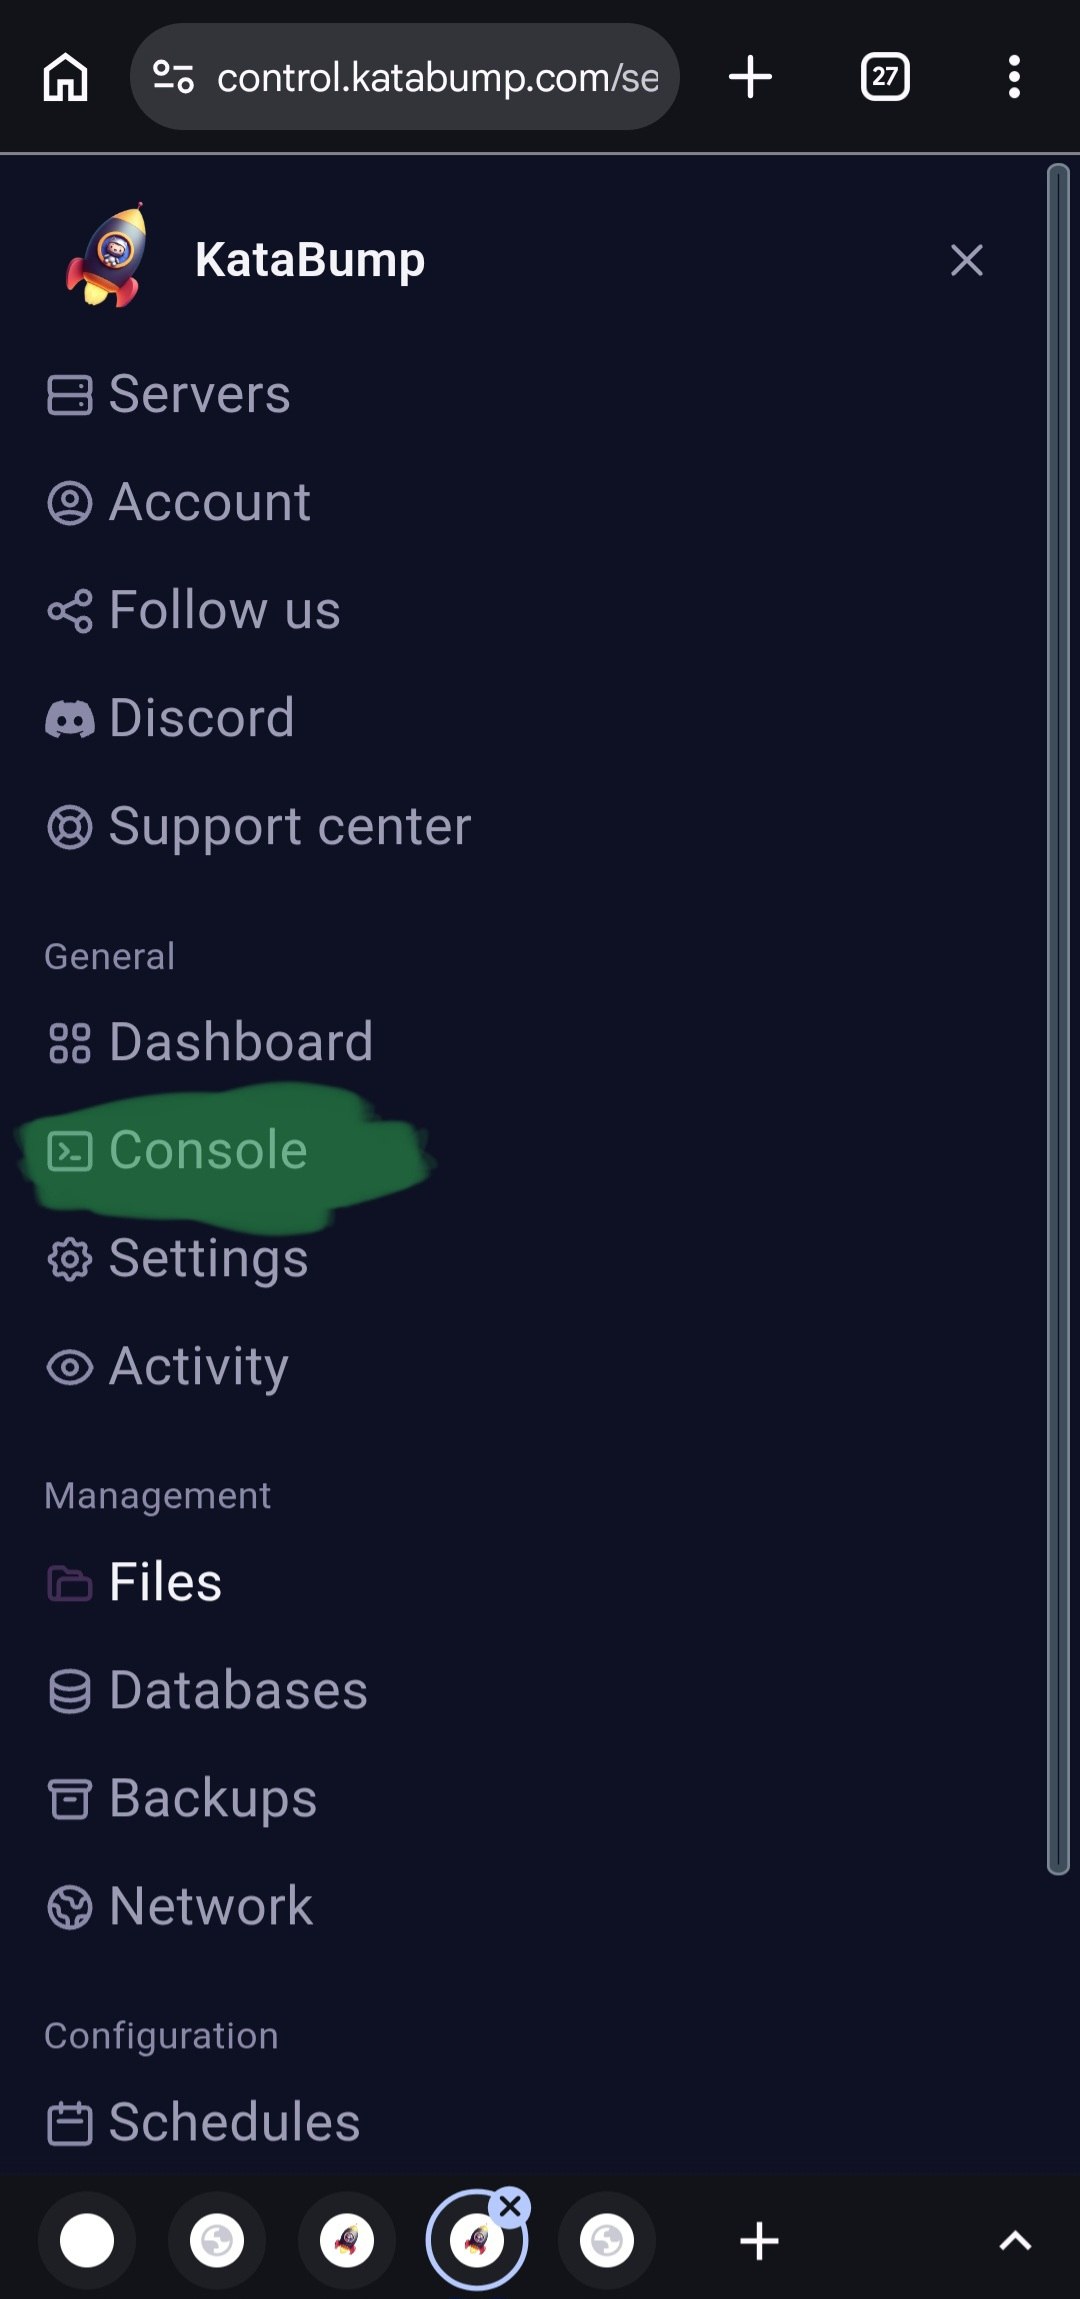
Step 8: Starting the Server and Getting the Link from the Console
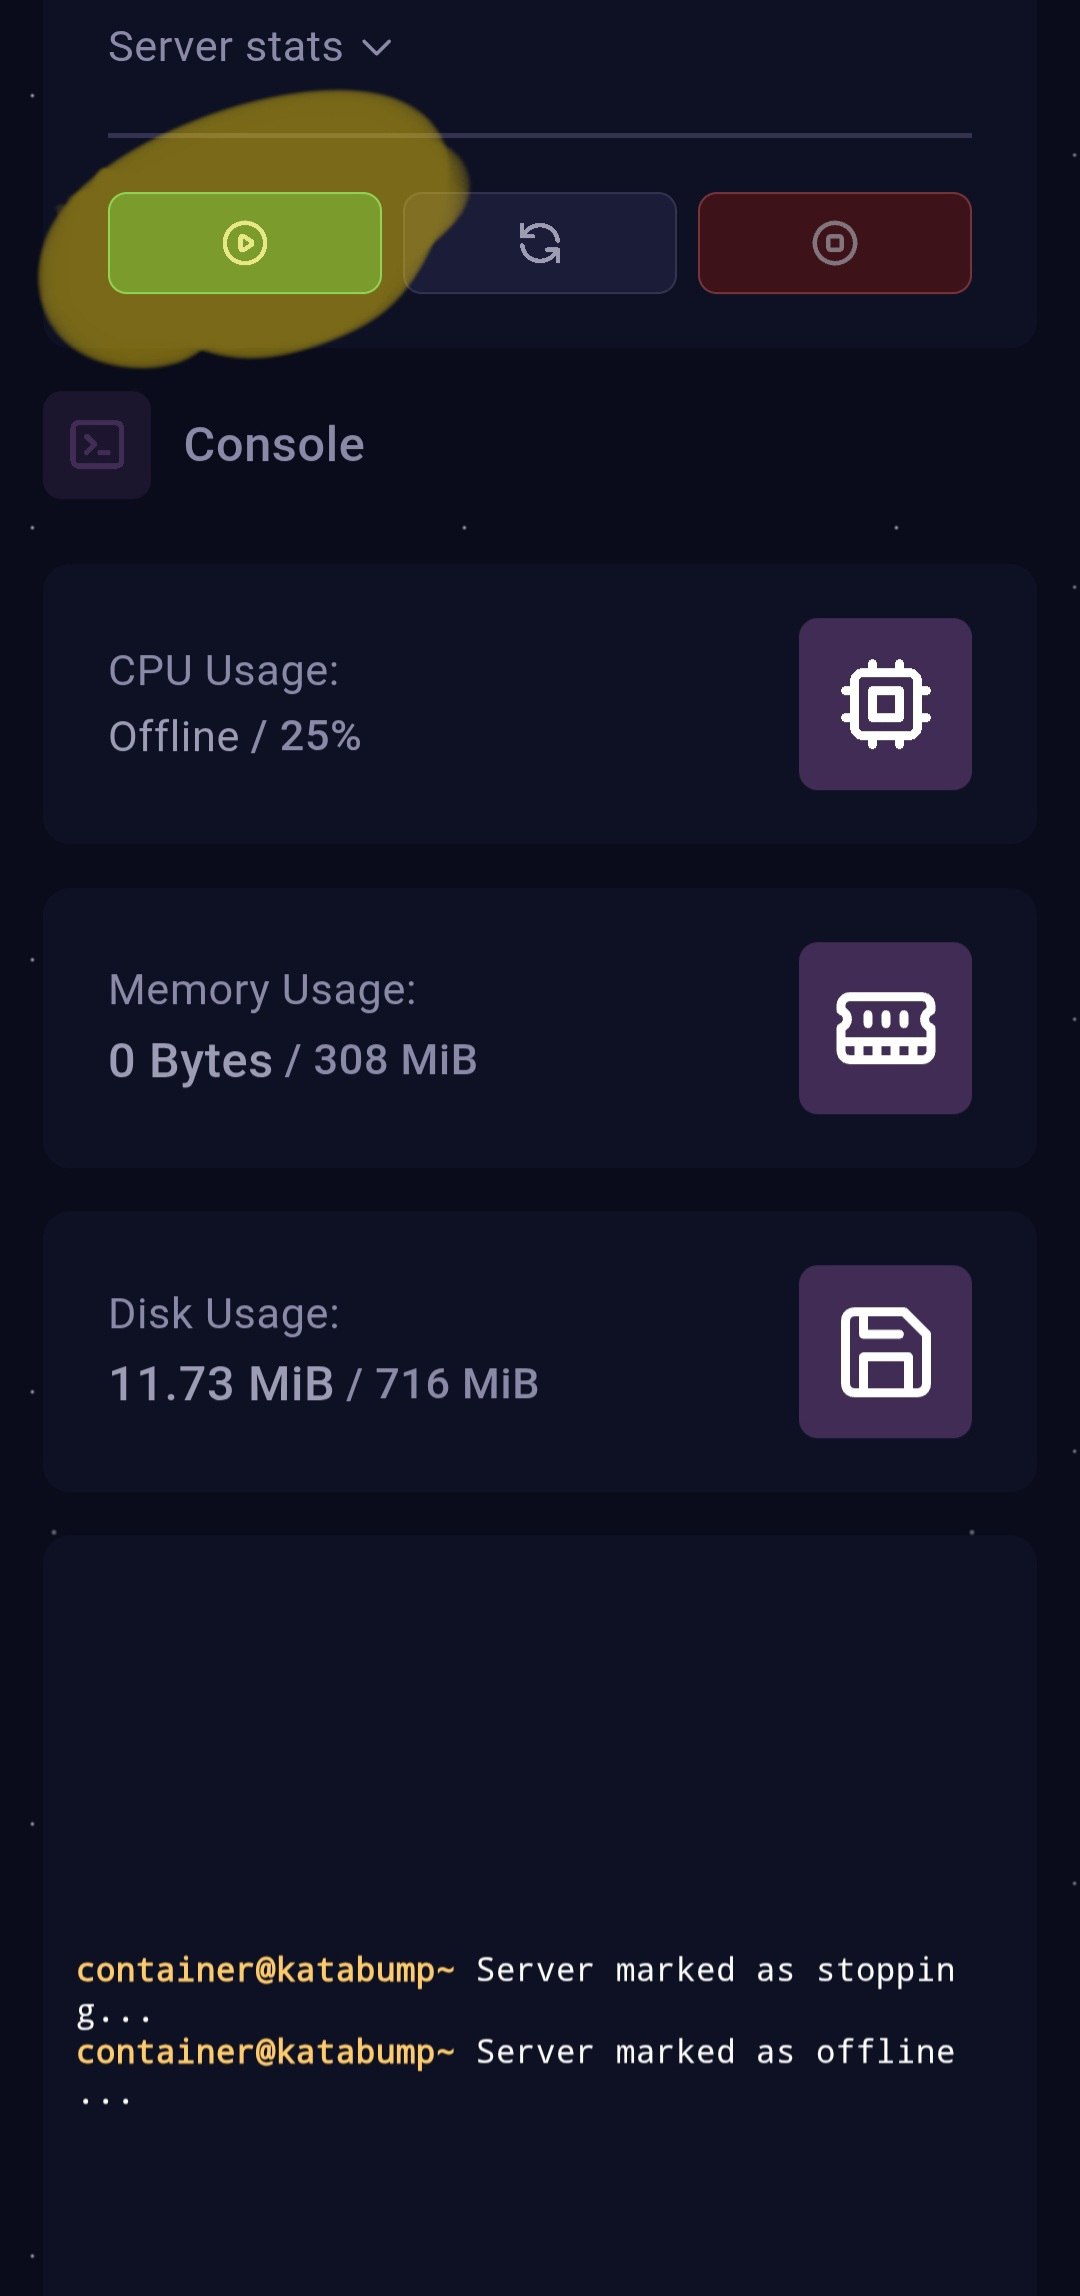
Start the server from the panel.
📷 Image 12 of 15:
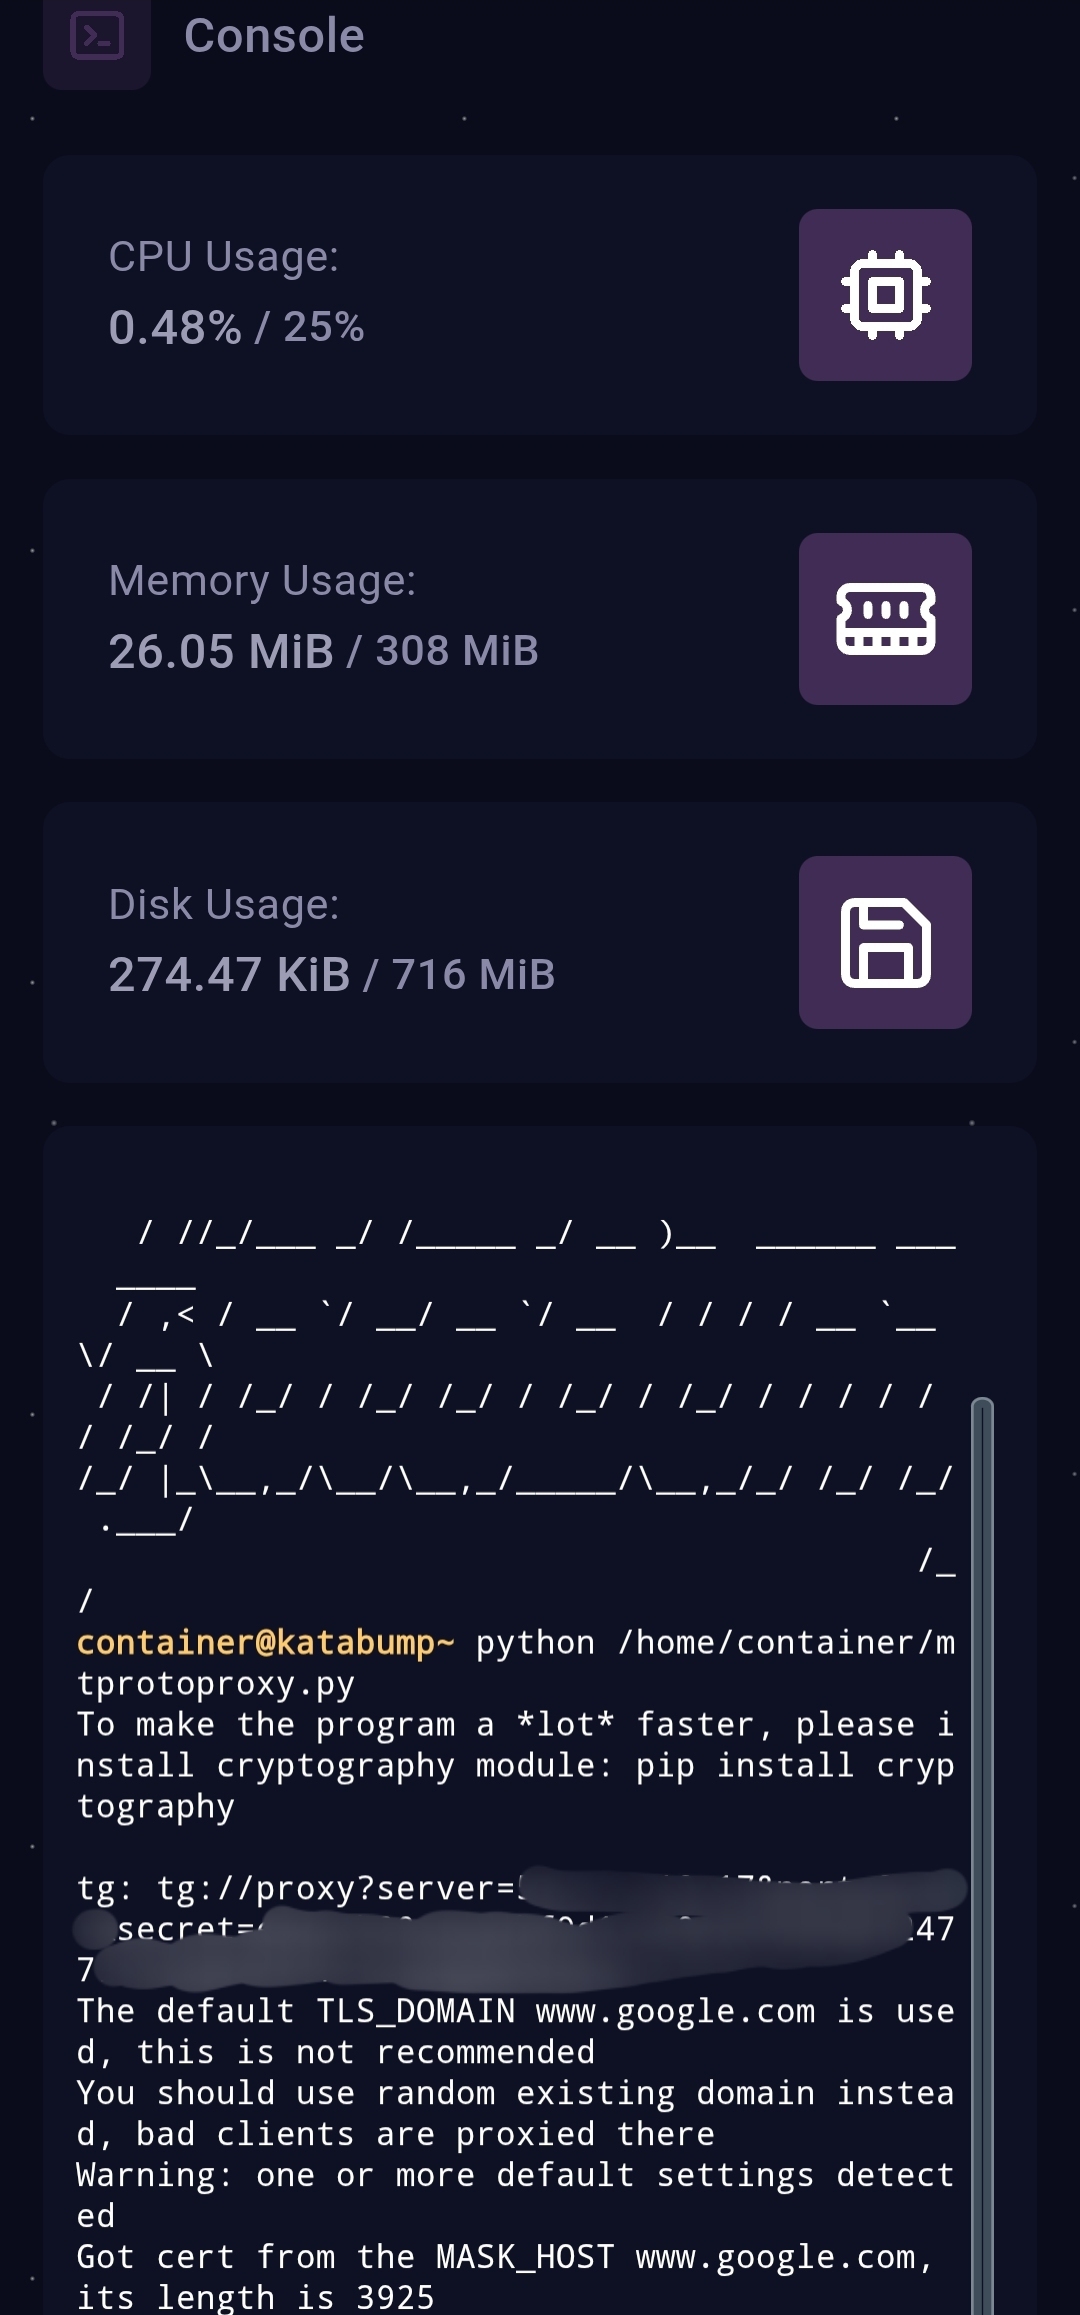
In the Console tab, a line similar to the following will appear, which is the ready-to-use proxy link (the IP, PORT, and SECRET values will be replaced with your server's actual information):
tg://proxy?server=IP&port=PORT&secret=SECRETCopy this link and open it in Telegram.
📷 Image 13 of 15:
Step 9: Dedicated Proxy Web Page
Instead of manually copying from the Console, you can open the server address in your browser. Replace SERVER_IP and PORT with your actual server IP and port:
http://SERVER_IP:PORT/📷 Image 14 of 15:
A simple page will open displaying the proxy link in a selectable box, along with a Copy button for quick copying and an Open in Telegram link to open it directly in the app. This page is served on the same main proxy port and does not require a separate port.
📷 Image 15 of 15:**
Final Notes
Don't Forget
You must log in to the Katabump panel and Renew your server every 4 days; otherwise, the server and proxy will stop working.
Every time you restart or Renew the server, the secret is automatically changed; the previous link will stop working, and you'll need to get the new link from the Console or the web page.
The free plan has limited resources (308 MB RAM, 25% of one CPU core); this is sufficient for personal use or a small group of users.
If you see an error message like "ModuleNotFoundError" or "No such file" in the Console, it means either the mtprotoproxy.py file is not in its correct location or the pyaes folder hasn't been uploaded alongside it.
Support and Help
Further Assistance
If you encounter any questions or issues during setup or while using this project, you can reach out through the following channels:
- Direct contact: My personal Telegram account
- General Q&A: Telegram support group