
Server Setup and Config with Katabump
What Is This Method?
This is a new method that lets you set up several types of v2ray configs using a server provided by Katabump.
Prerequisites
For this tutorial, you will need the following links:
- Katabump website link:
- Code Obfuscator tool:
- Config repository (reference):
github.com/qlxi/Xray-Sing-node
Obfuscating the code before you use it is mandatory; but don't worry, because the code file below has already been obfuscated with the same obfuscation tool that was mentioned.
📦 Click here to download the required zip file
Extract the file above; its contents are used in the file upload step — either upload the files directly, or copy the contents of each one and paste it in the relevant place.
Important note about server quality and renewal
This Hysteria2 config and other protocols have shown good results and stable connections on Irancell and Samantel. The important thing is that every 4 days you must renew the server from the site dashboard so it doesn't get deactivated.
Important Technical Notes Before You Start
Minimum server requirements: This config downloads and runs several binaries (sing-box +, if enabled, Xray-core and Cloudflared). The main services (Hysteria2 + VLESS-WS) come up even on very limited plans (a few hundred MB of disk/RAM), but if you also keep Argo (Cloudflare Tunnel) enabled, you'll need at least roughly 200–300 MB of extra free disk space; otherwise you may encounter a "not enough space for Argo" error in the log — though this issue has also been resolved and the rest of the services work without any problem.
Configuring via editing the file itself: The Katabump panel (on some plans) does not support defining Environment Variables. So if you need to change something (for example, the file storage path, turning off Argo to save resources, or the SNI), you must edit the default value of that setting directly inside the JS file, before uploading.
File storage path: If you're on a server whose temp folder (
/tmp) uses RAM instead of real disk, it's better to change the storage path to a subfolder next to the project itself (for example,xray-singnext to the main file) so that disk usage isn't confused with RAM.
Step 1: Sign-Up
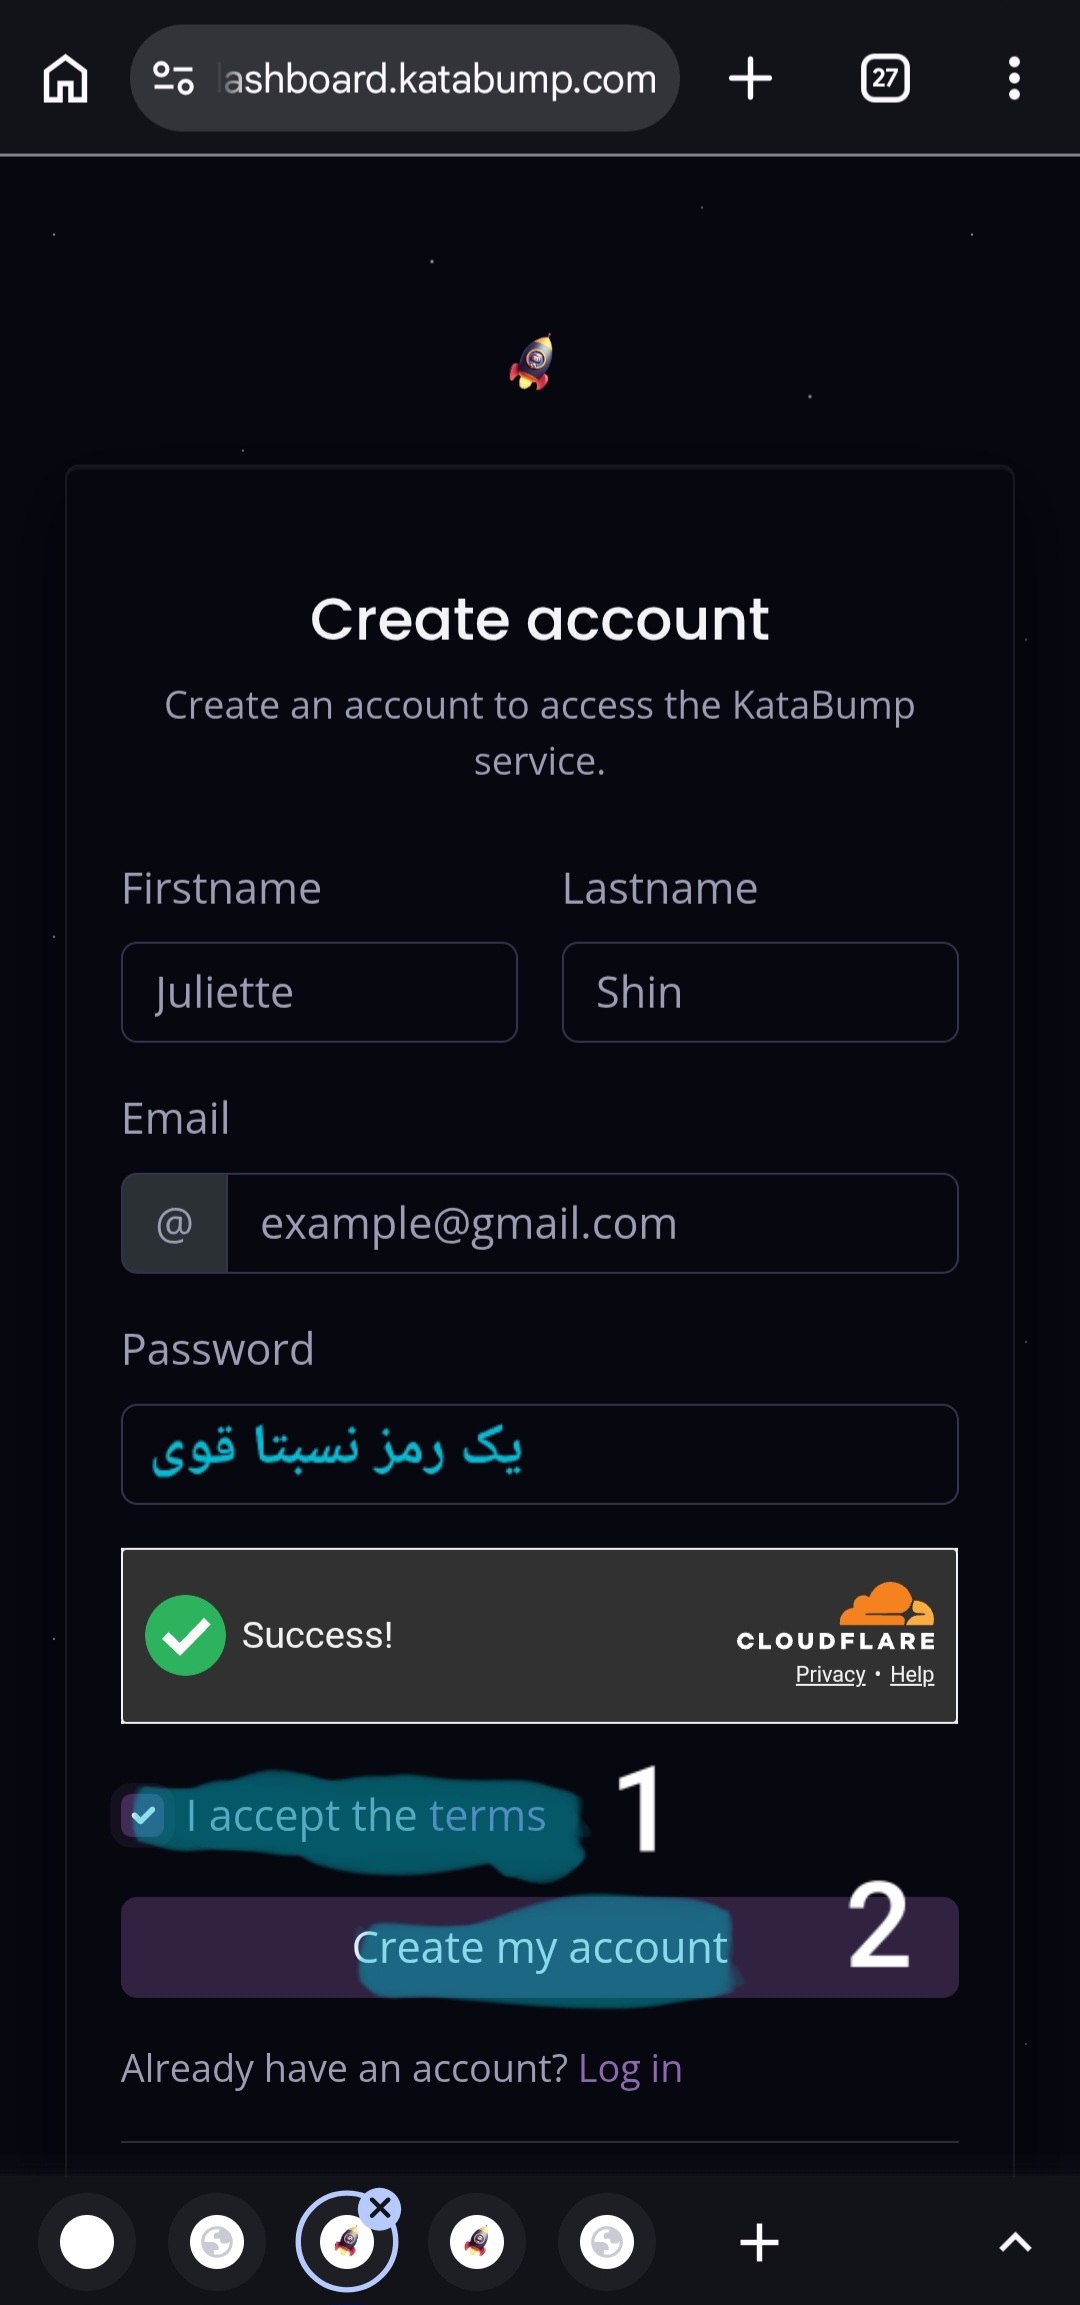
To get started, you need to create an account on Katabump:
- You can sign up with Gmail.
- In the First Name and Last Name fields, each must be more than one character (for example, entering something like
ali kin one of these fields is not accepted.) - For the password, you can enter your own password or use the strong password suggested by the Chrome browser.
📷 Images for This Step
Image 1 of 2:
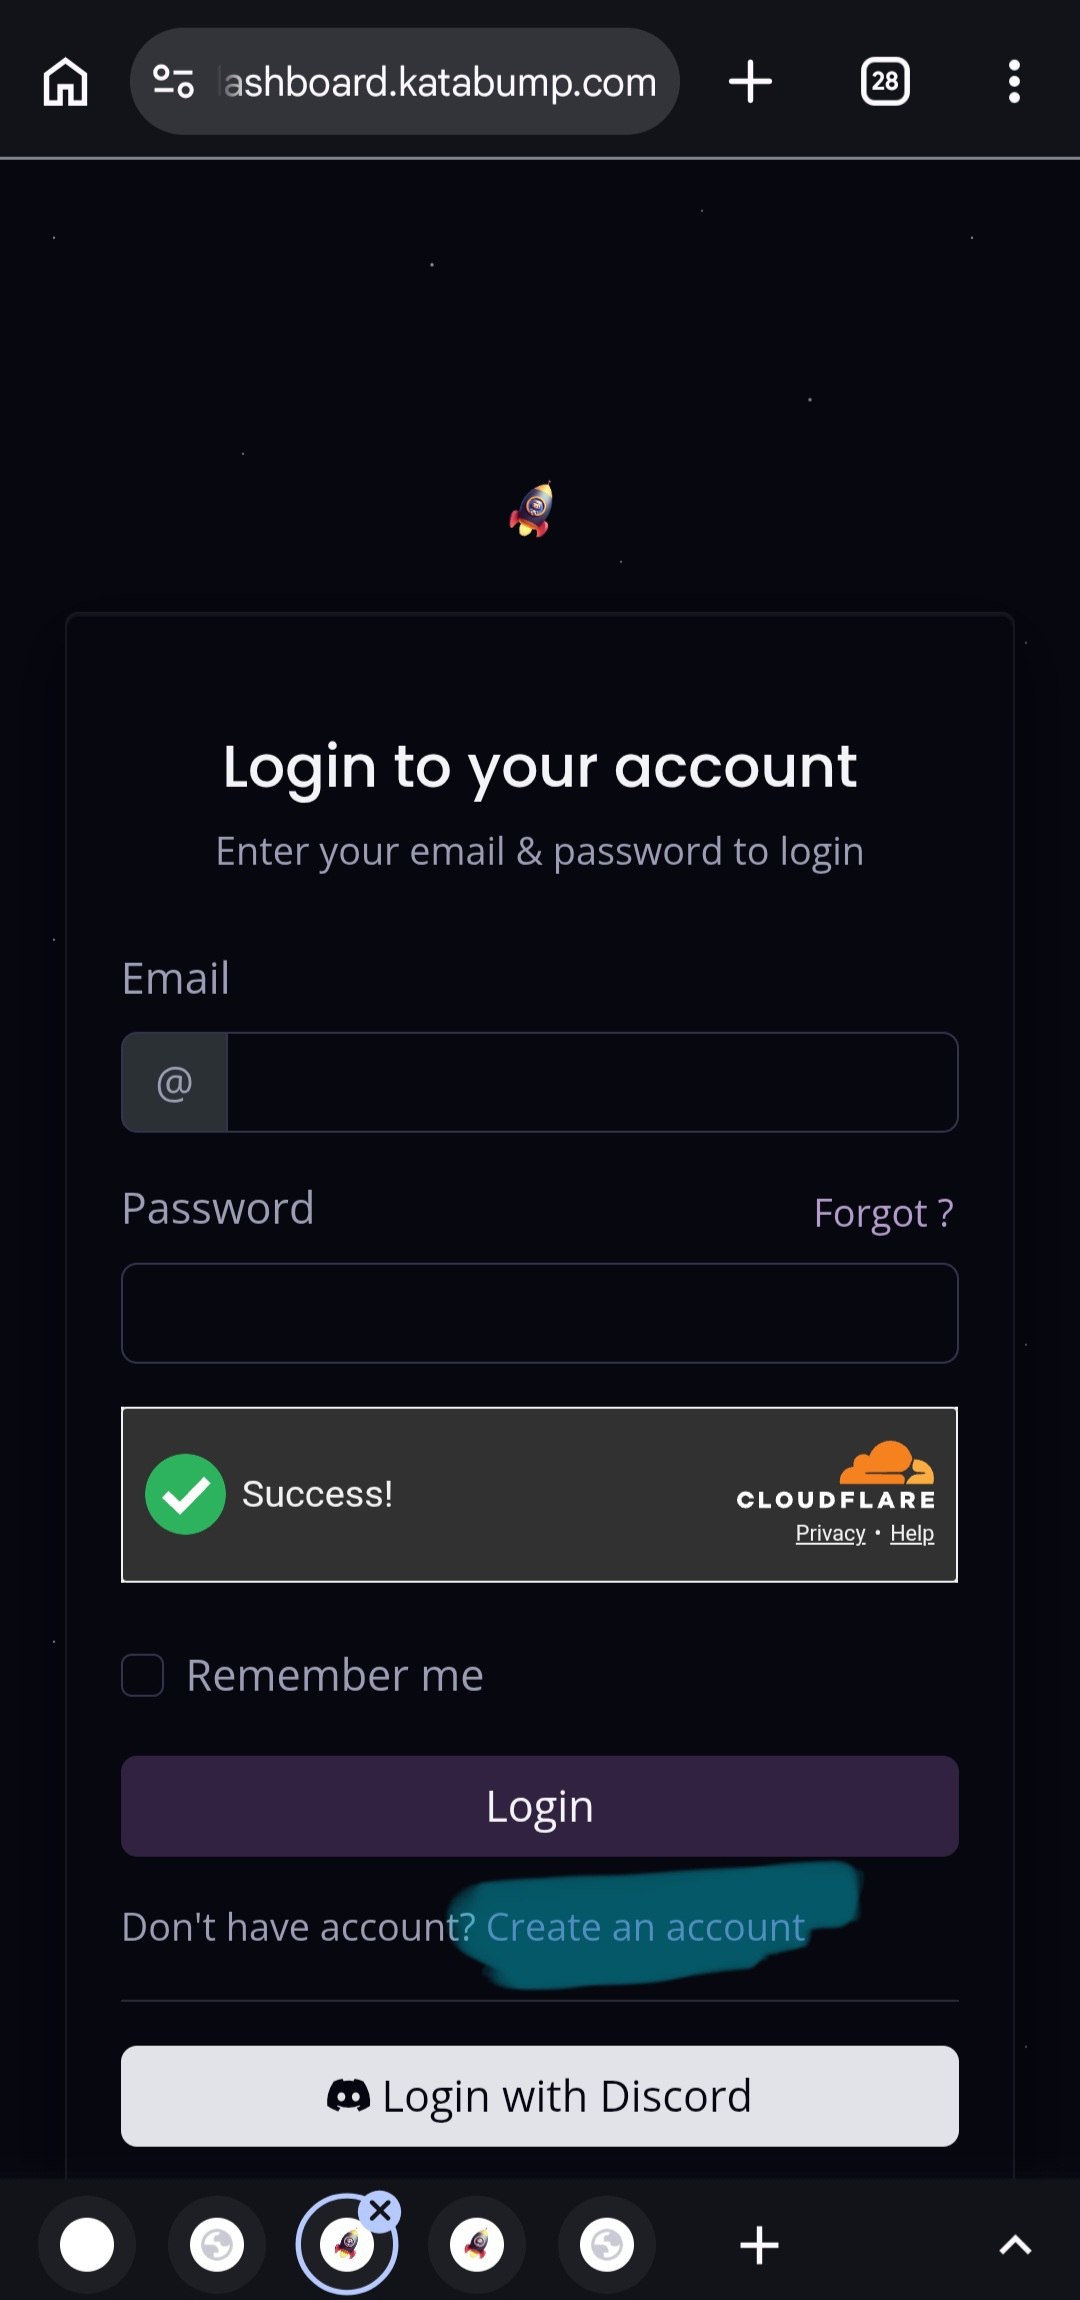
Image 2 of 2:
Step 2: Creating and Logging into the Server Management Panel
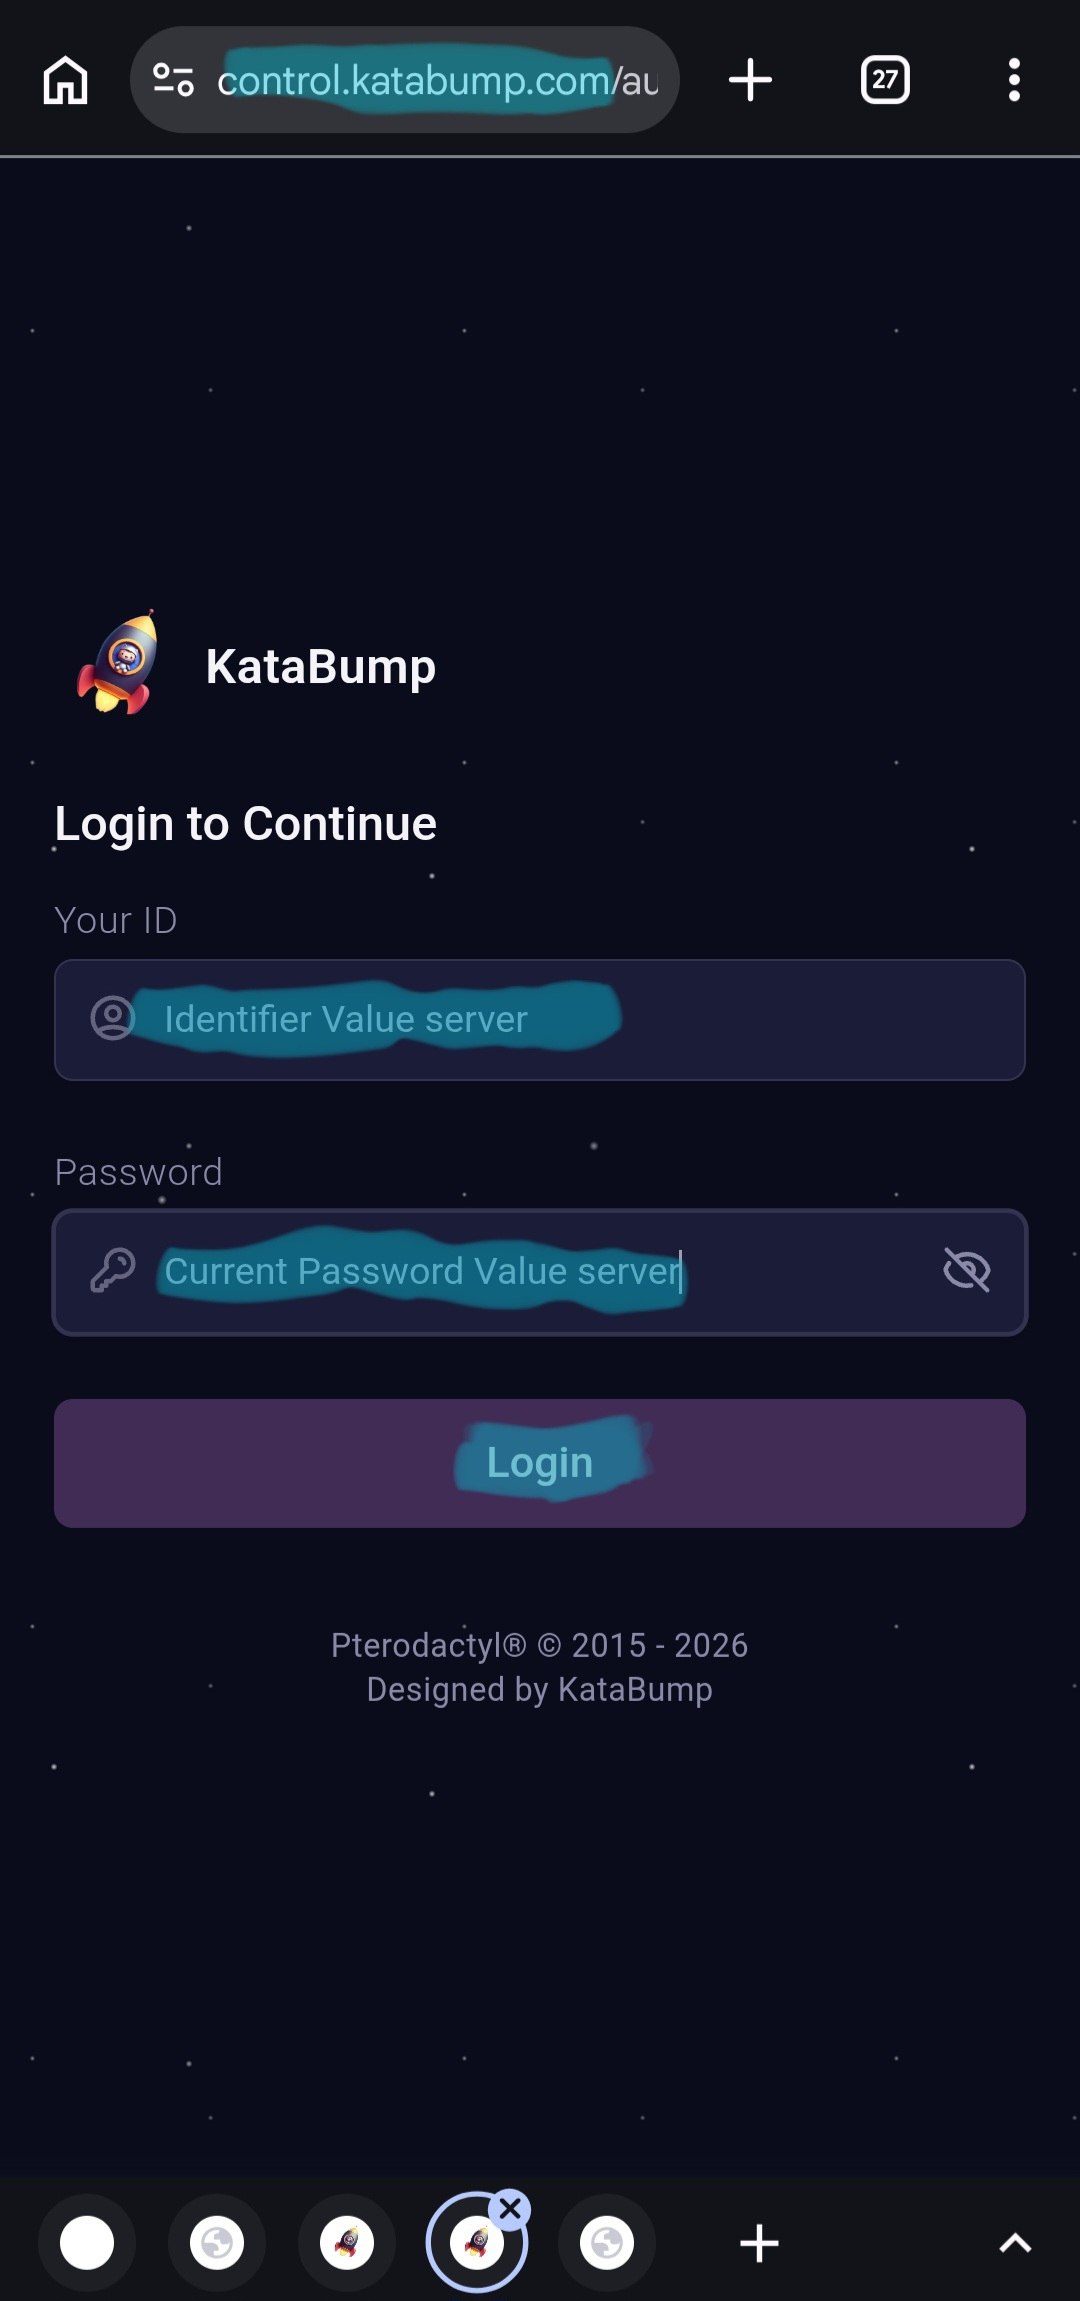
In this step, the server is created and you log into its management panel.
📷 Images for This Step
Image 1 of 5:
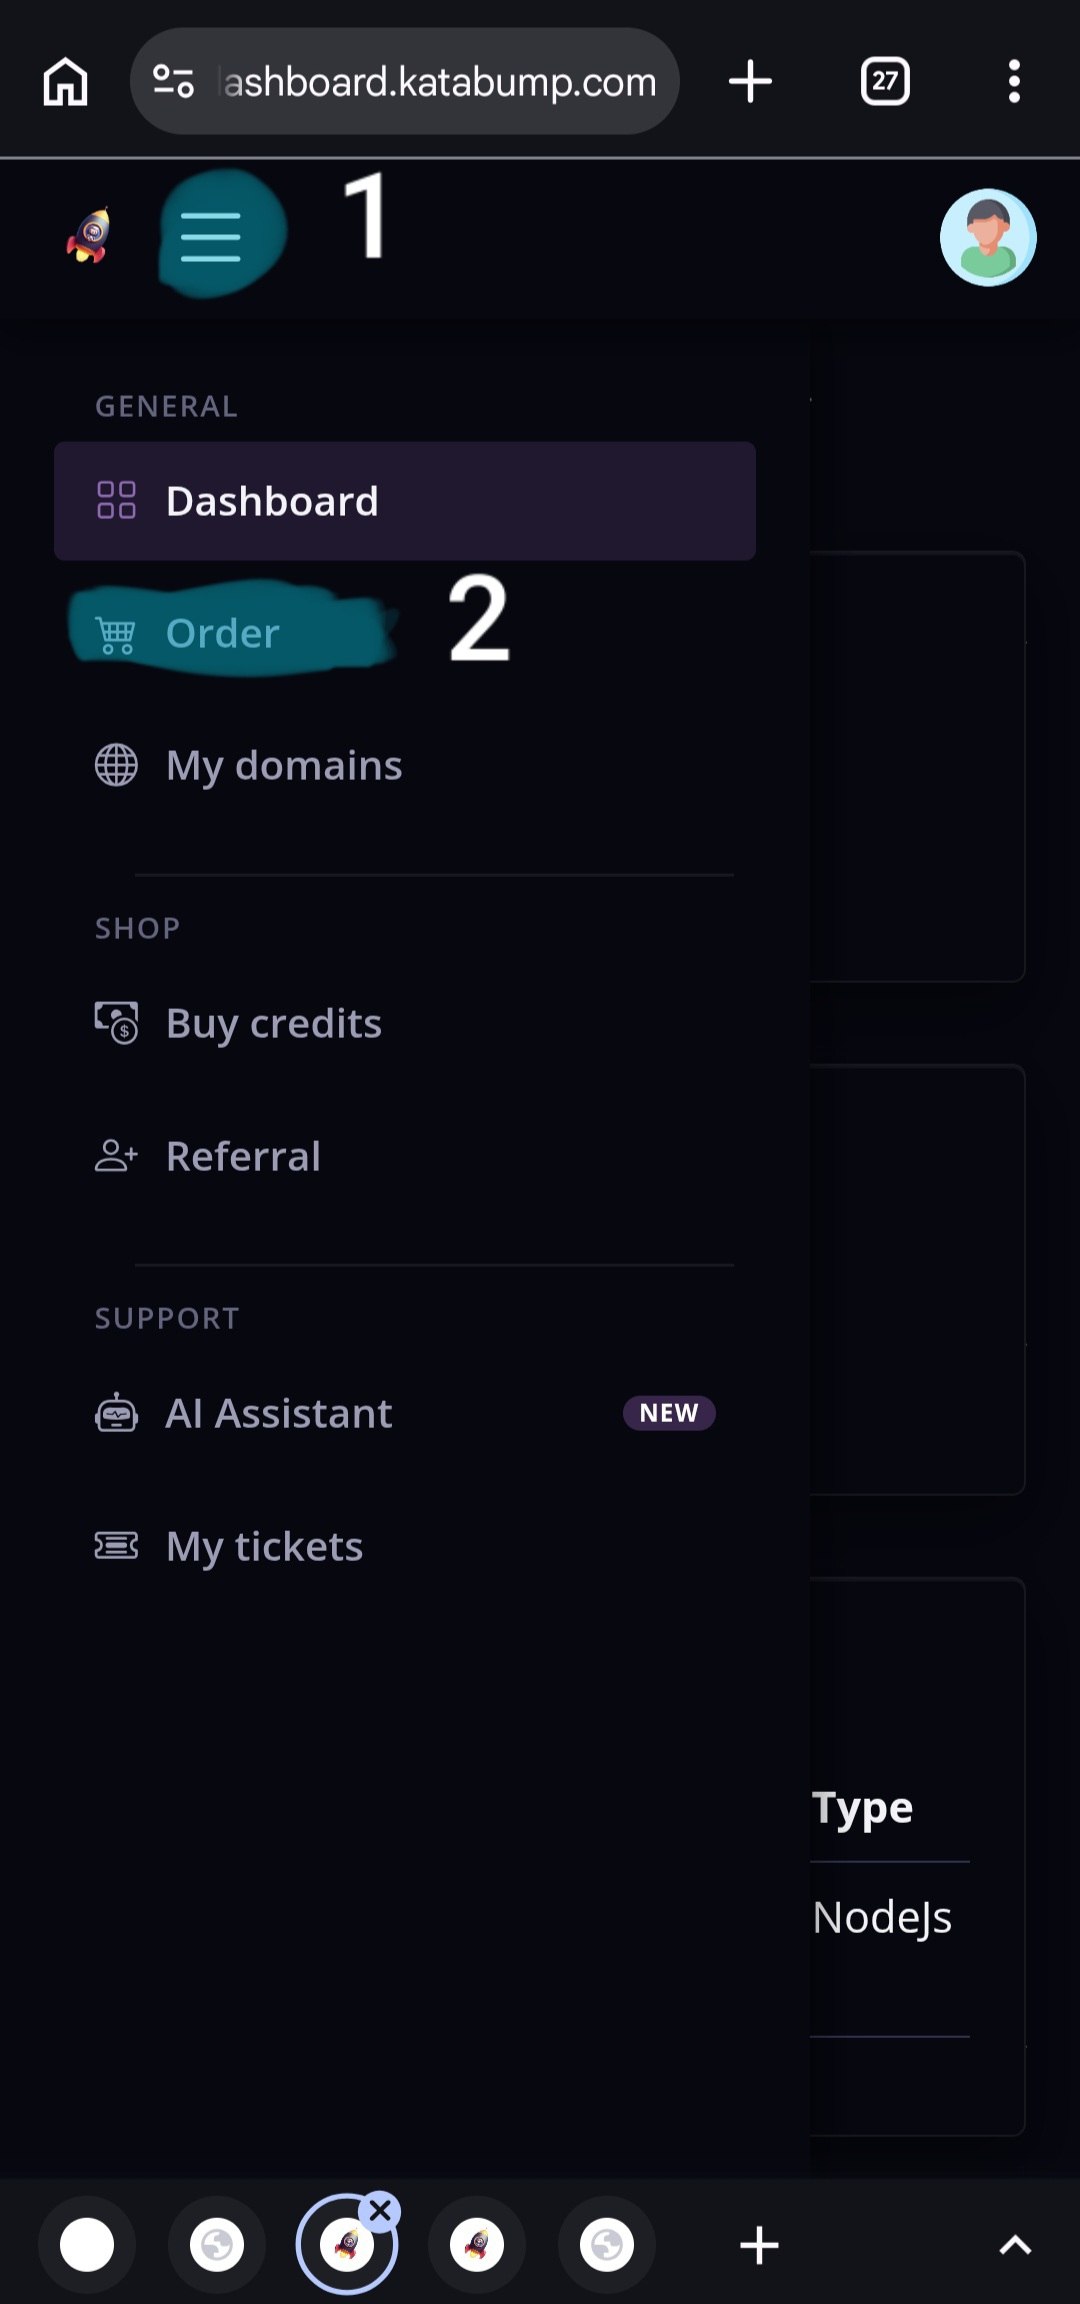
Image 2 of 5:
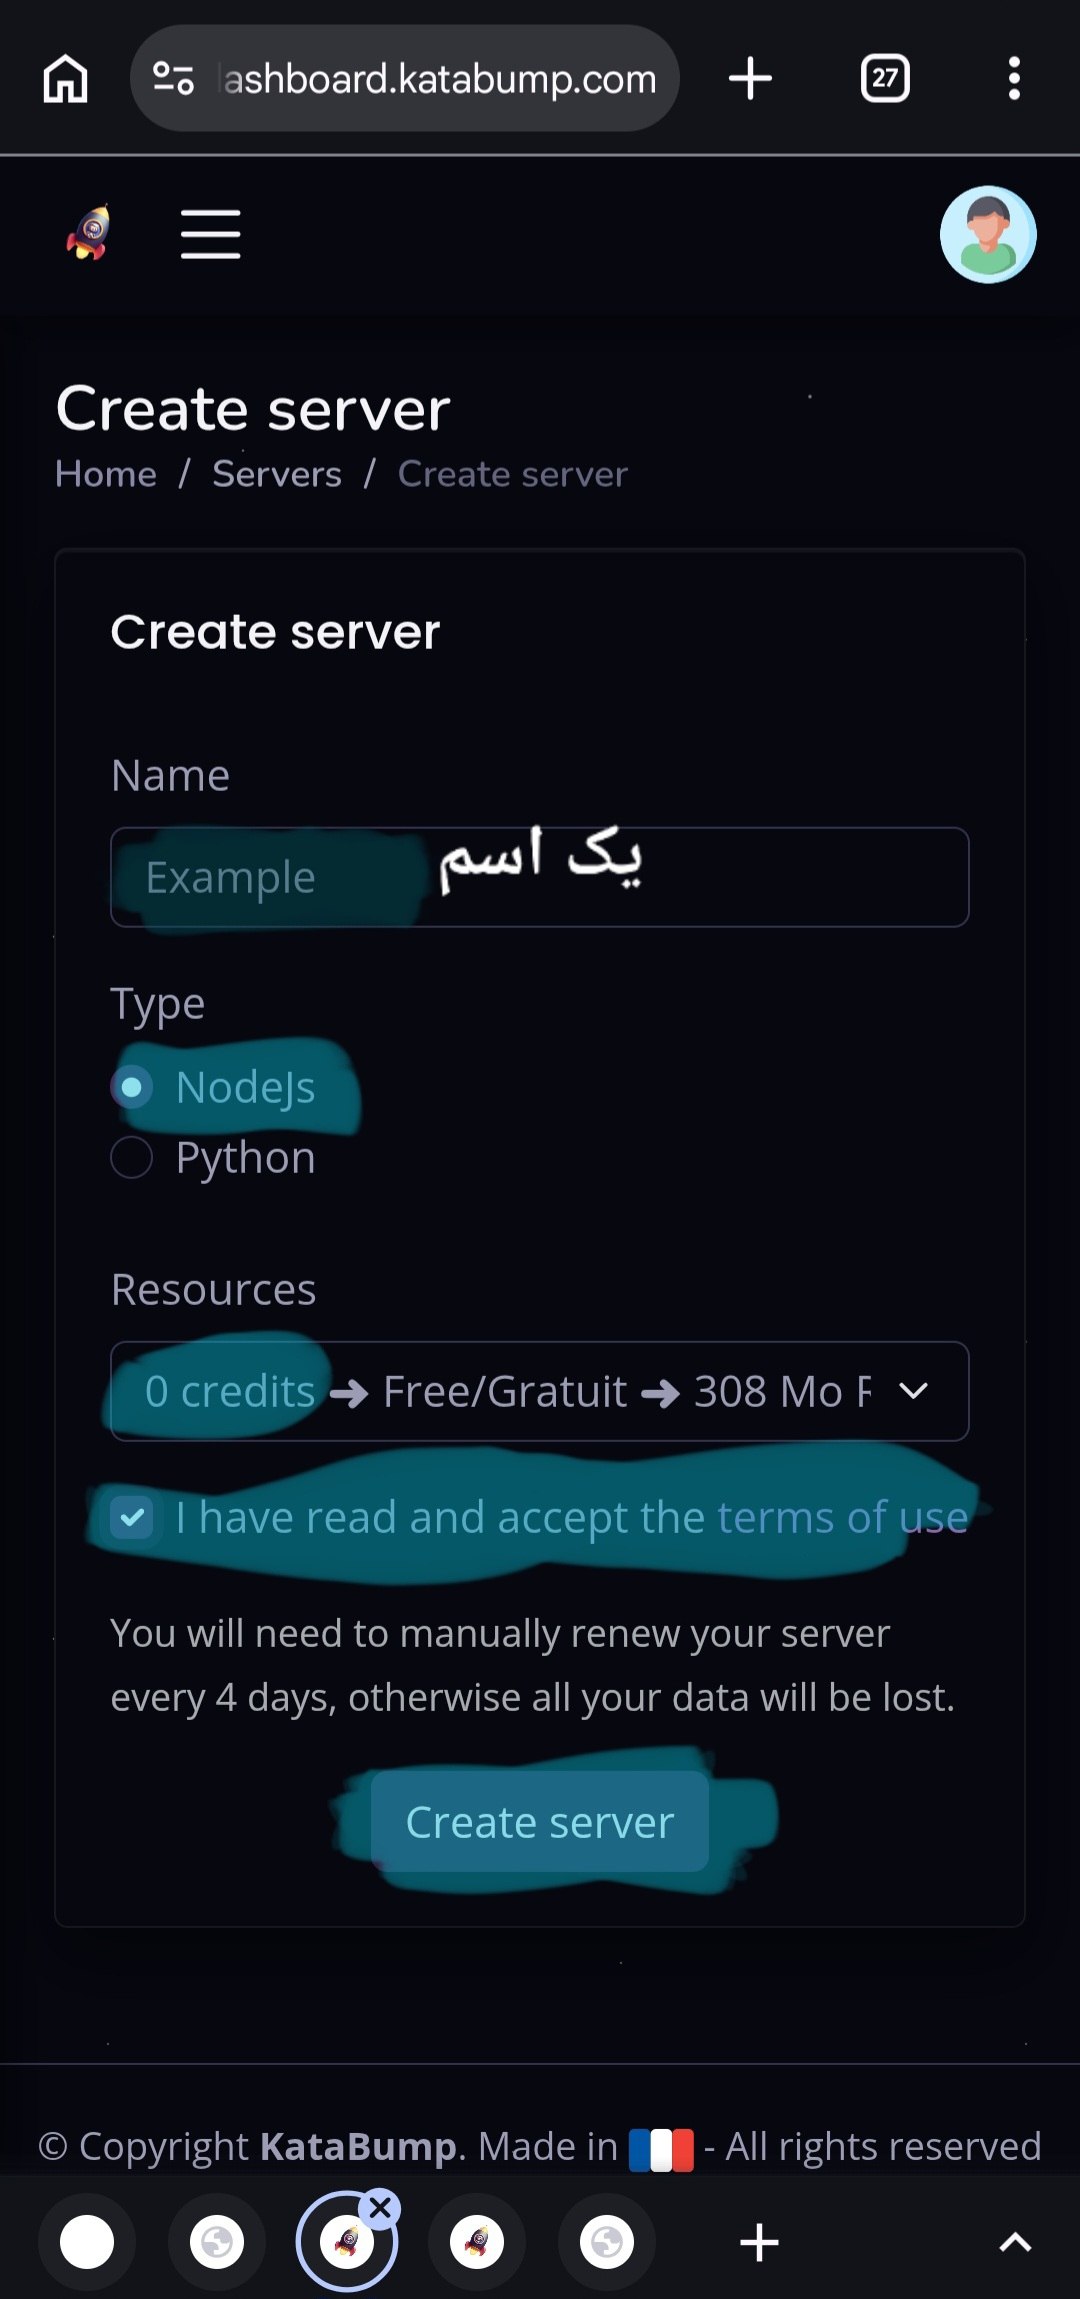
Image 3 of 5:
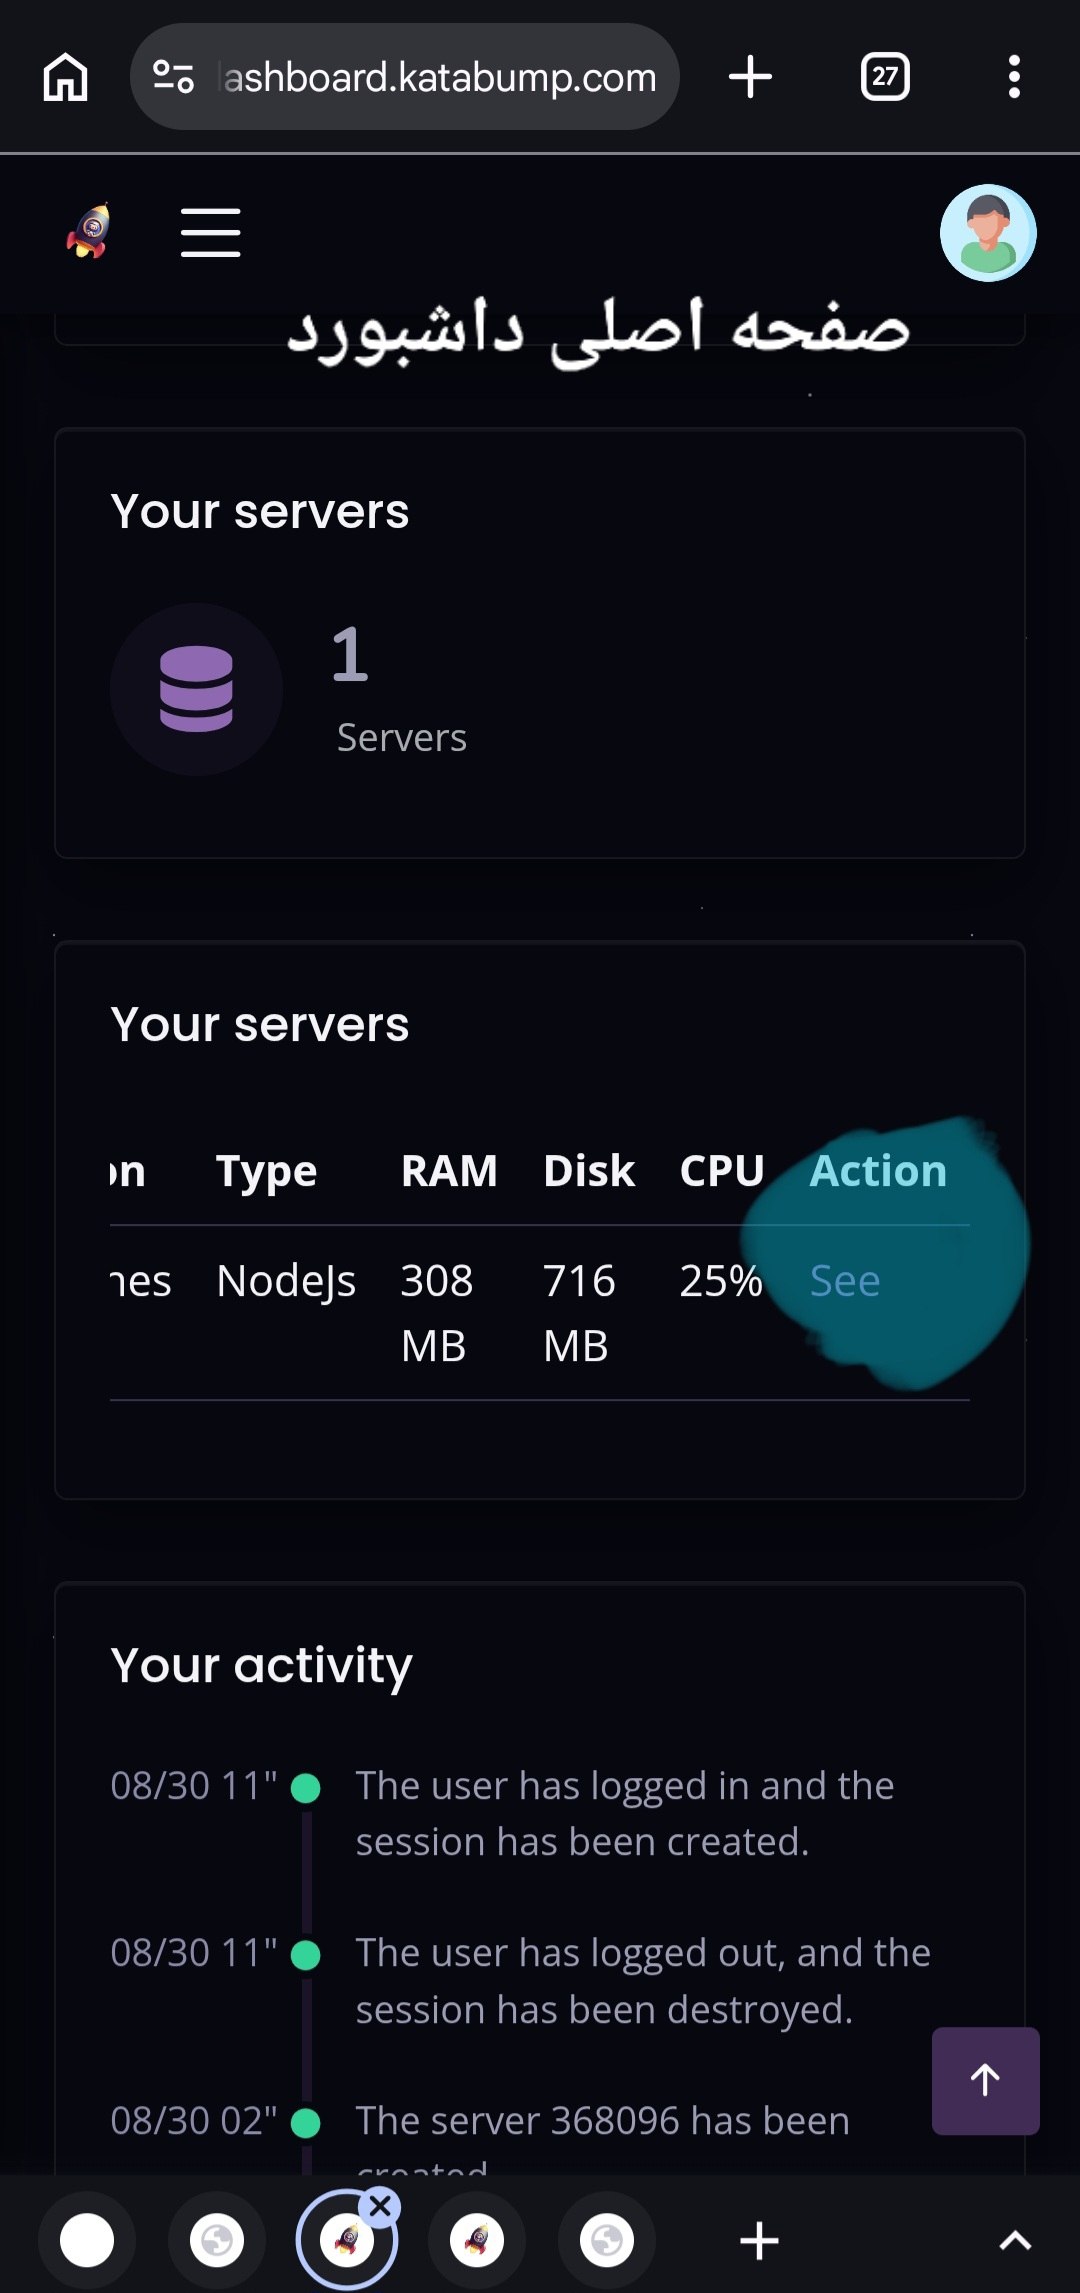
Image 4 of 5:
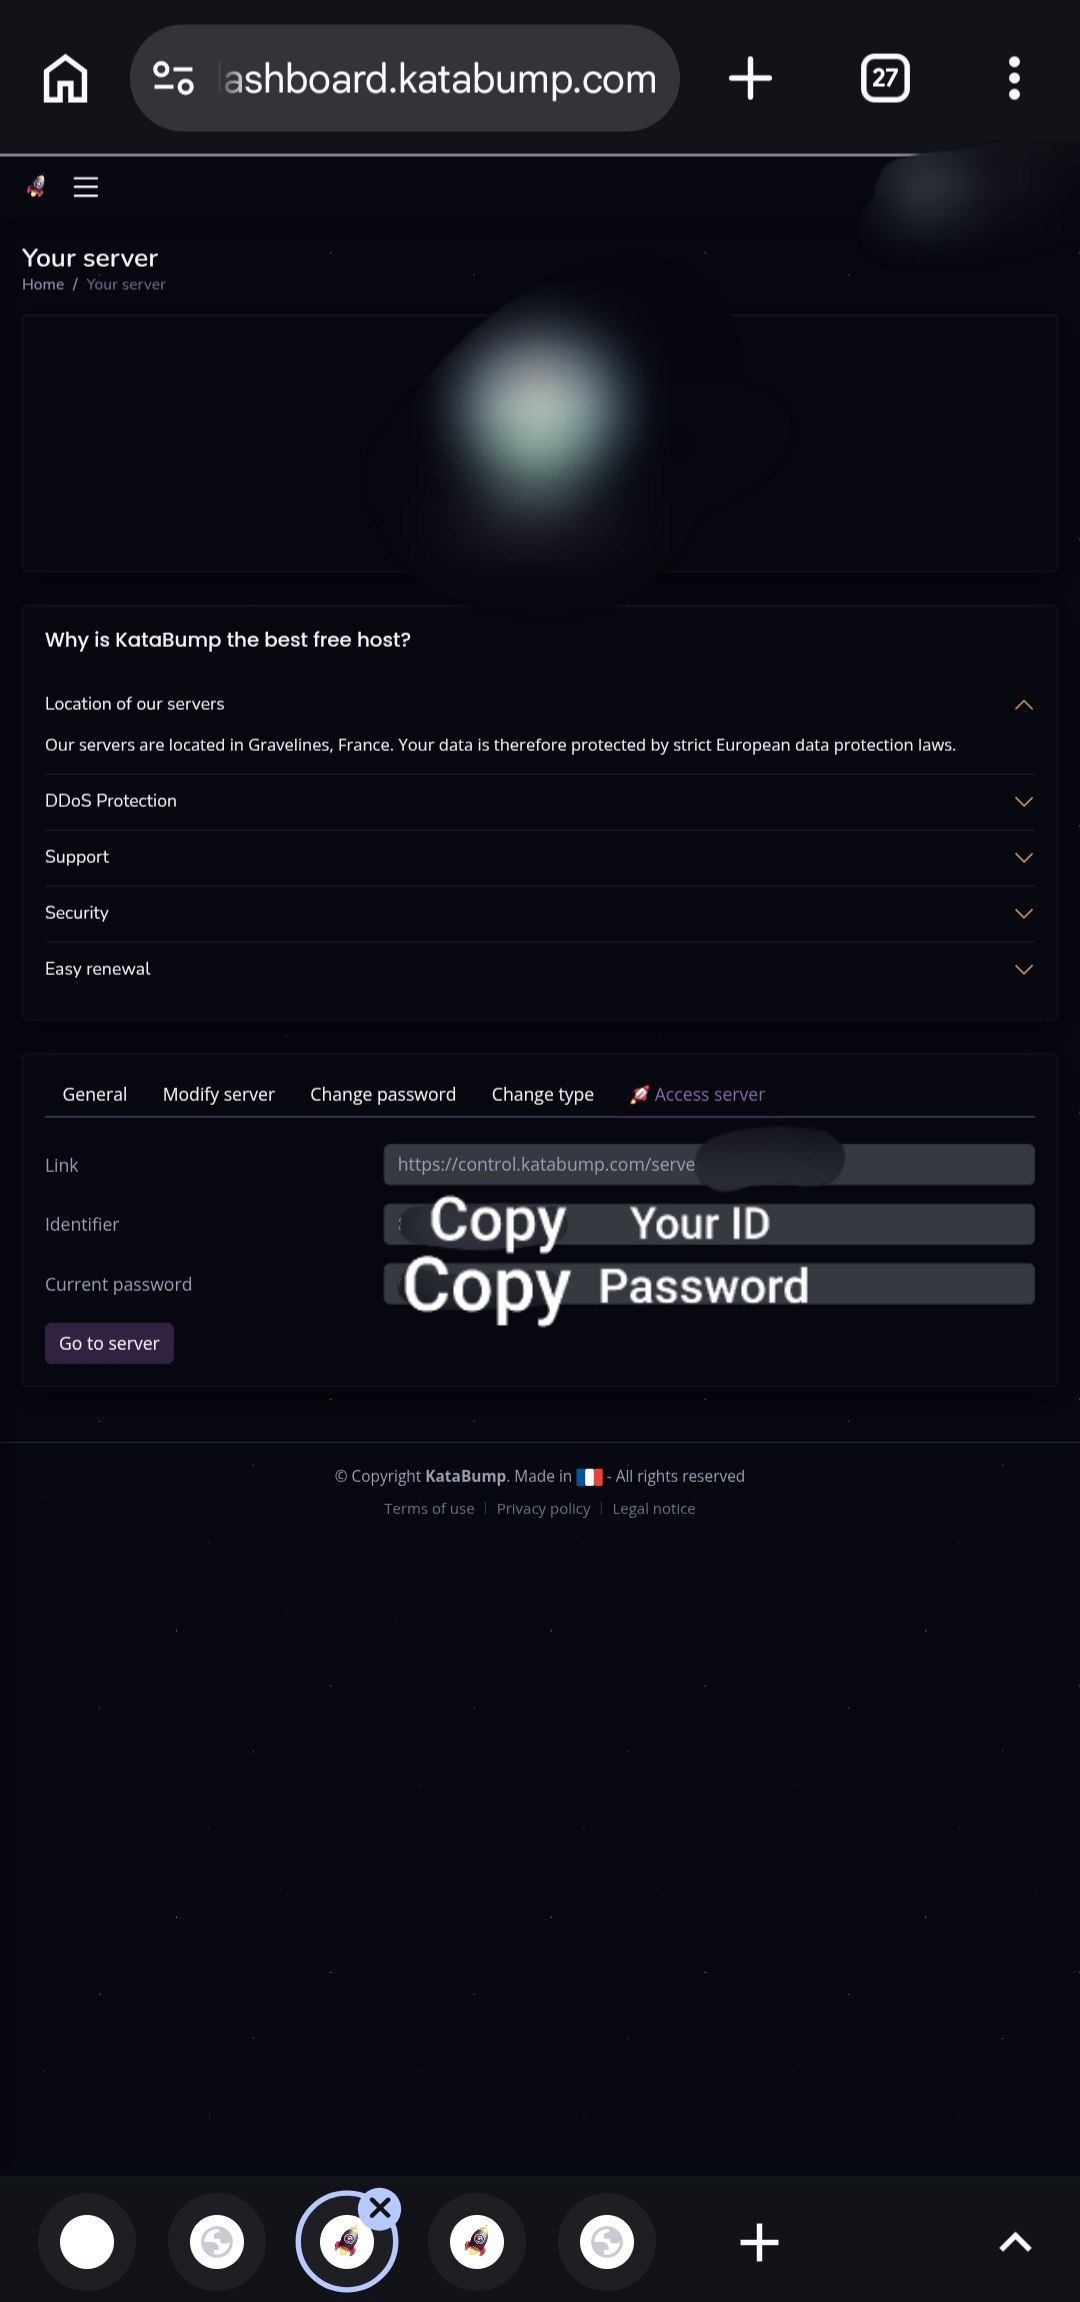
Image 5 of 5:
Step 3: Uploading the Files
Extract the zip file mentioned in the Prerequisites section; its contents are now used in this step. In the images below, the location and method of uploading both the index.js and package.json files are marked in green.
Before uploading
If you want to change the default settings (such as turning off Argo on low-resource plans, or the file storage path), now is a good time before uploading. As stated in "Important Technical Notes Before You Start," these changes must be applied directly inside the JS file, because it's not possible to define Environment Variables through the panel.
Once uploaded, the project folder on the server looks roughly like this — index.js is the file you're uploading and the one you need to edit:
/home/container/              (project root on Katabump)
├── index.js                  ← edit this file
├── package.json
└── xray-sing/ (created automatically by the app at runtime)Example 1 — disabling Argo on low-resource plans:
In index.js, find this line and replace the value assigned to ENABLE_ARGO with false:
    CFPORT: parseInt(process.env.CFPORT || "443", 10),

    // Argo enabled by default (set ENABLE_ARGO=0 to disable)
    ENABLE_ARGO: !(process.env.ENABLE_ARGO === "0" || process.env.ENABLE_ARGO === "false"),
ARGO_DOMAIN: process.env.ARGO_DOMAIN || "",Example 2 — changing the data directory:
If your project path isn't /home/container, change this line to your actual path:
    const candidates = [
        "/home/container/xray-sing",
        path.join(__dirname, "xray-sing"), // next to this script, wherever it runs
        path.join(process.cwd(), "xray-sing"), // current working directory fallback
        path.join(os.tmpdir(), "xray-sing"),   // last resort (may be tmpfs/RAM)
];📷 Images for This Step
Image 1 of 3:
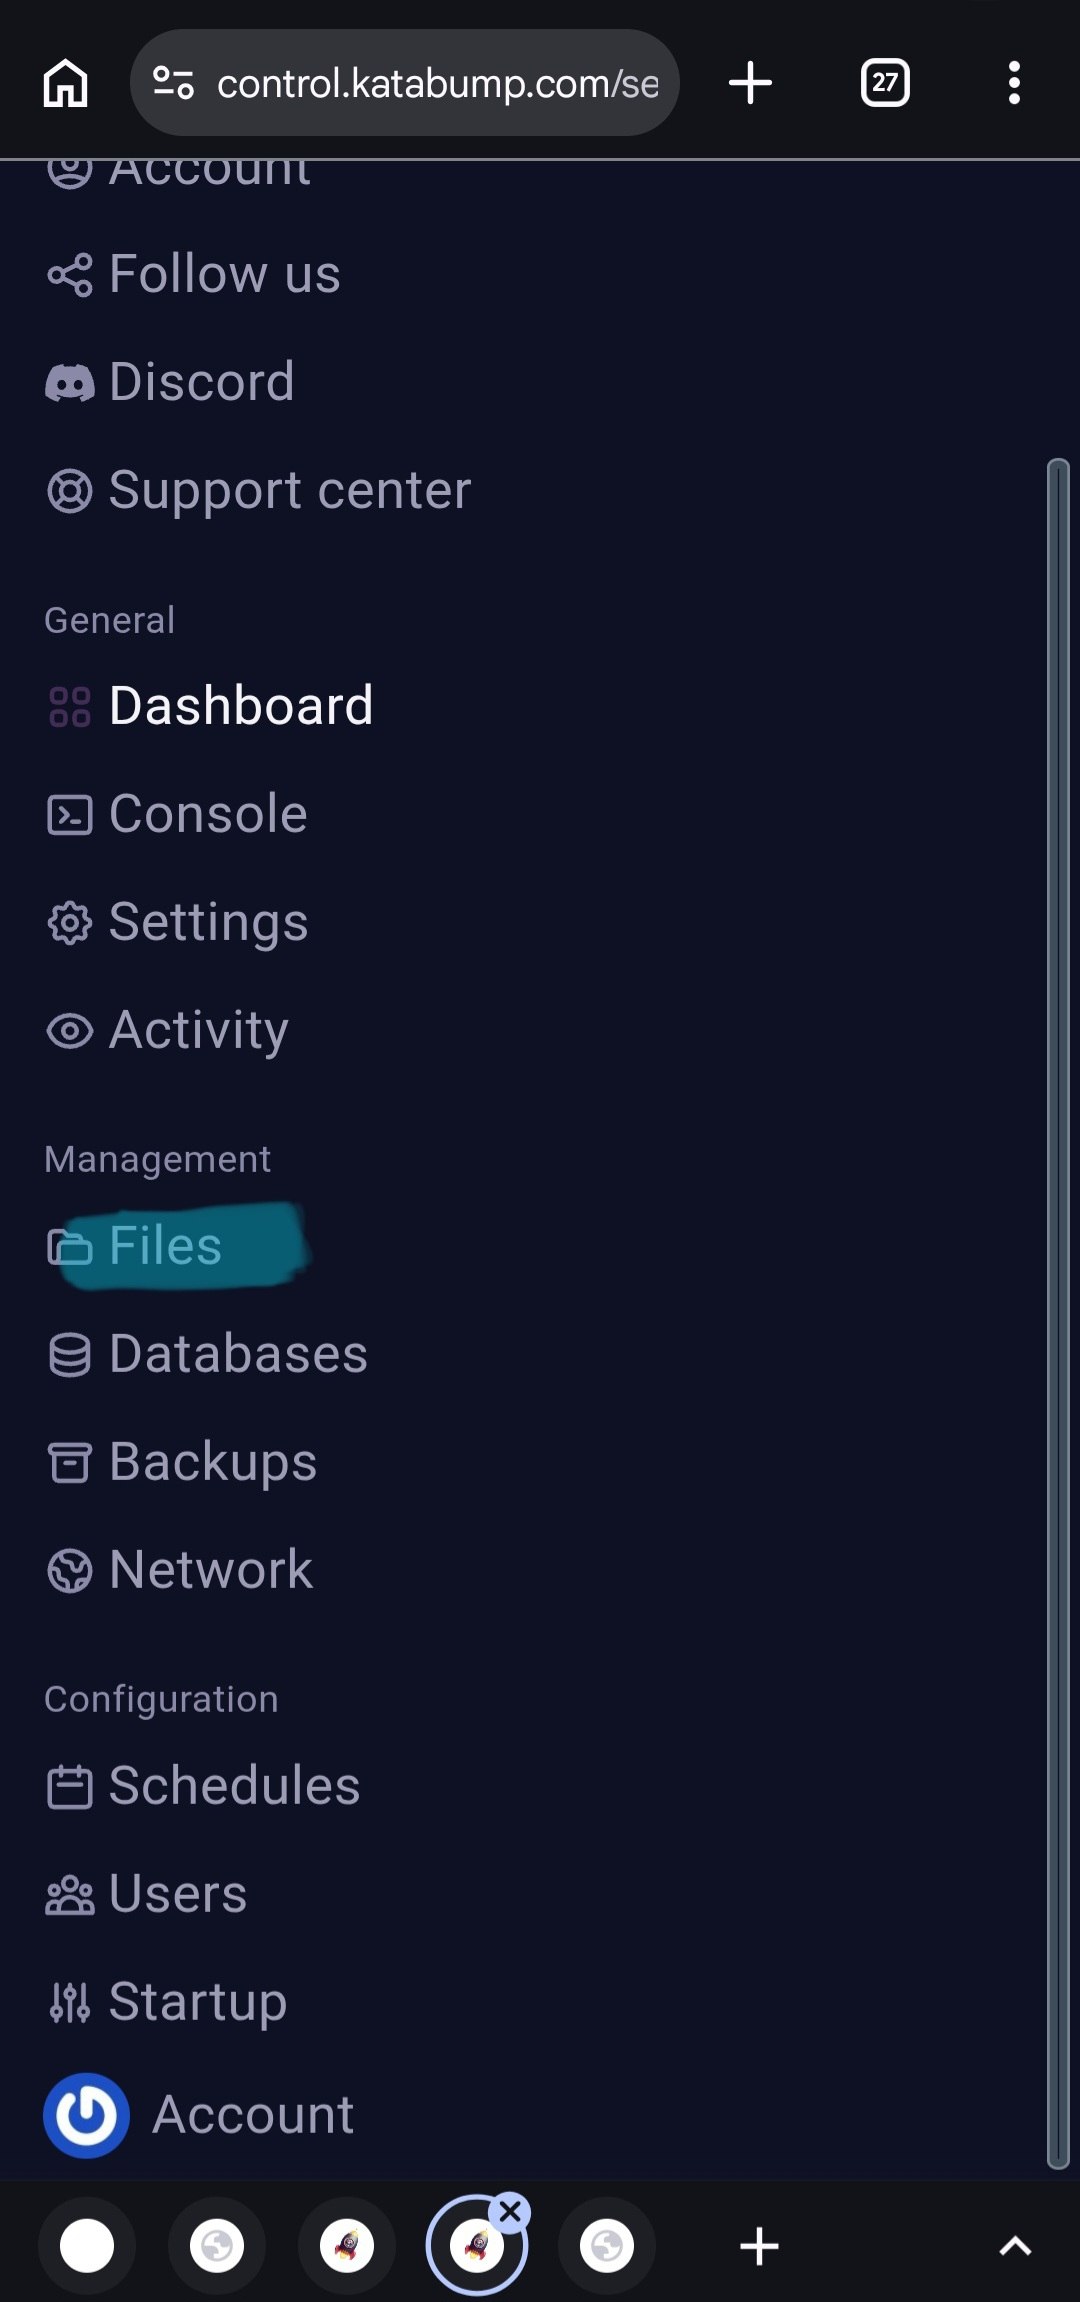
Image 2 of 3:
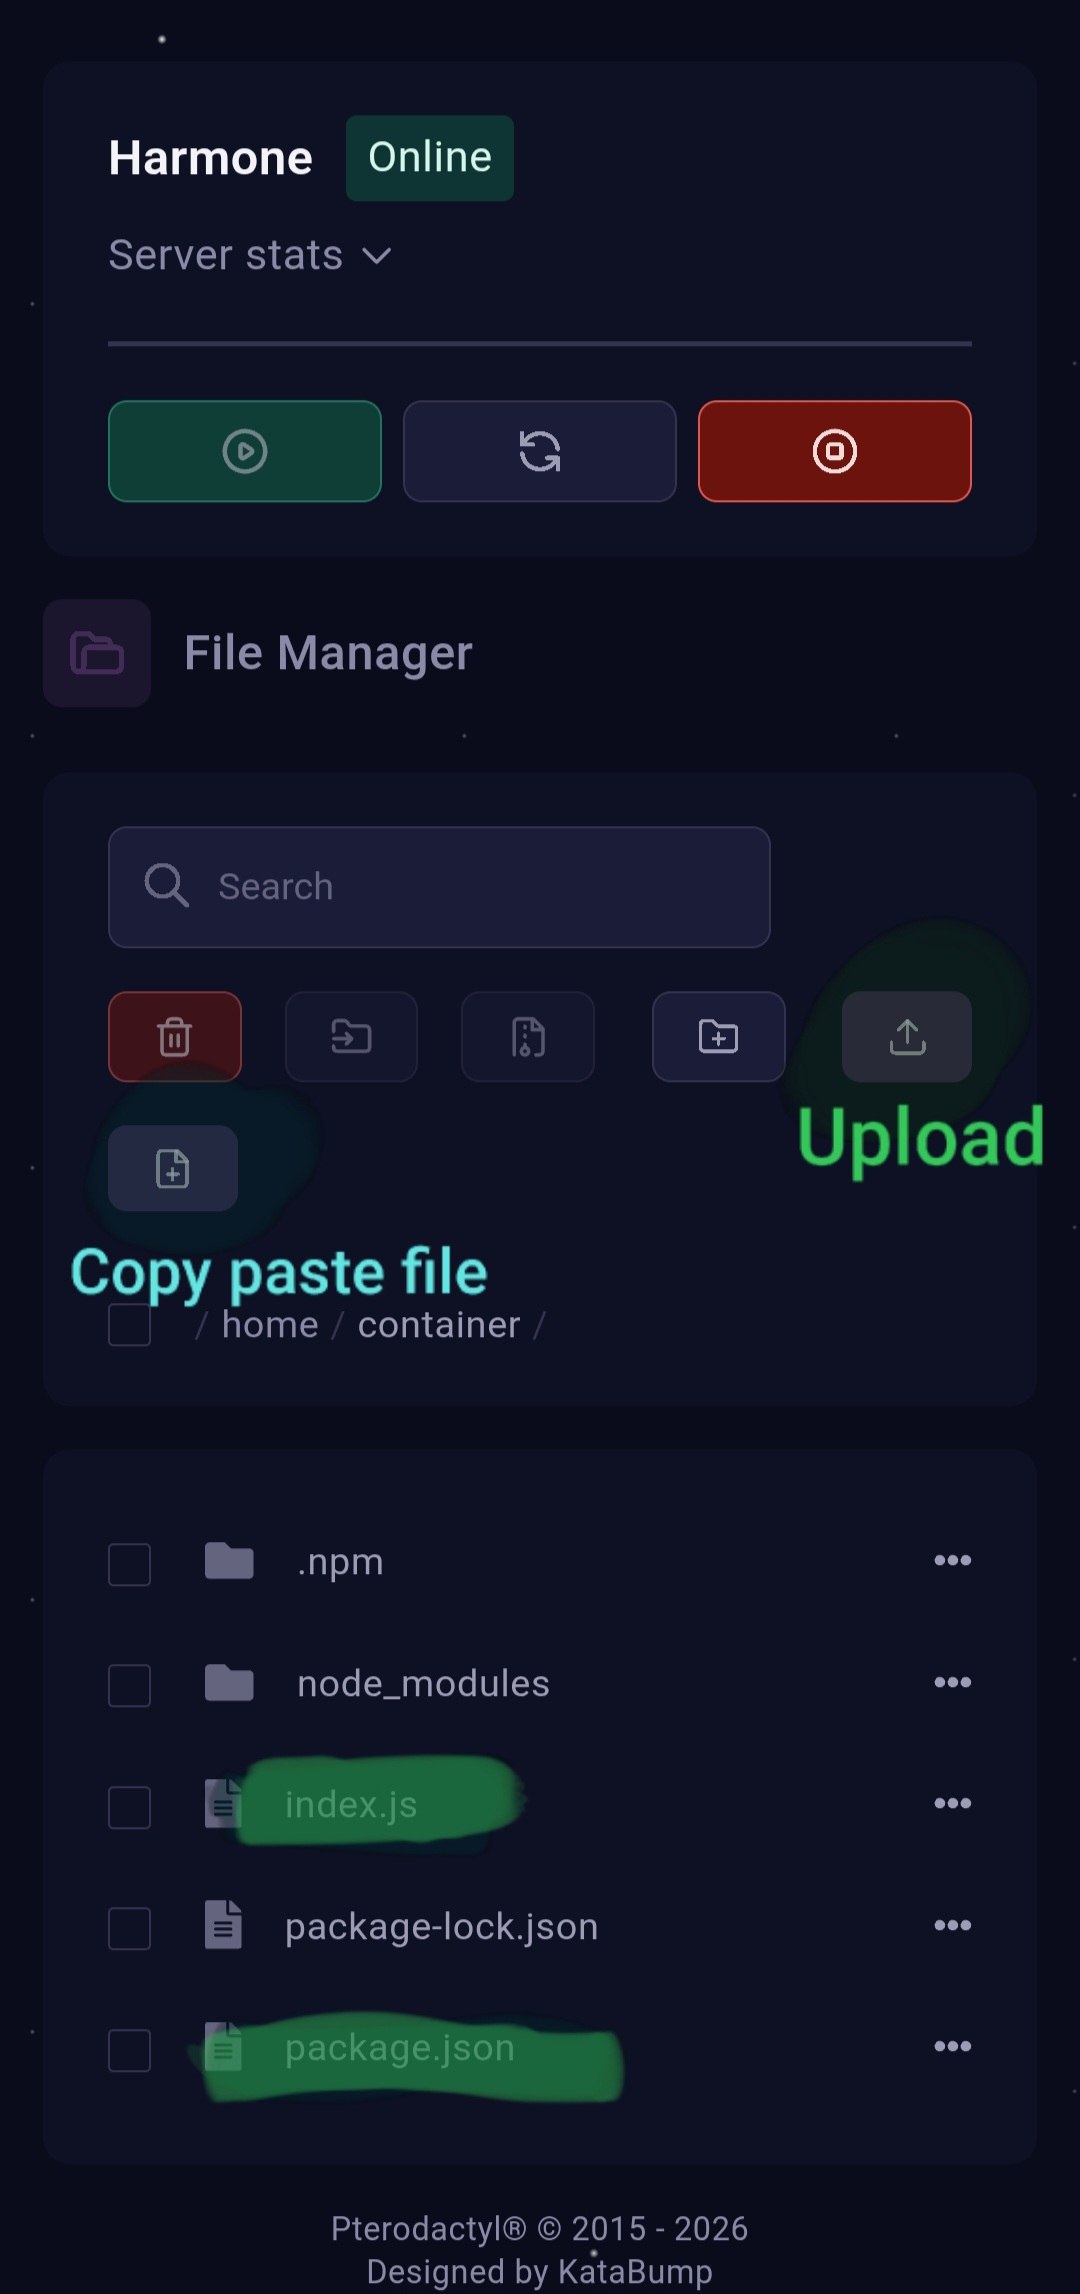
Image 3 of 3:
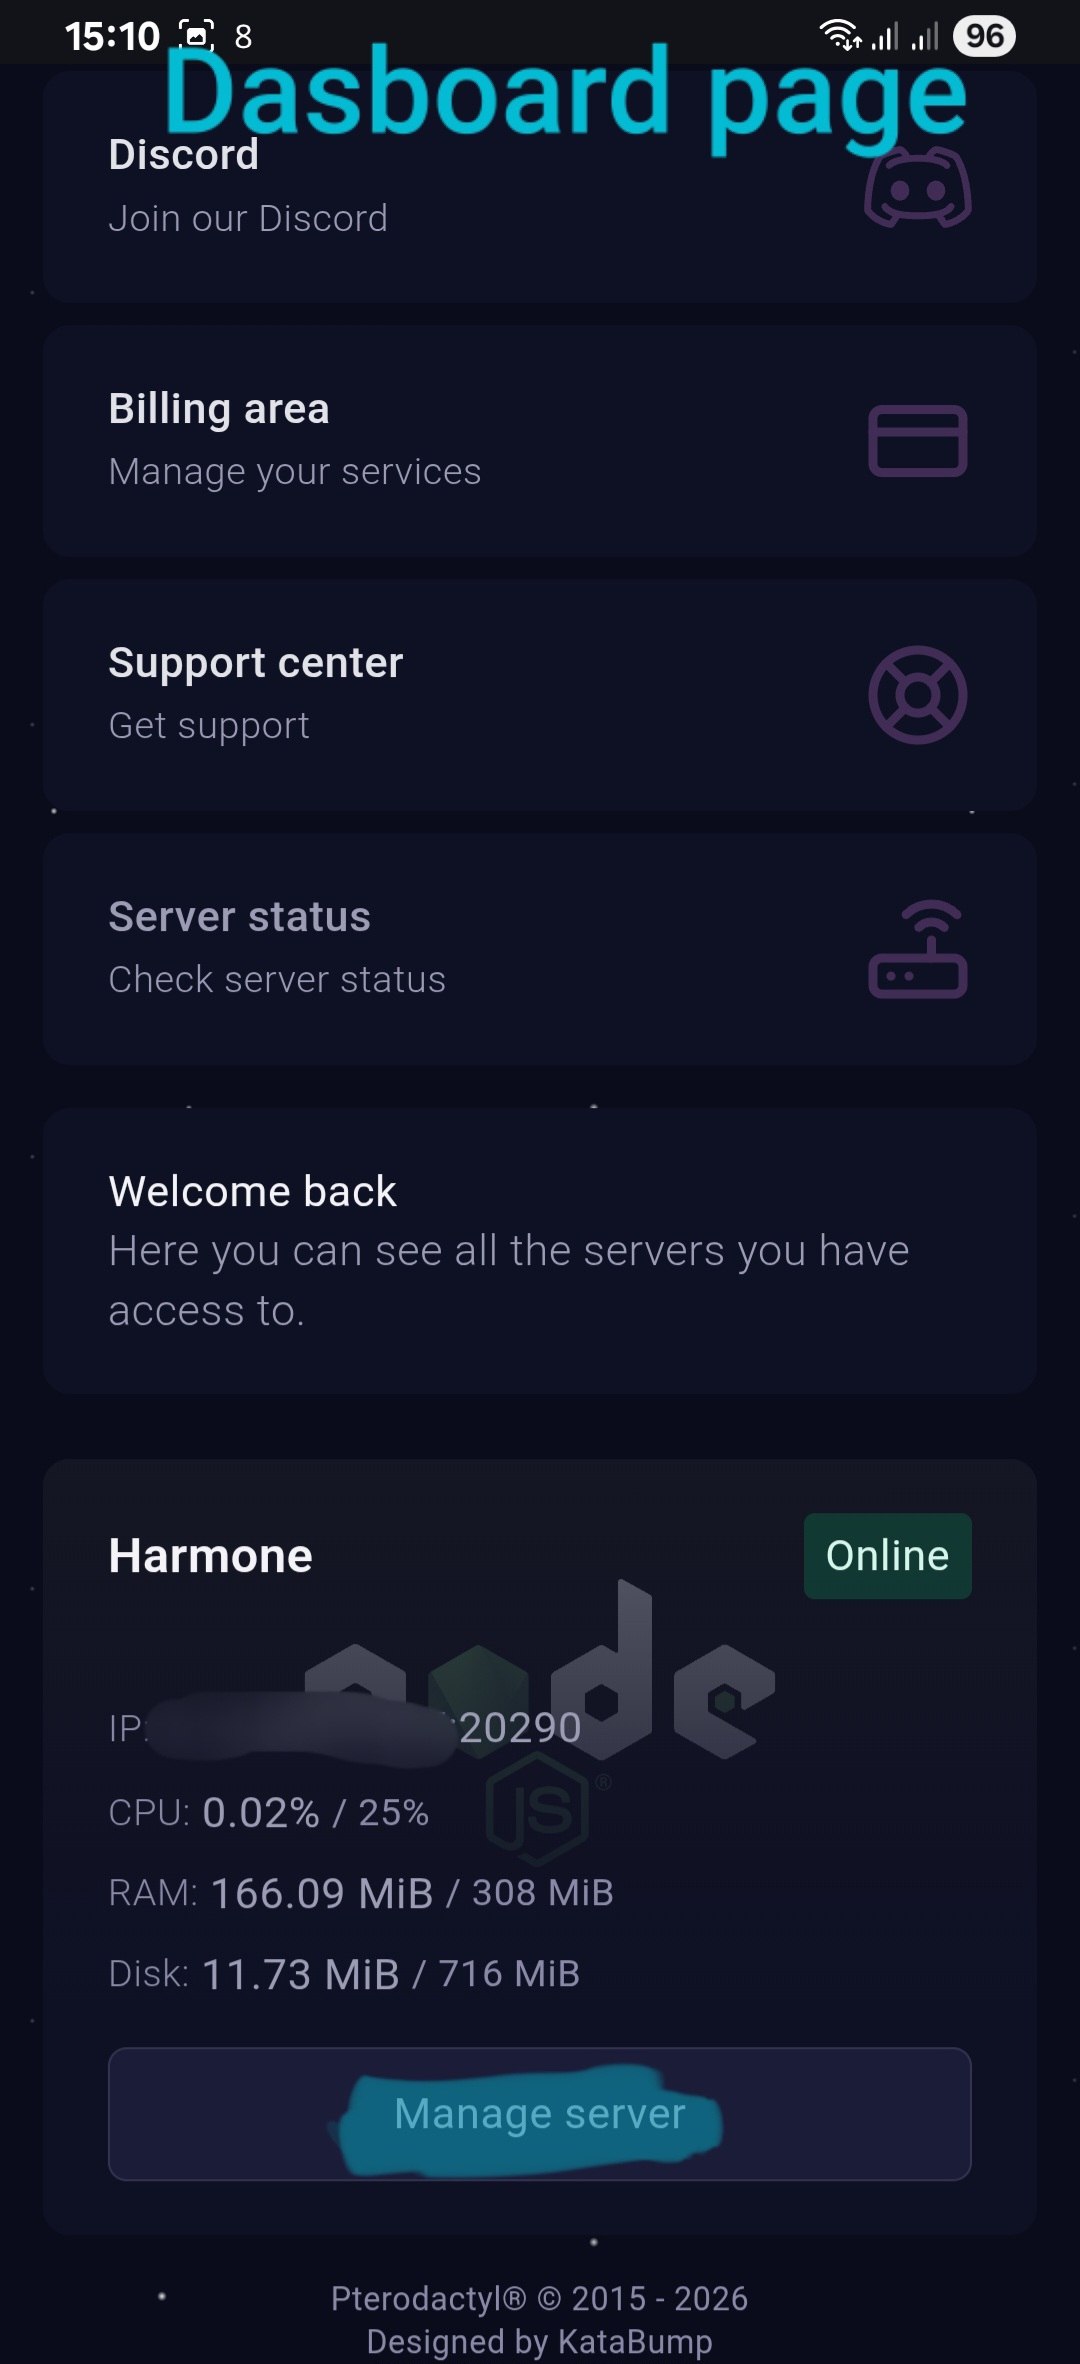
Step 4: The Final Step — Getting the Panel Address and Subscription
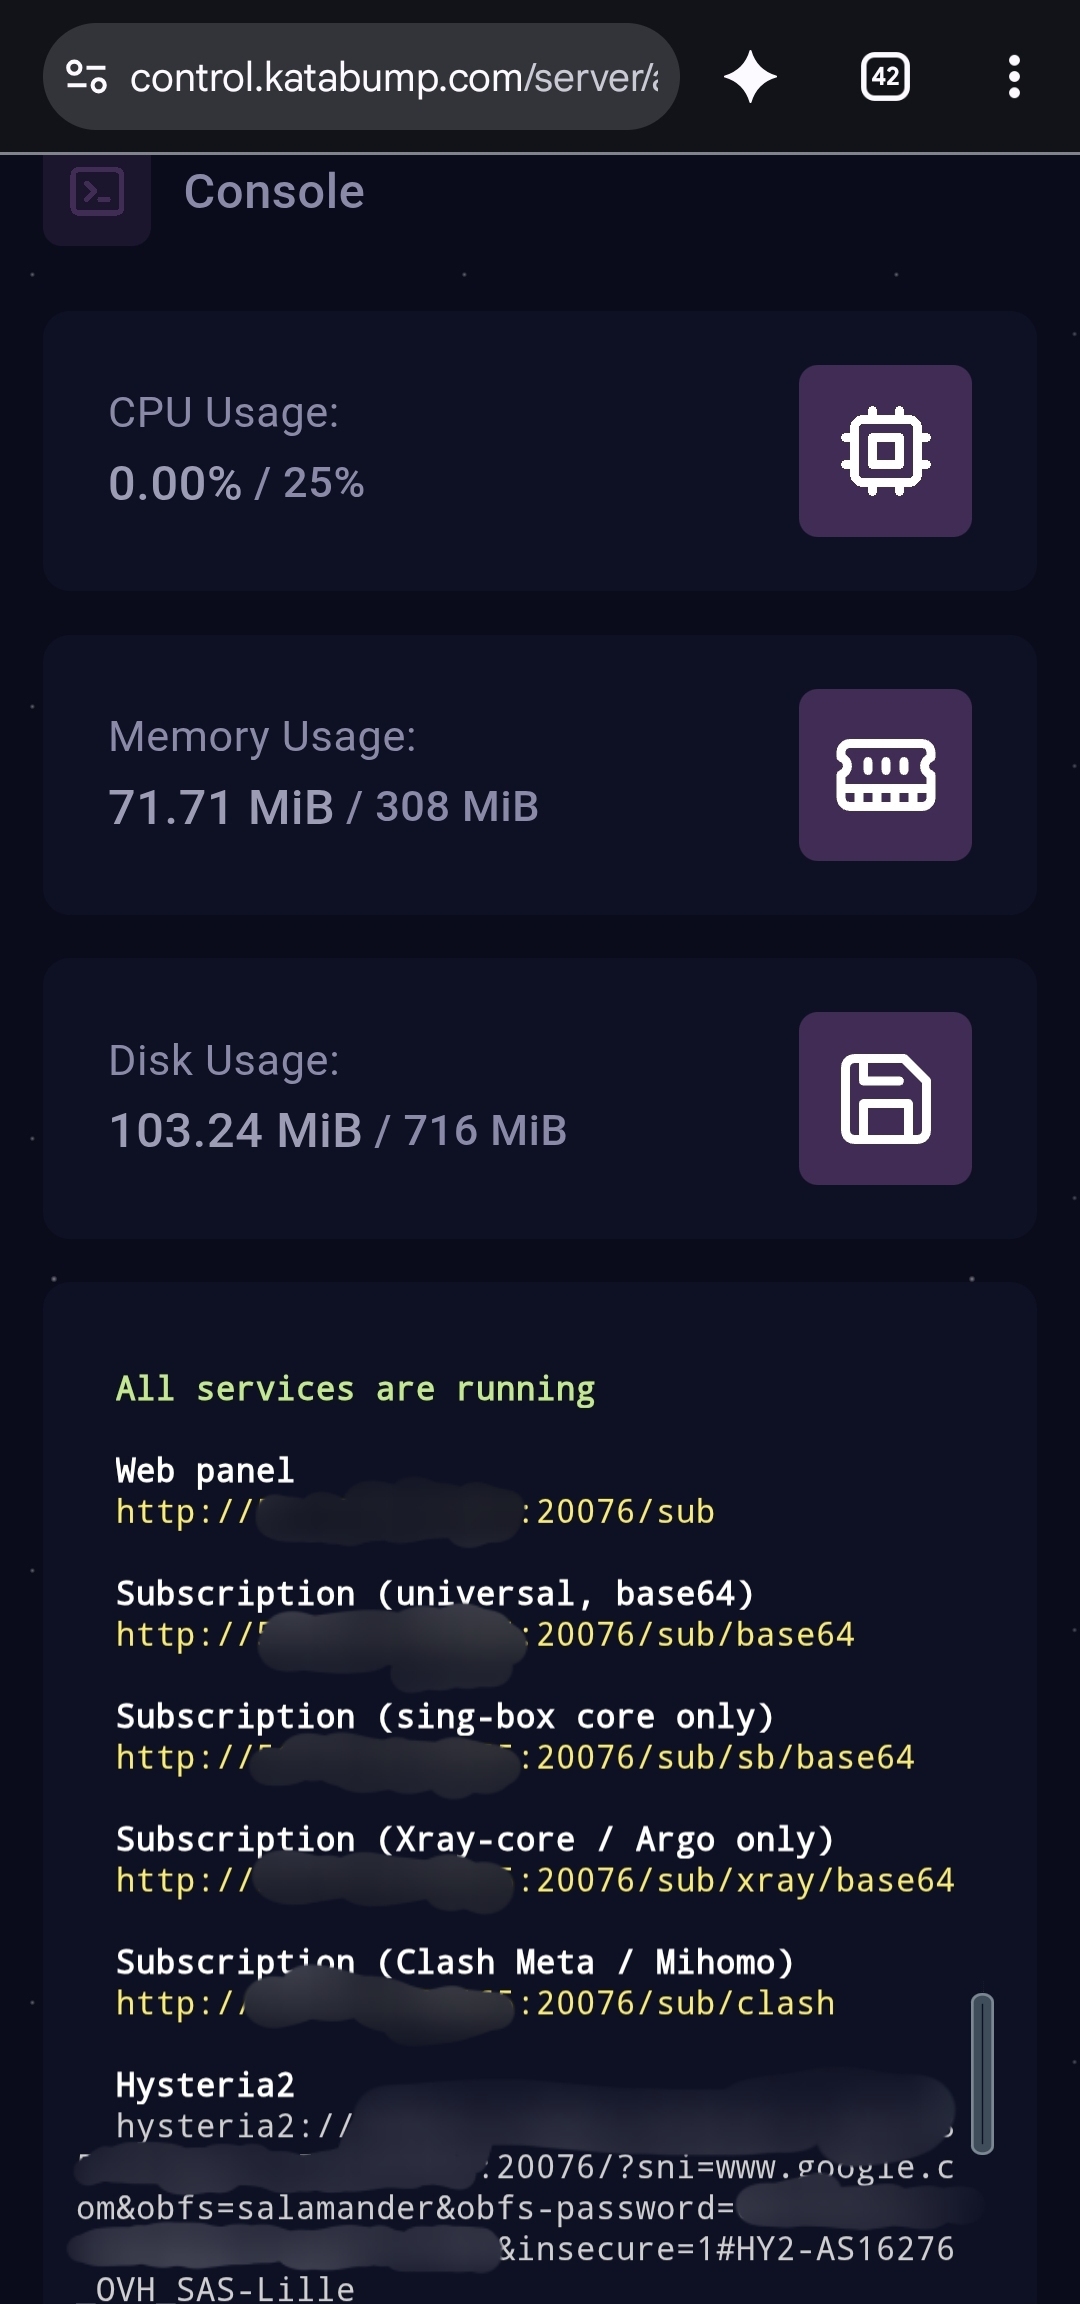
In this step, as seen in the images below, the panel address and subscription link are displayed in the logs, and no extra work is needed — you can access the panel and subscriptions.
Images for This Step
Image 1 of 3:
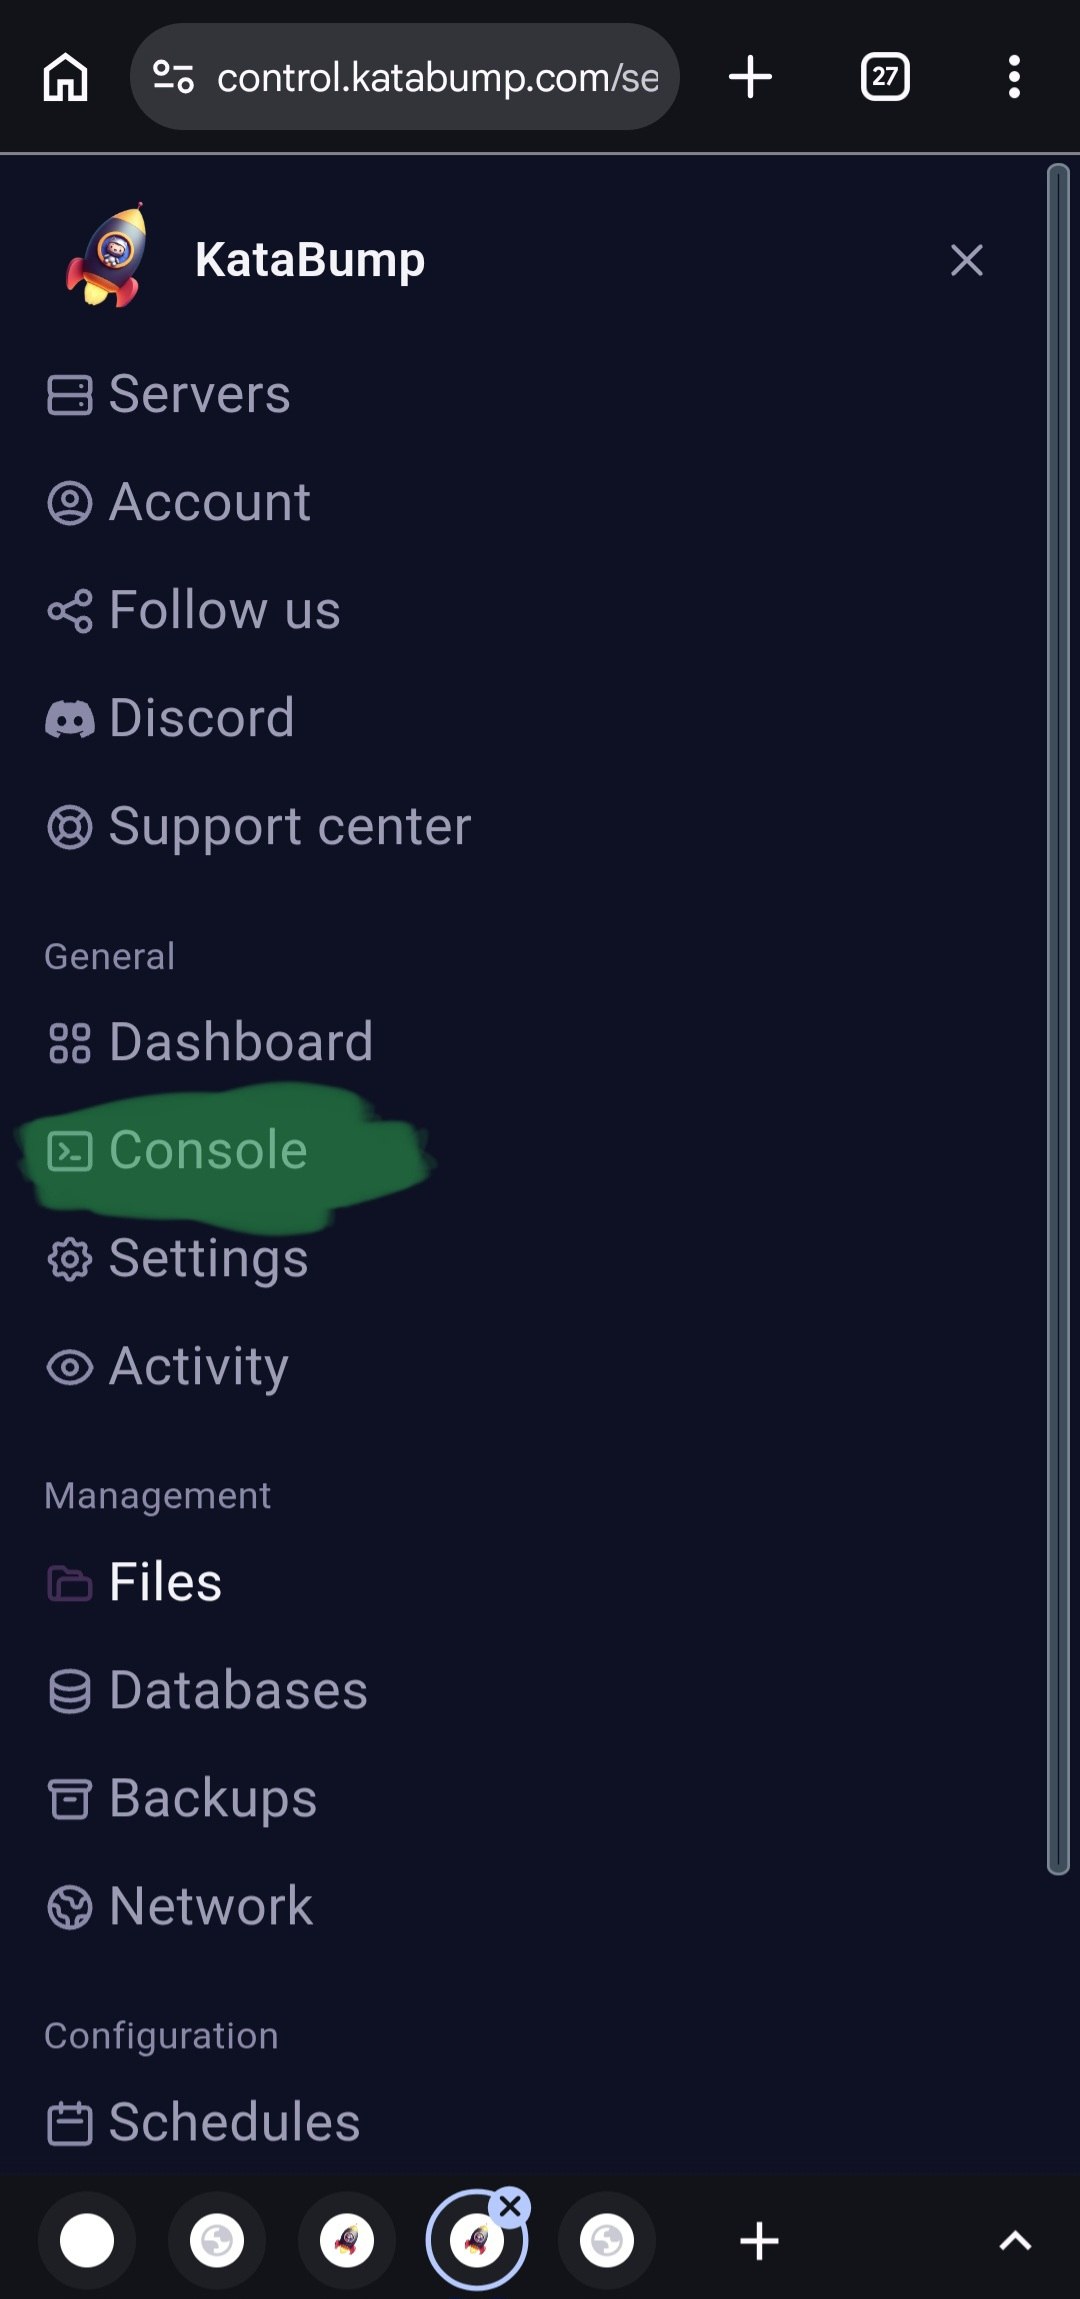
Image 2 of 3:
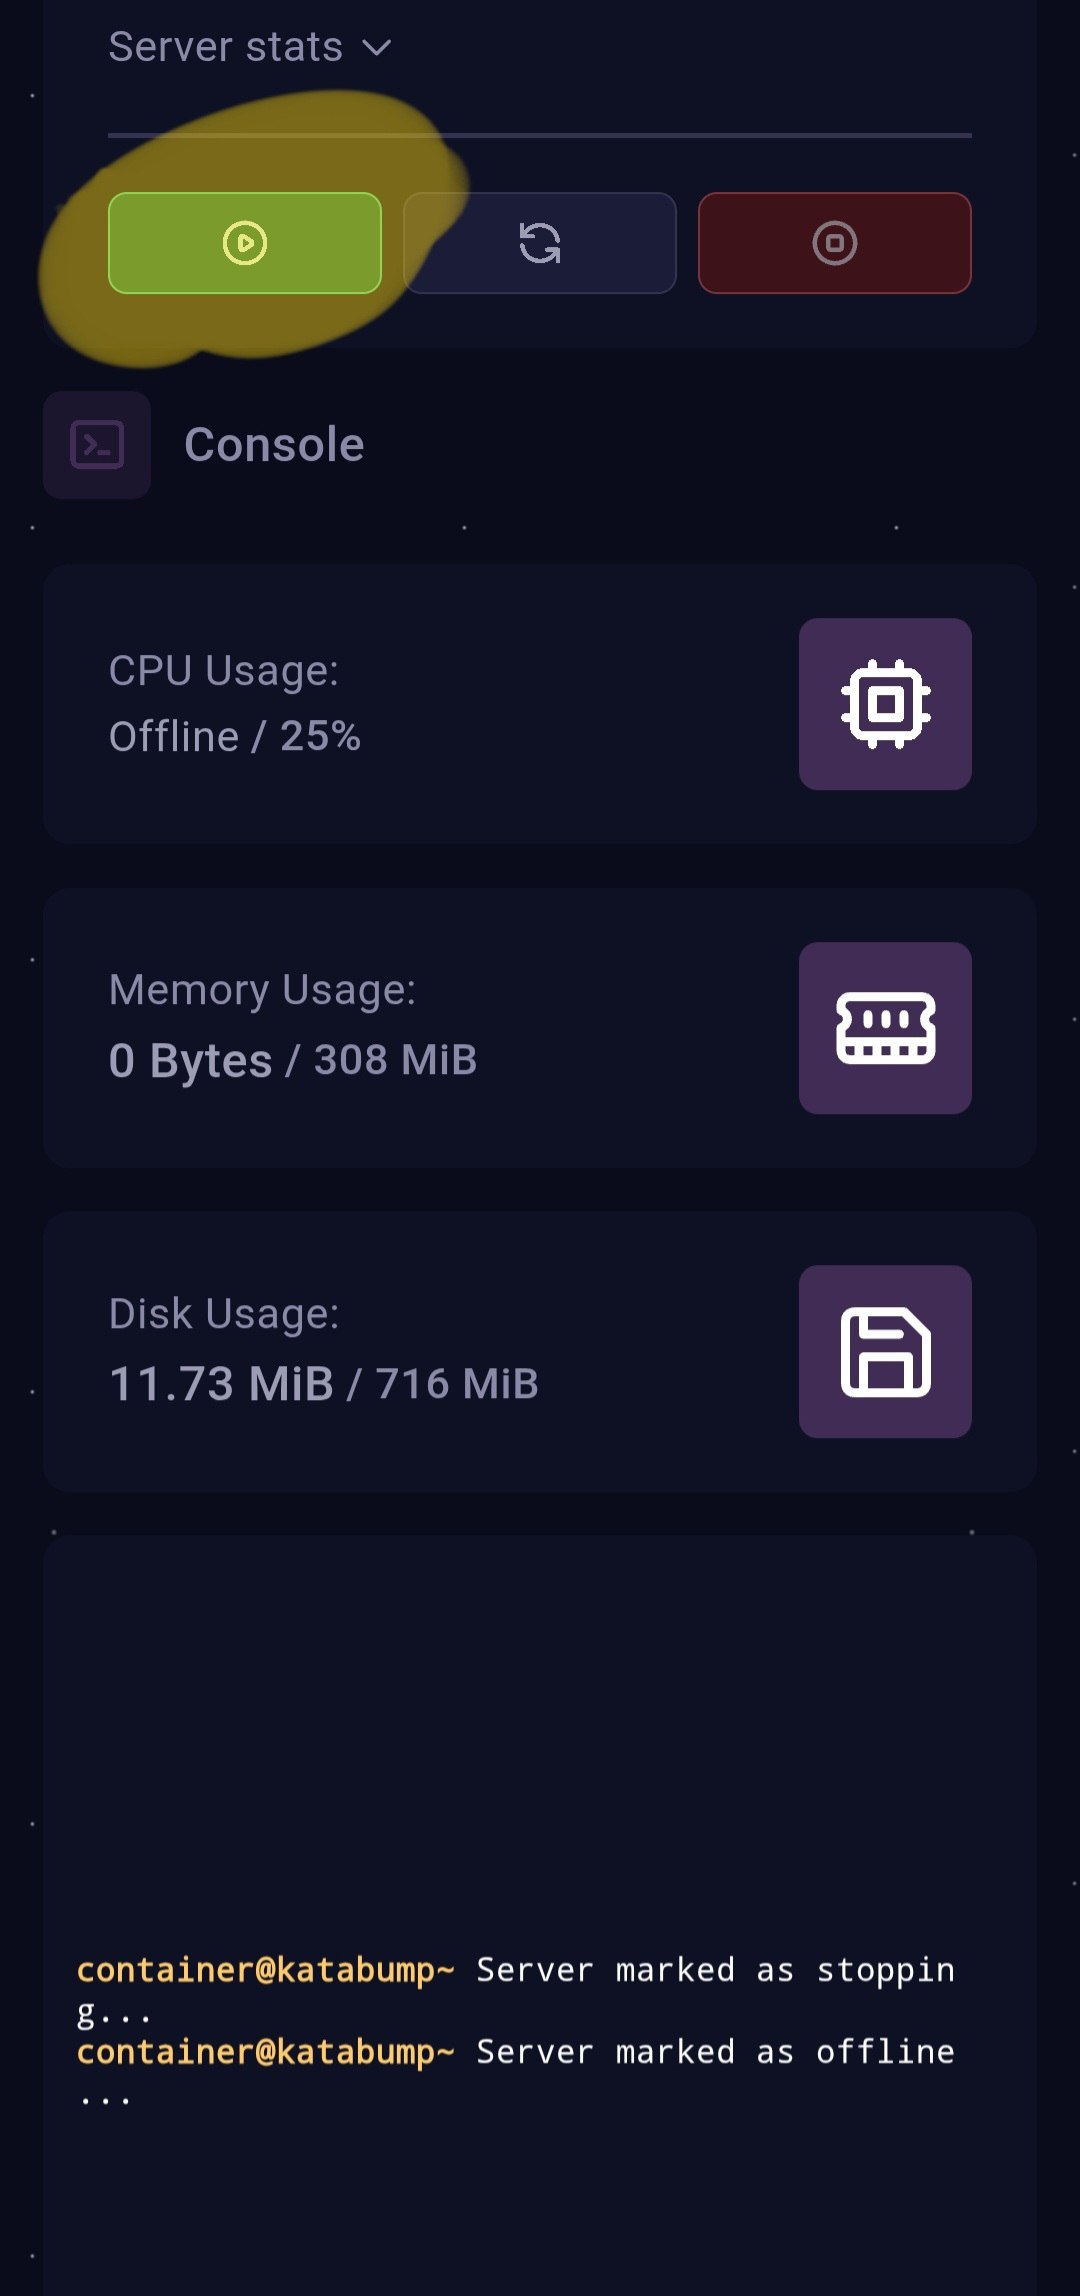
Image 3 of 3:
Common Issues
The log says "Argo link not ready" or I saw a "not enough space for Argo" error — what should I do?
This means there wasn't enough free disk space (about 60 MB or more) to download cloudflared. The rest of the services (Hysteria2, VLESS-WS, etc.) work without any problem, and only this part (Argo/Cloudflare Tunnel) is unavailable in that run. If you really don't need Argo, the best fix is the same "Example 1" code block from the "Step 3: Uploading the Files" section — find that ENABLE_ARGO line in index.js and set its value to false:
    CFPORT: parseInt(process.env.CFPORT || "443", 10),

    // Argo enabled by default (set ENABLE_ARGO=0 to disable)
    ENABLE_ARGO: !(process.env.ENABLE_ARGO === "0" || process.env.ENABLE_ARGO === "false"),
ARGO_DOMAIN: process.env.ARGO_DOMAIN || "",This frees up both disk space and RAM for the other services.