Setting Up a Server and Hysteria Config with Katabump
What is this method?
A new method where you can set up a server and config using Katabump.
Prerequisites and required links
For this tutorial, you'll need these links:
- Katabump panel:
https://dashboard.katabump.com - Code obfuscator (JS Obfuscator):
https://js-obfuscator.github.io/ - Config repository:
https://github.com/qlxi/Xray-Sing-node
Obfuscating the code before use is mandatory; but don't worry, since it's already obfuscated using the obfuscator mentioned above.
📦 Attached file (zip):
Extract the file above; its contents will be used in the file-upload step — you can either upload the files directly, or copy each file's content and paste it into the corresponding location.
Important Note About Quality and Server Renewal
This Hysteria config gives good throughput and a stable connection on Irancell. The important thing to note is that you have to renew the server every 4 days.
Step 1: Registration
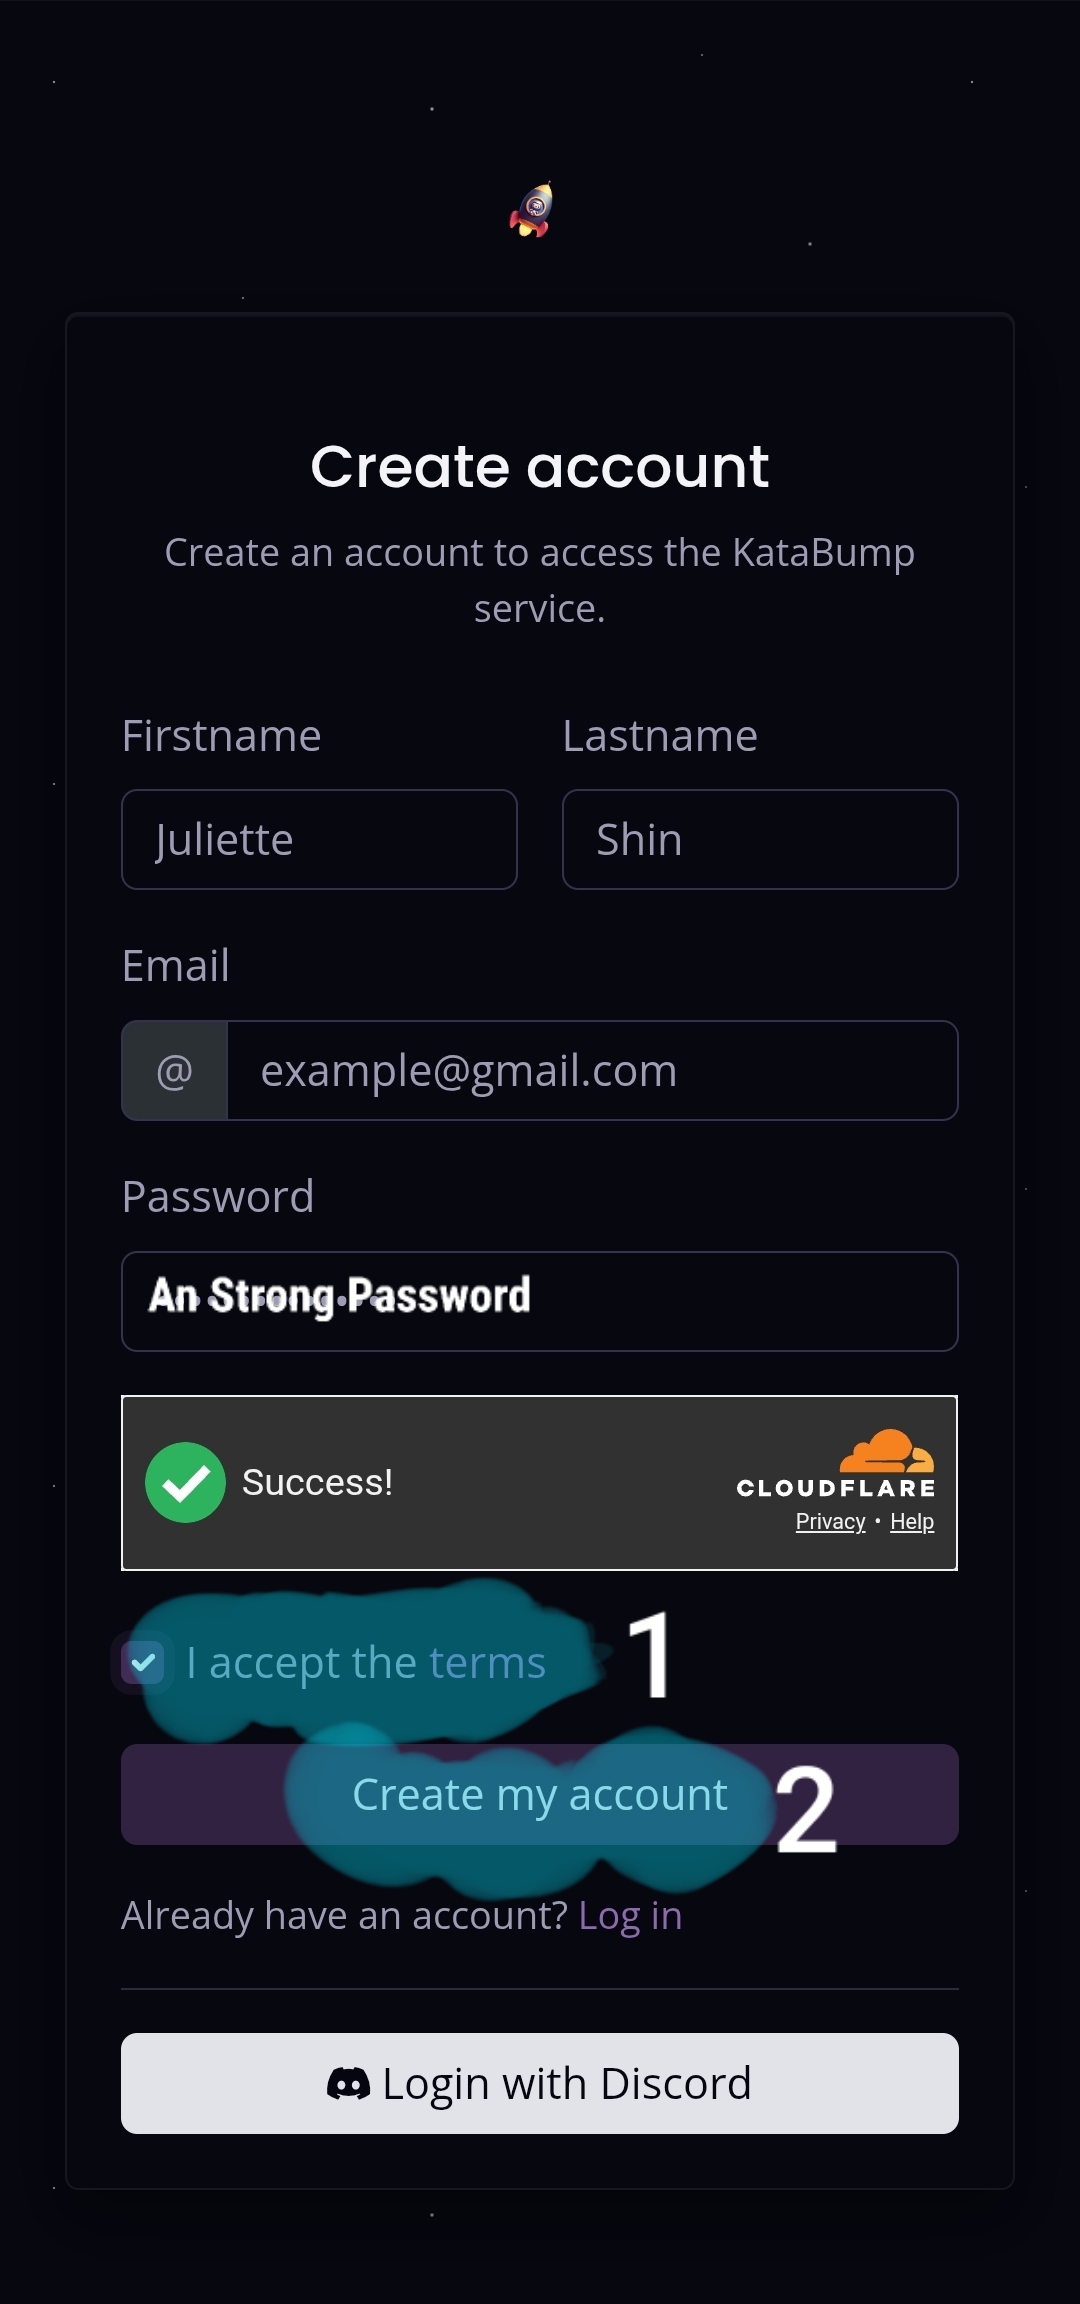
To get started, you need to create an account on Katabump:
- You can sign up with Gmail
- In the First Name and Last Name fields, each must be more than one character (for example, entering something like
Jon Kwon't be accepted, since the last name is only one character) - For the password, you can either enter one yourself or use the strong password suggested by Chrome
📷 Images for this step:
Image 1 of 2:
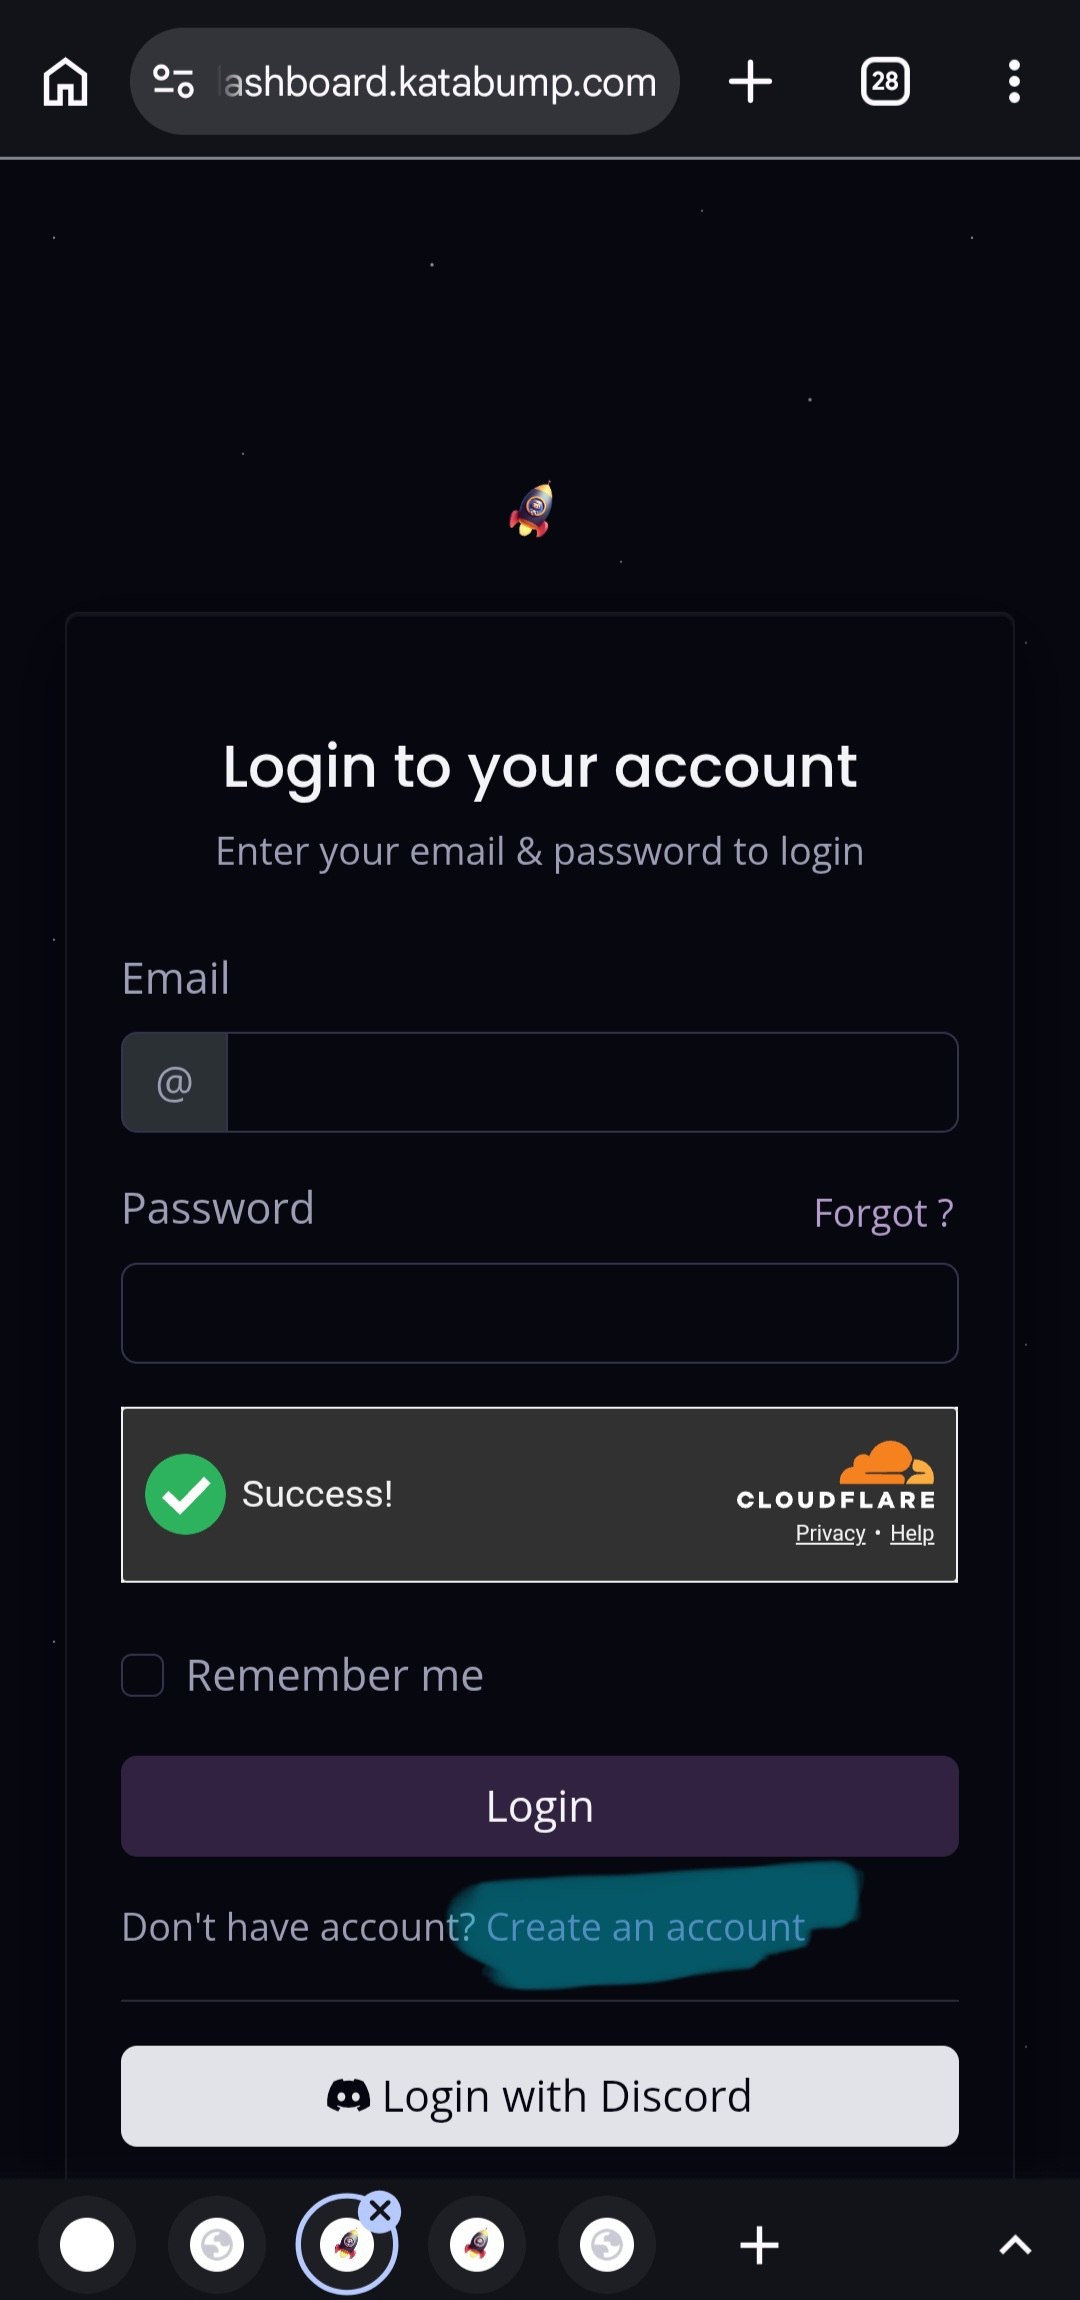
Image 2 of 2:
Step 2: Creating and logging into the server management panel
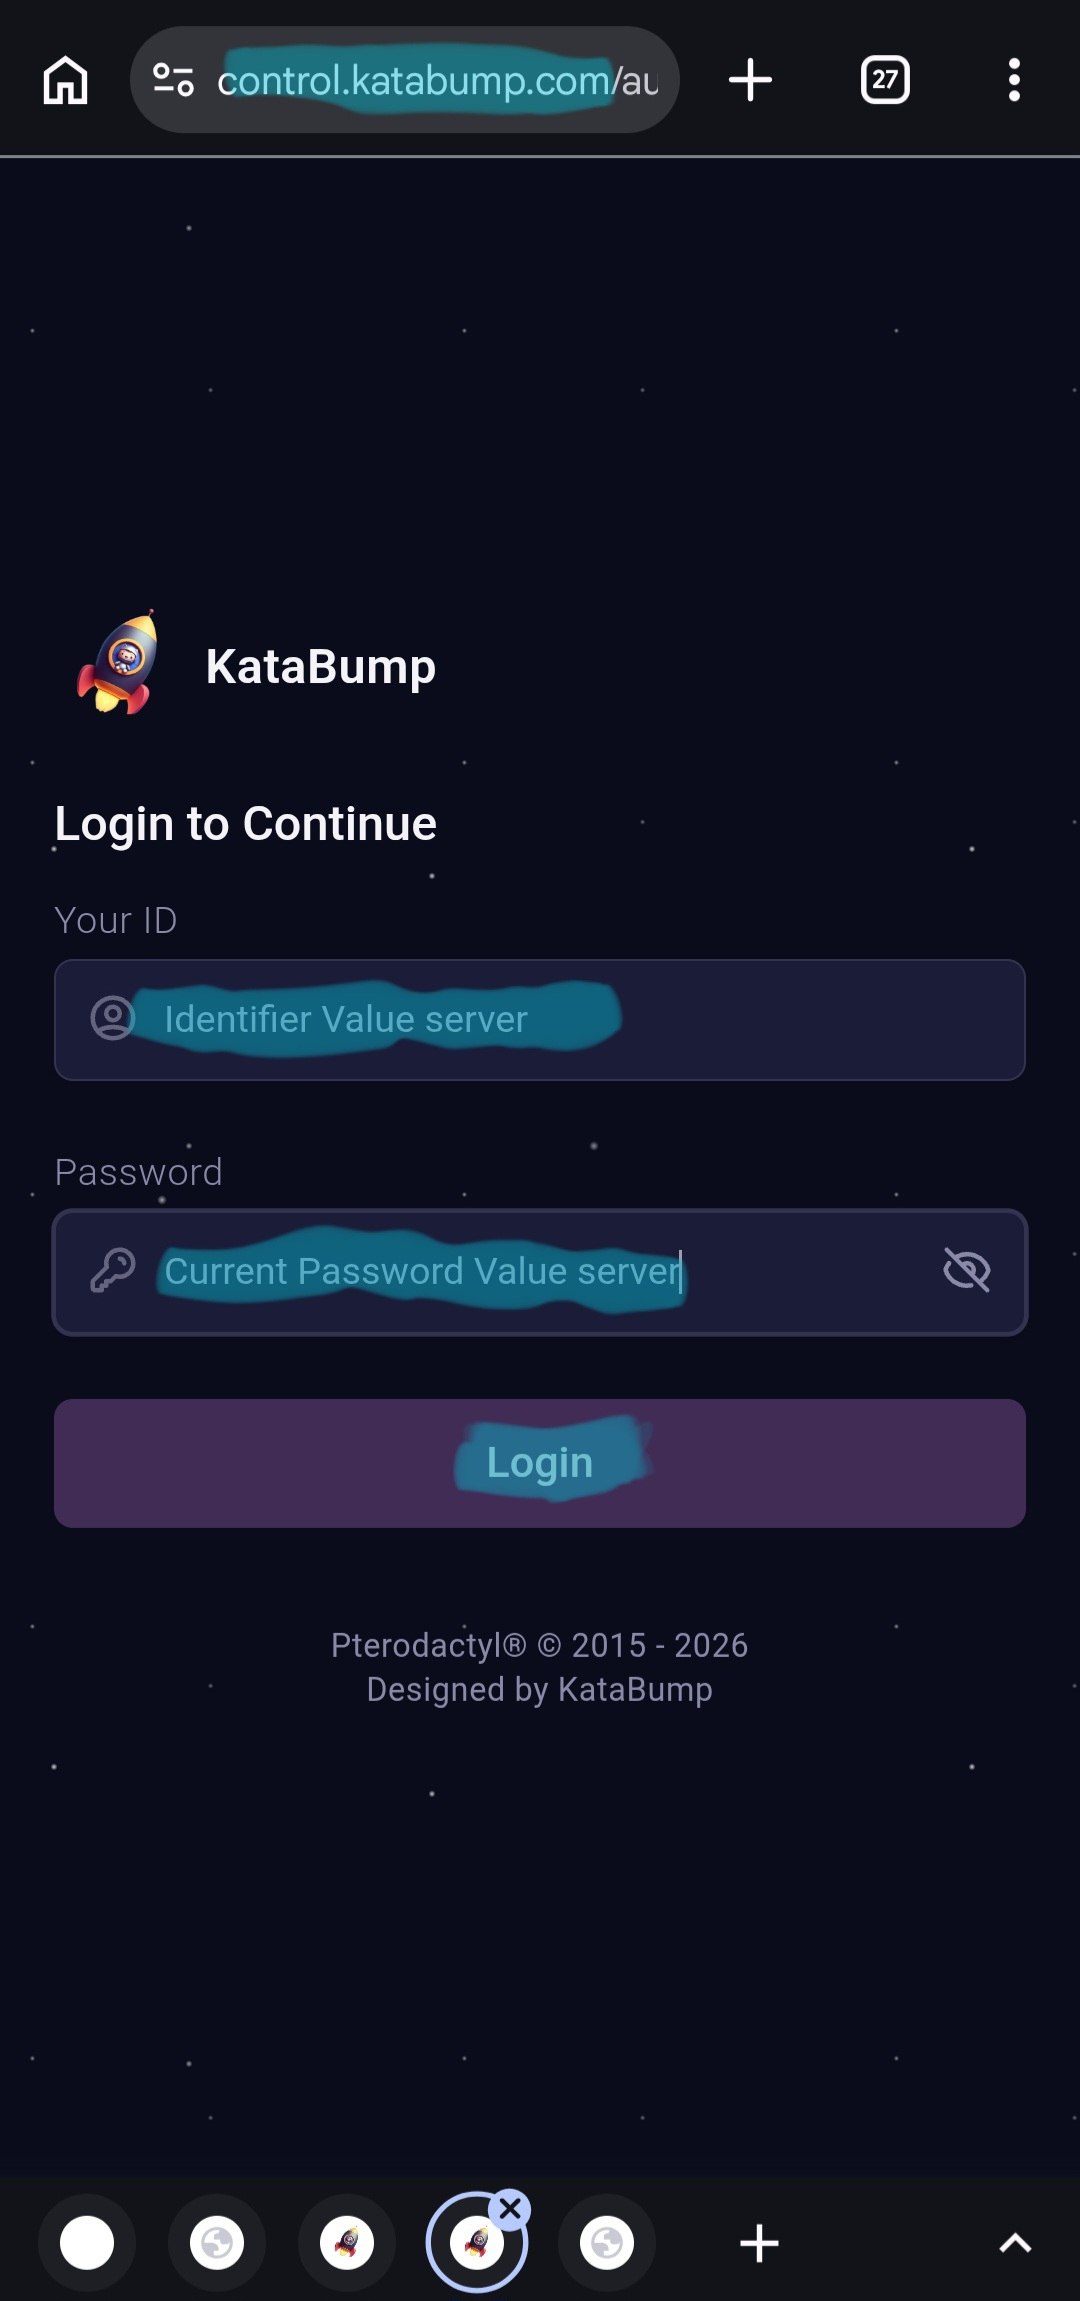
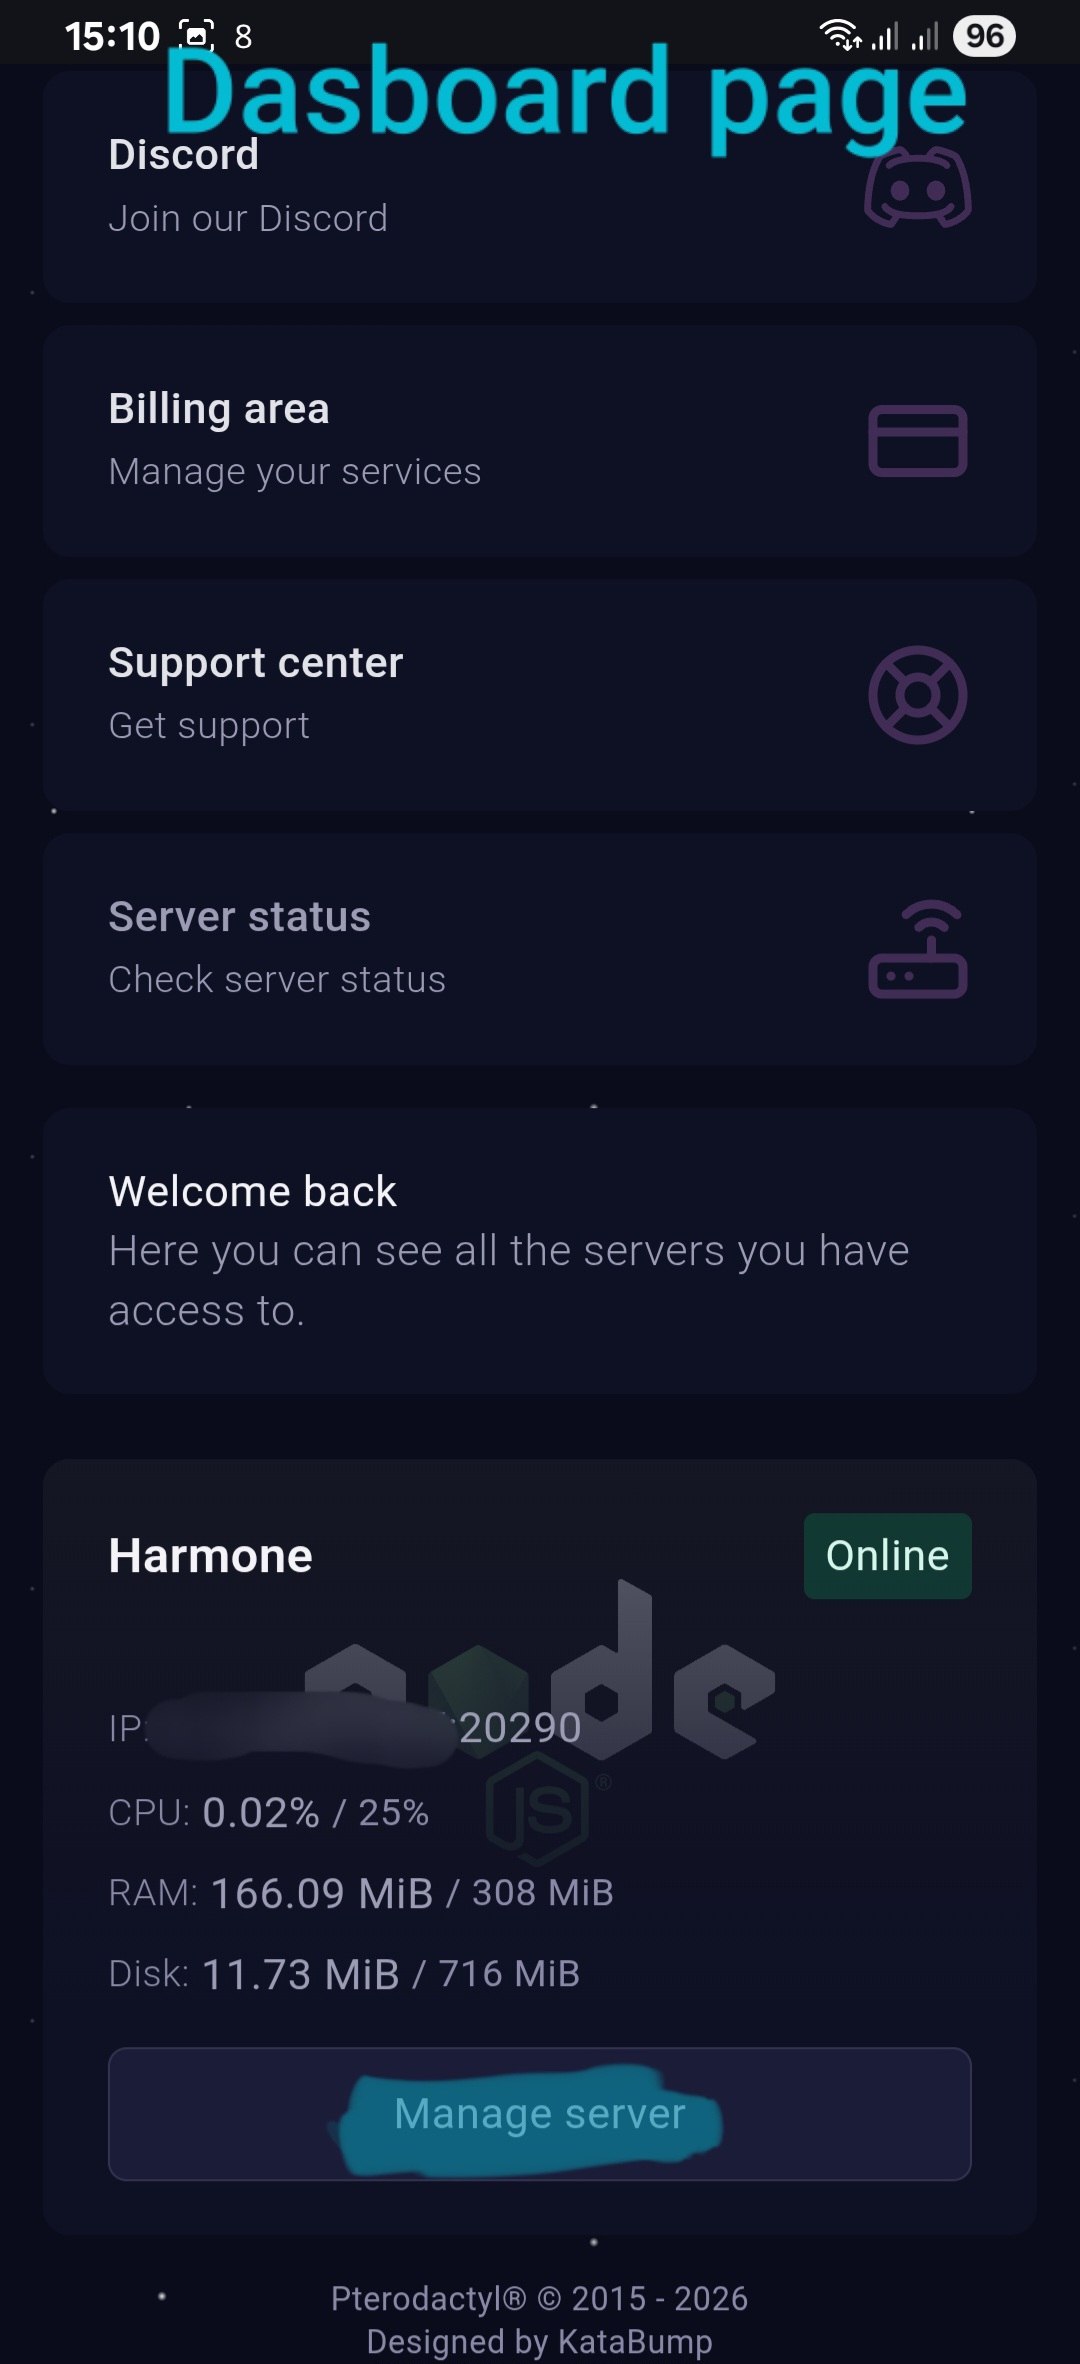
In this step, the server is created and you log into its management panel.
📷 Images for this step:
Image 1 of 5:
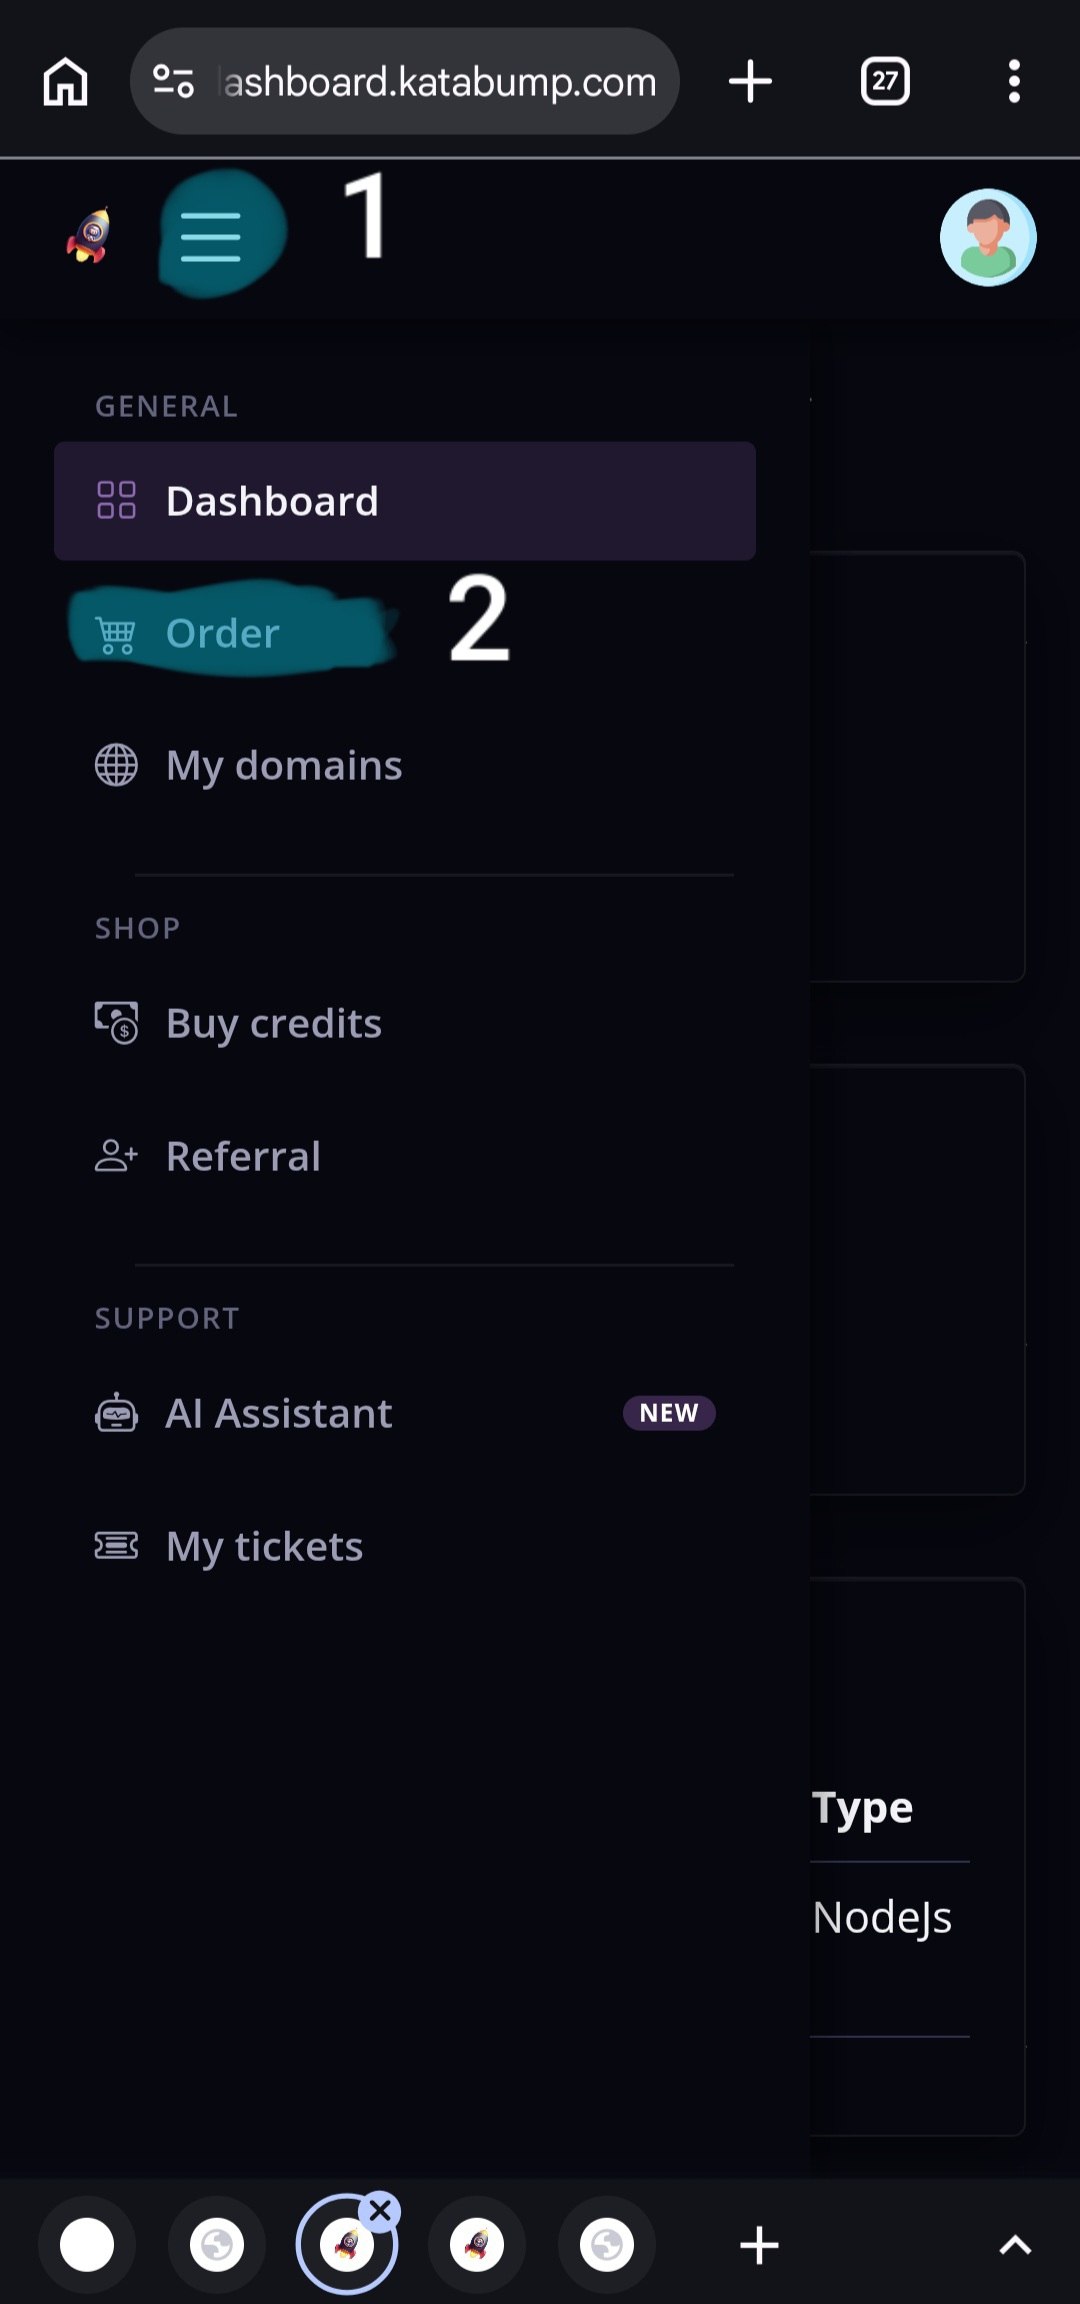
Image 2 of 5:
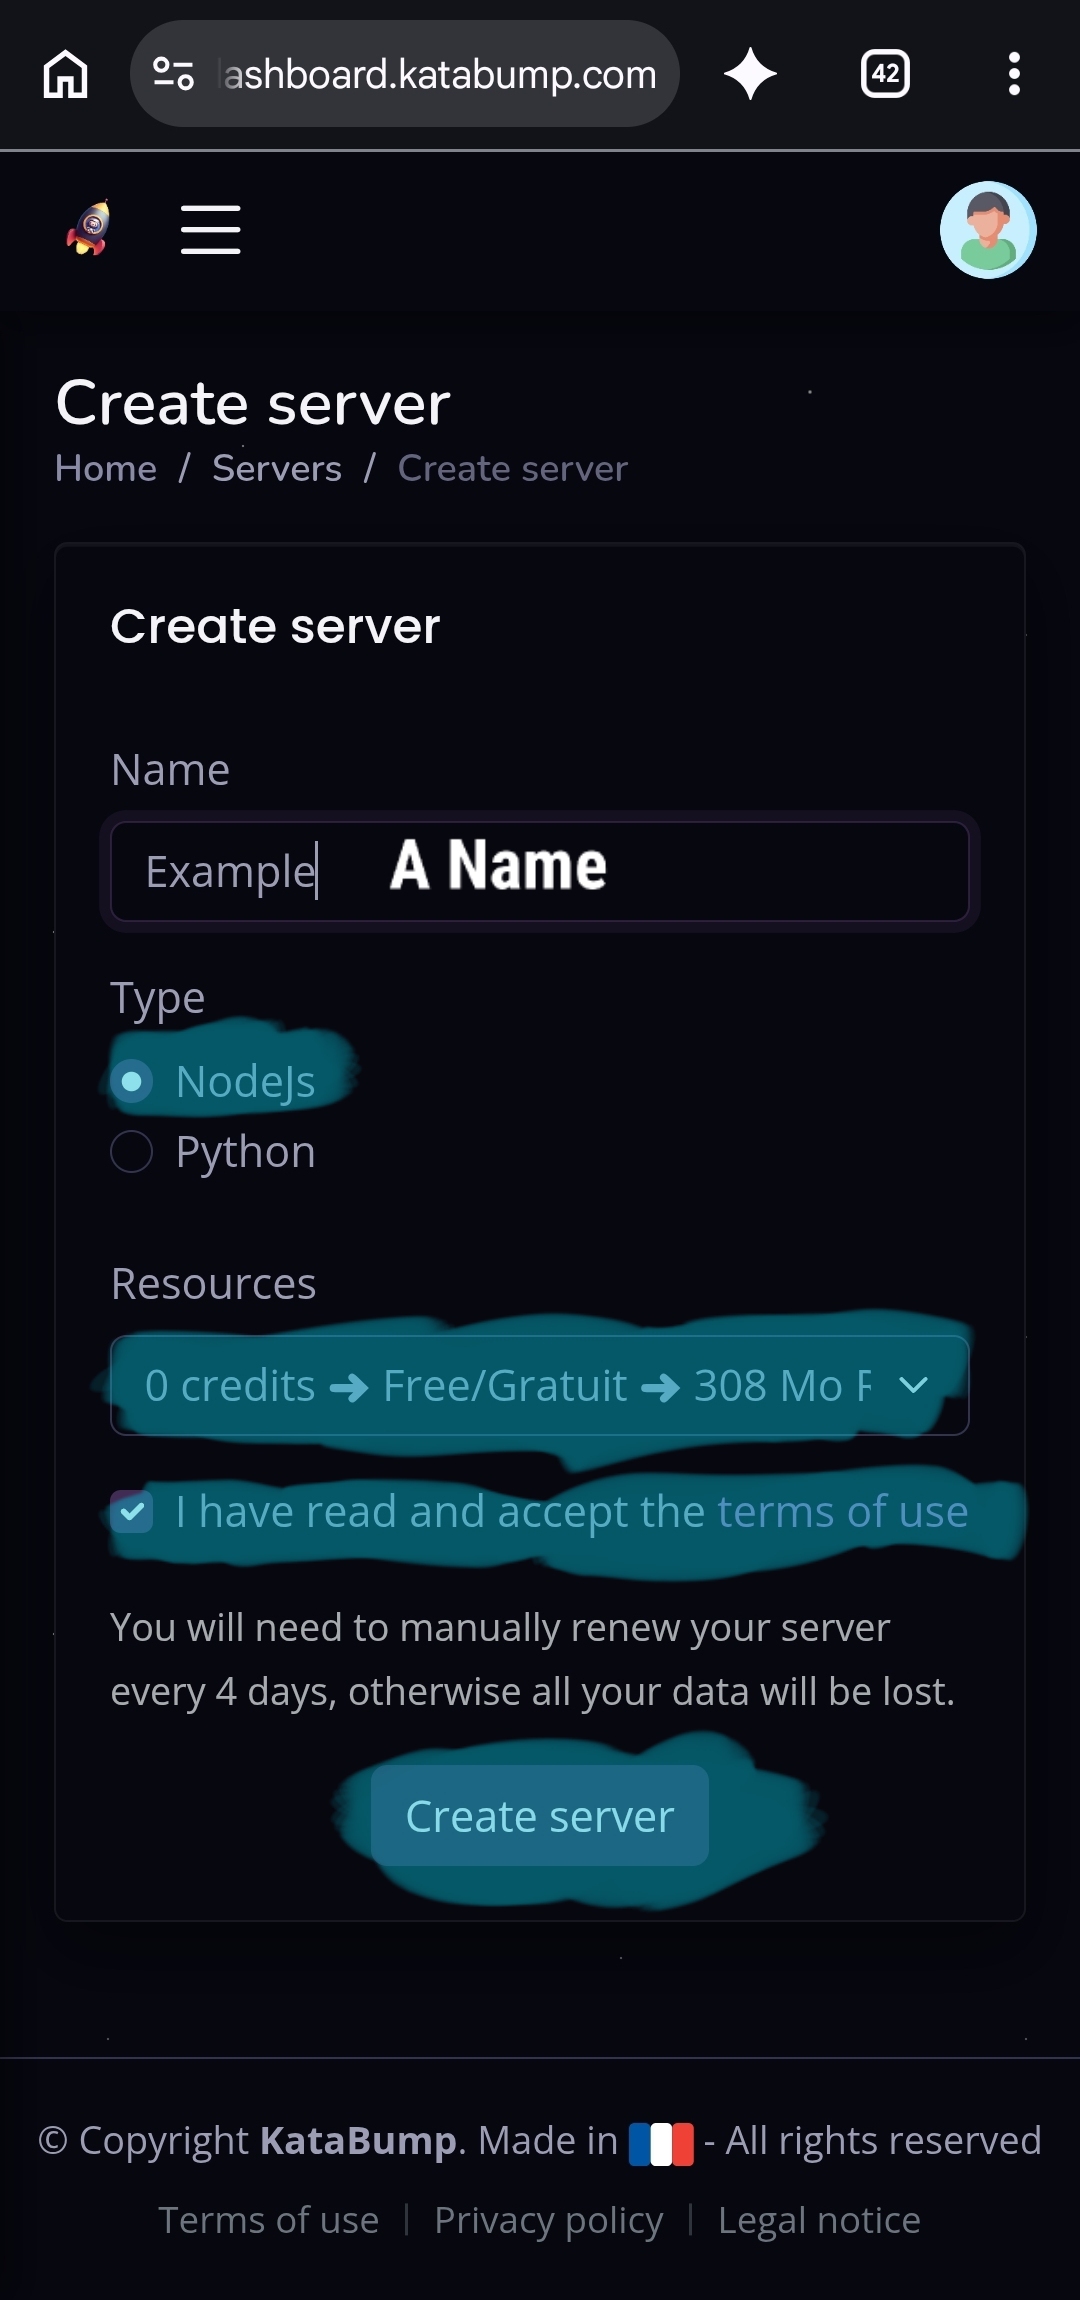
Image 3 of 5:
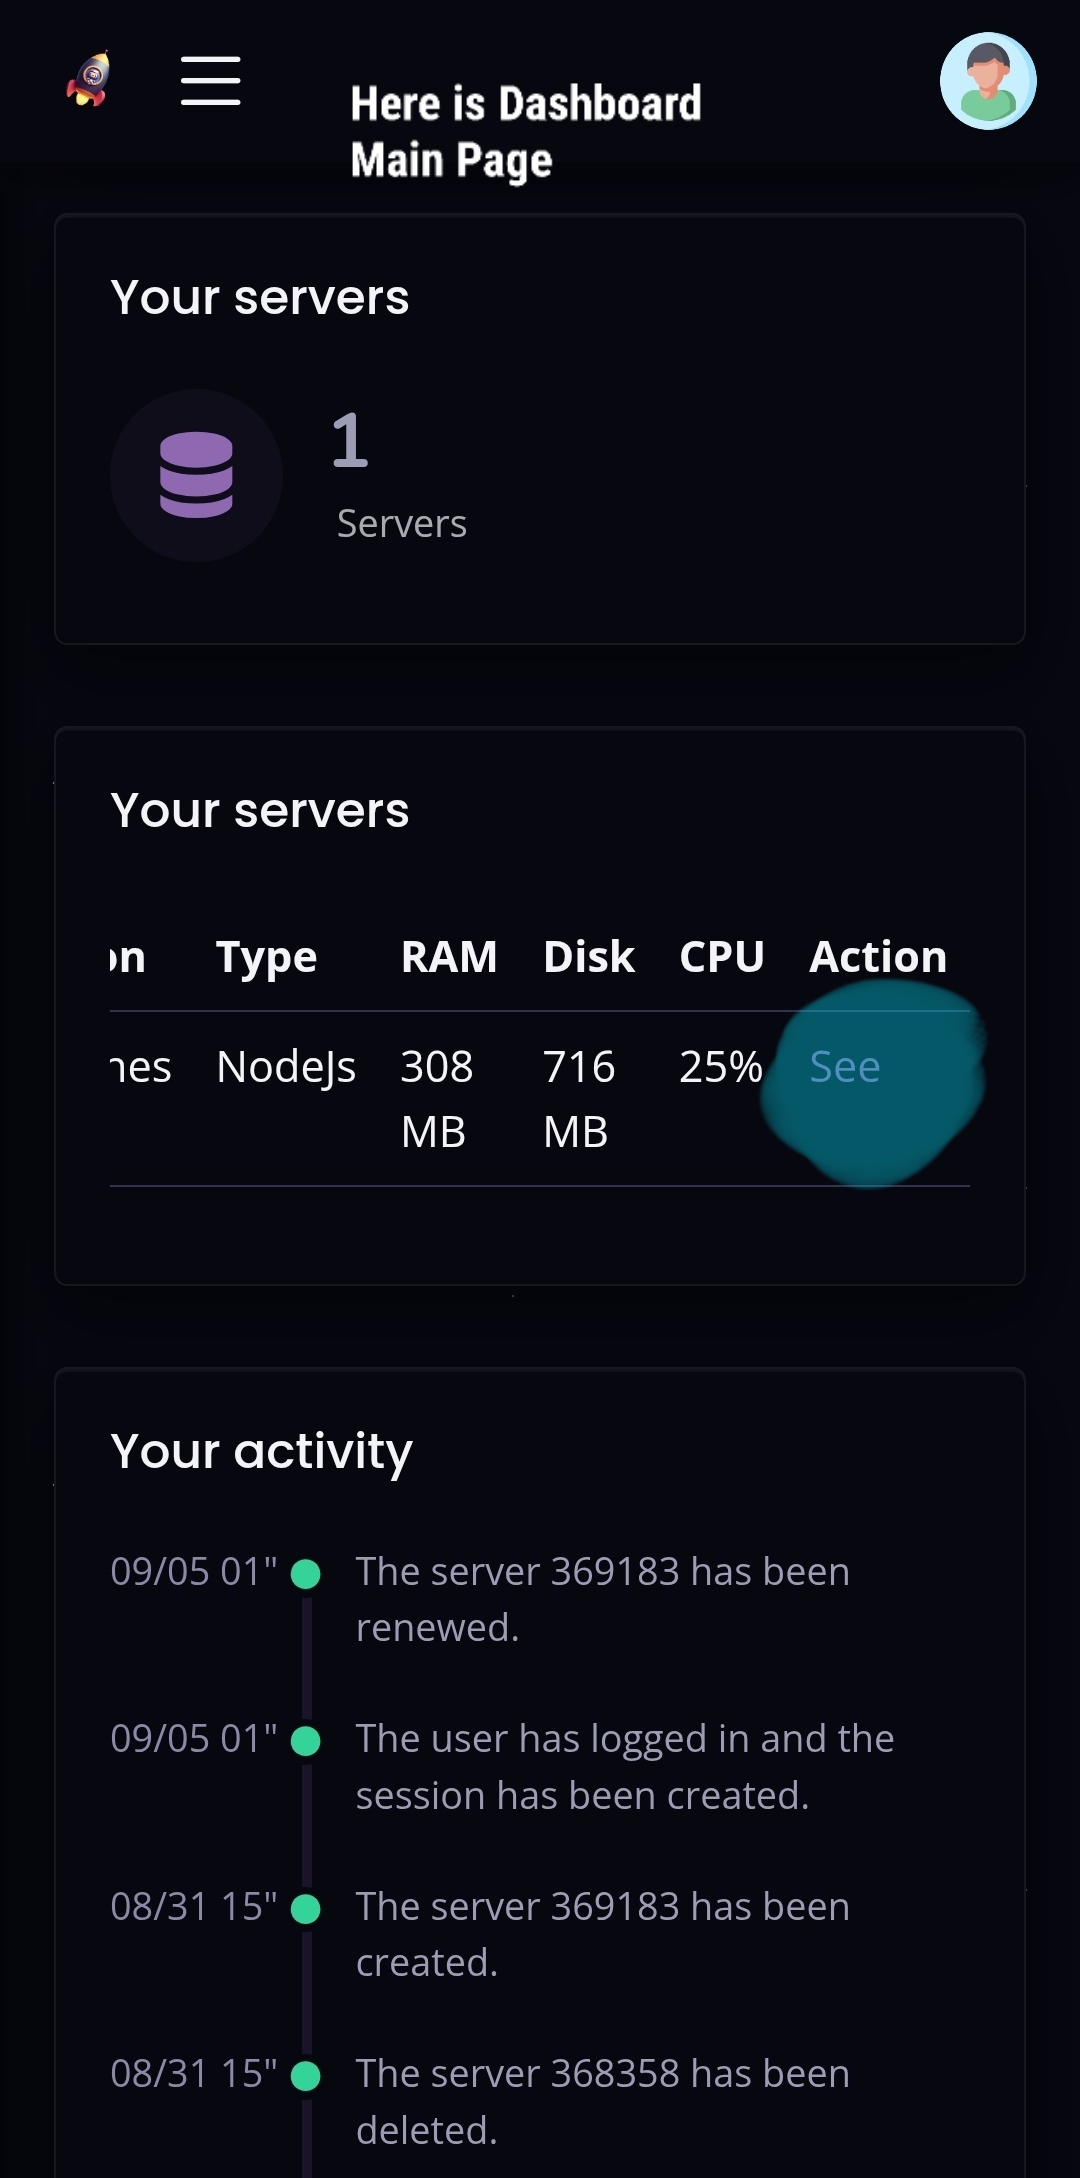
Image 4 of 5:
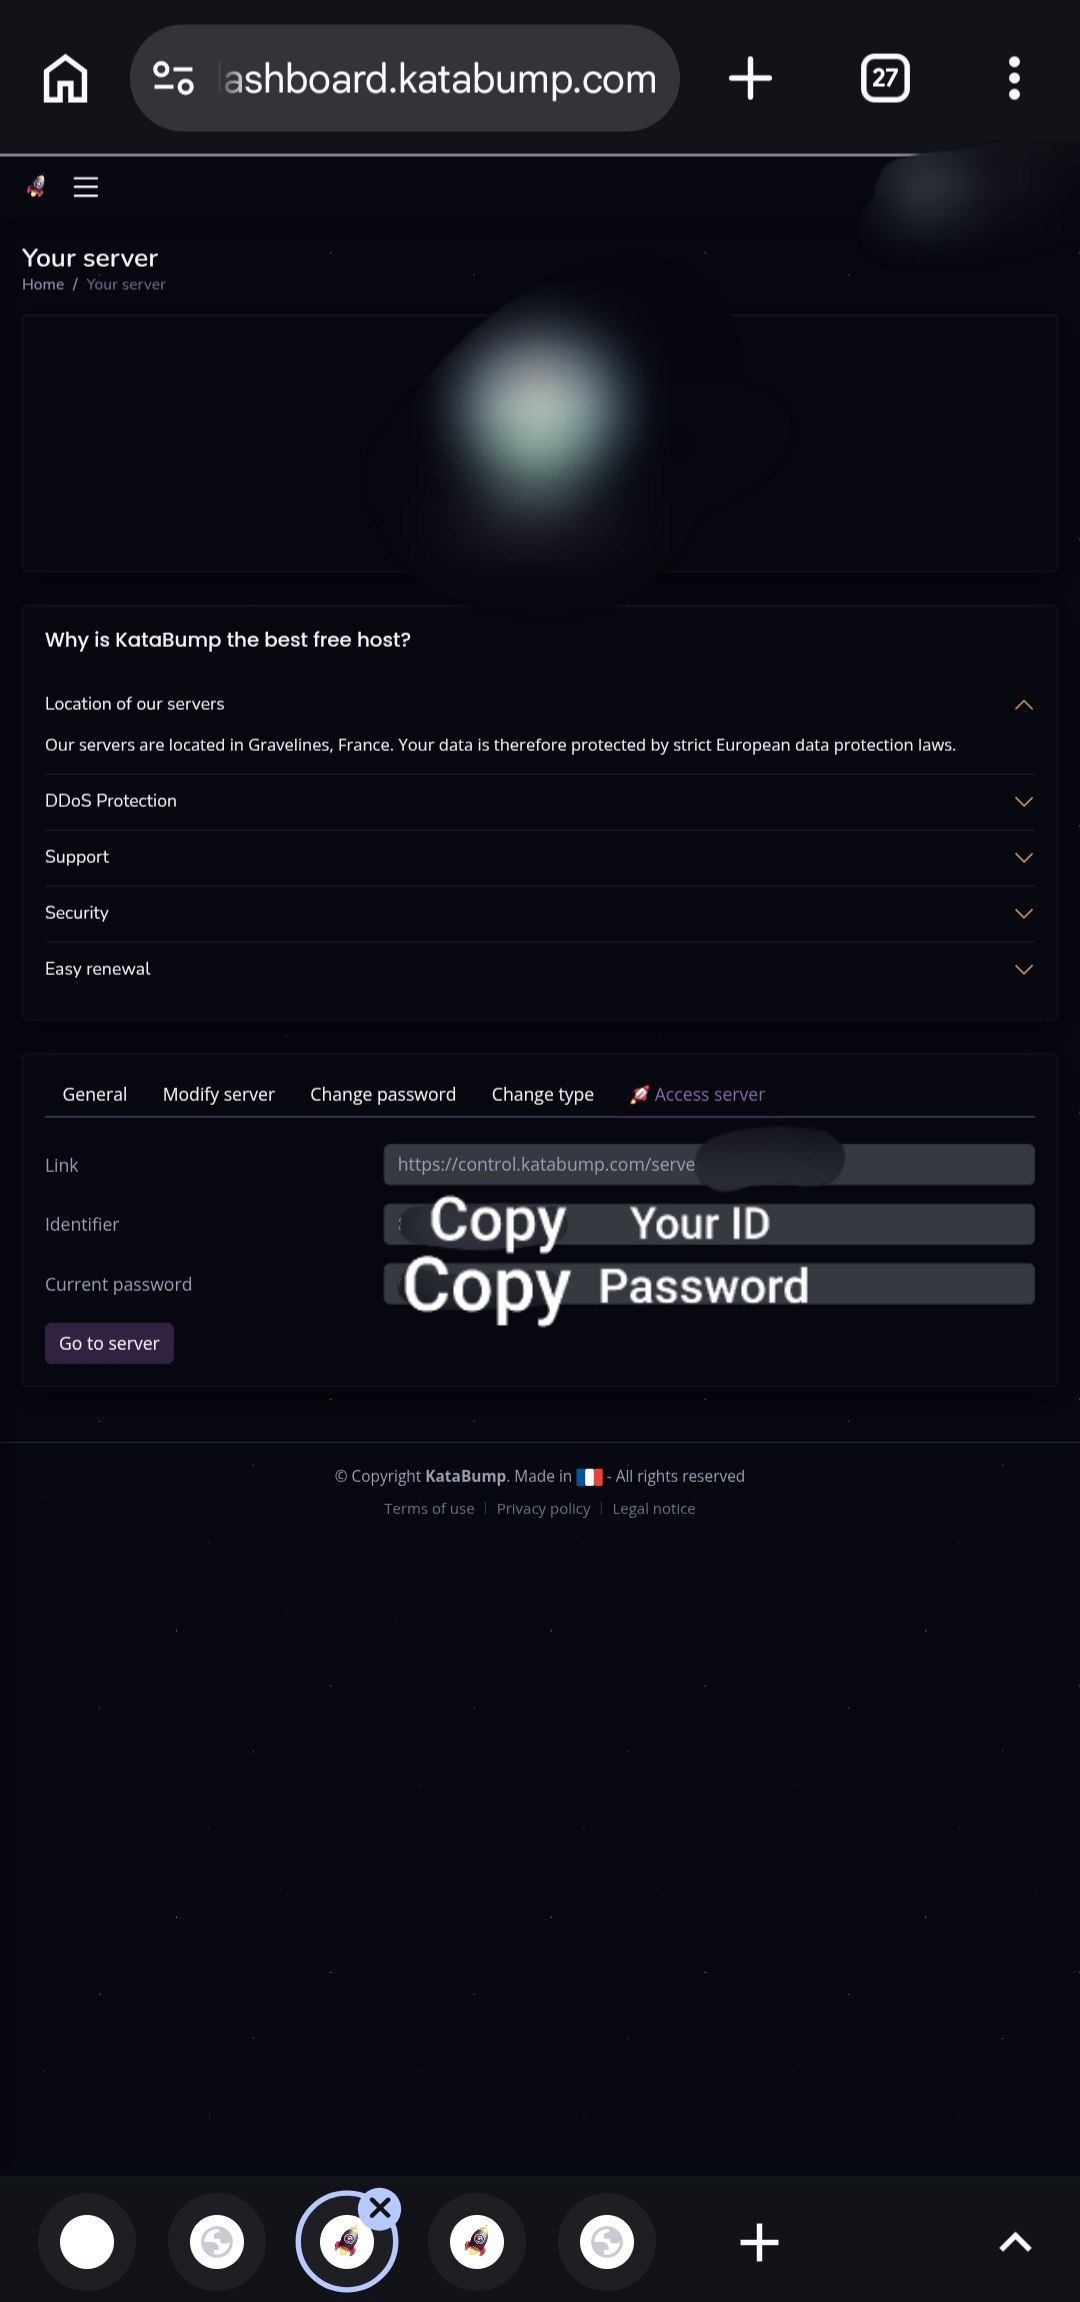
Image 5 of 5:
Step 3: Uploading files
Extract the zip file provided in the Prerequisites section; its contents are used in this step. In the images below, the location and method for uploading the JS and JSON files are marked in green.
📷 Images for this step:
Image 1 of 3:
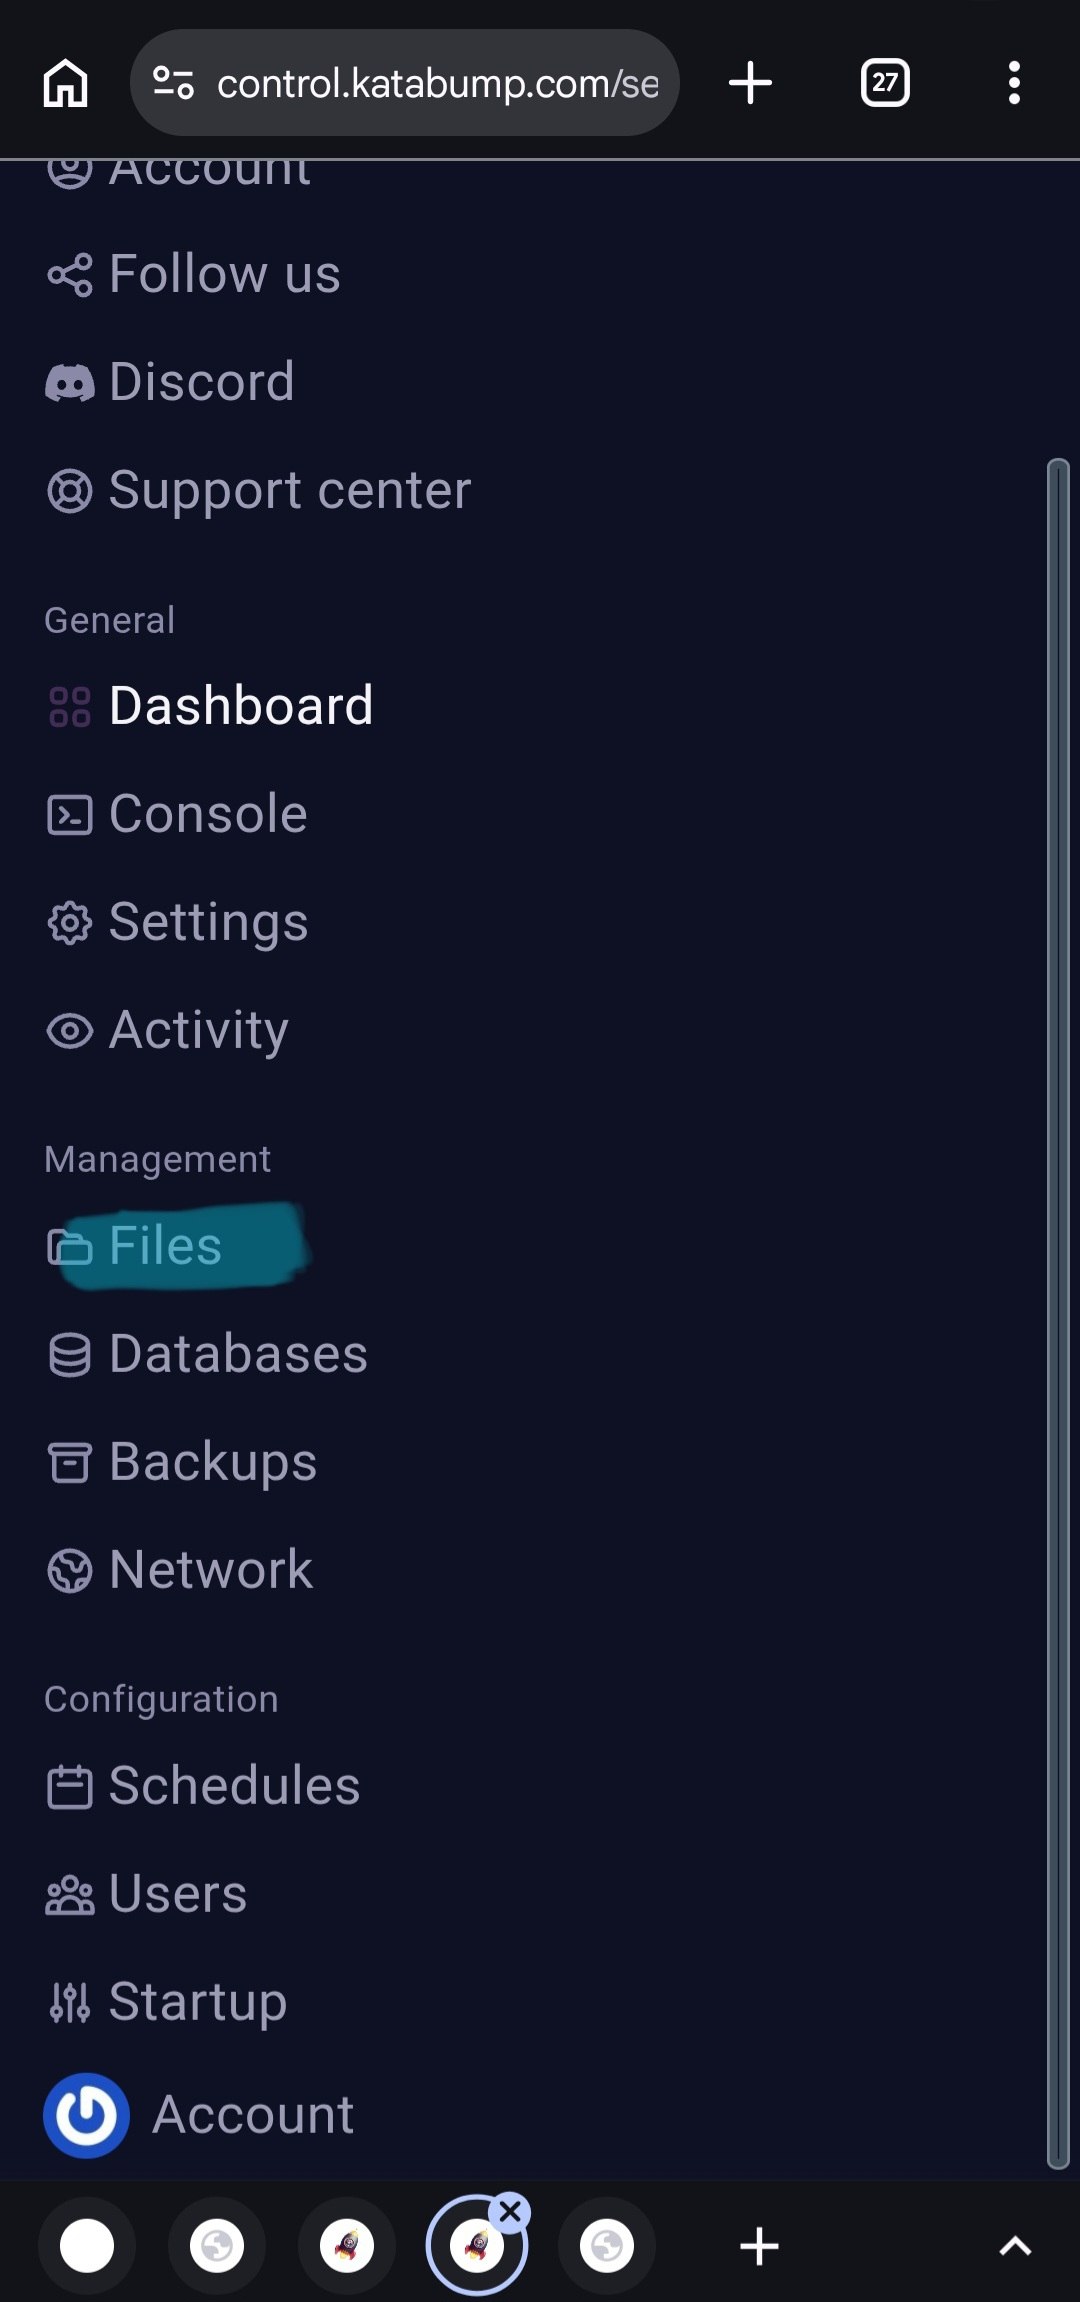
Image 2 of 3:
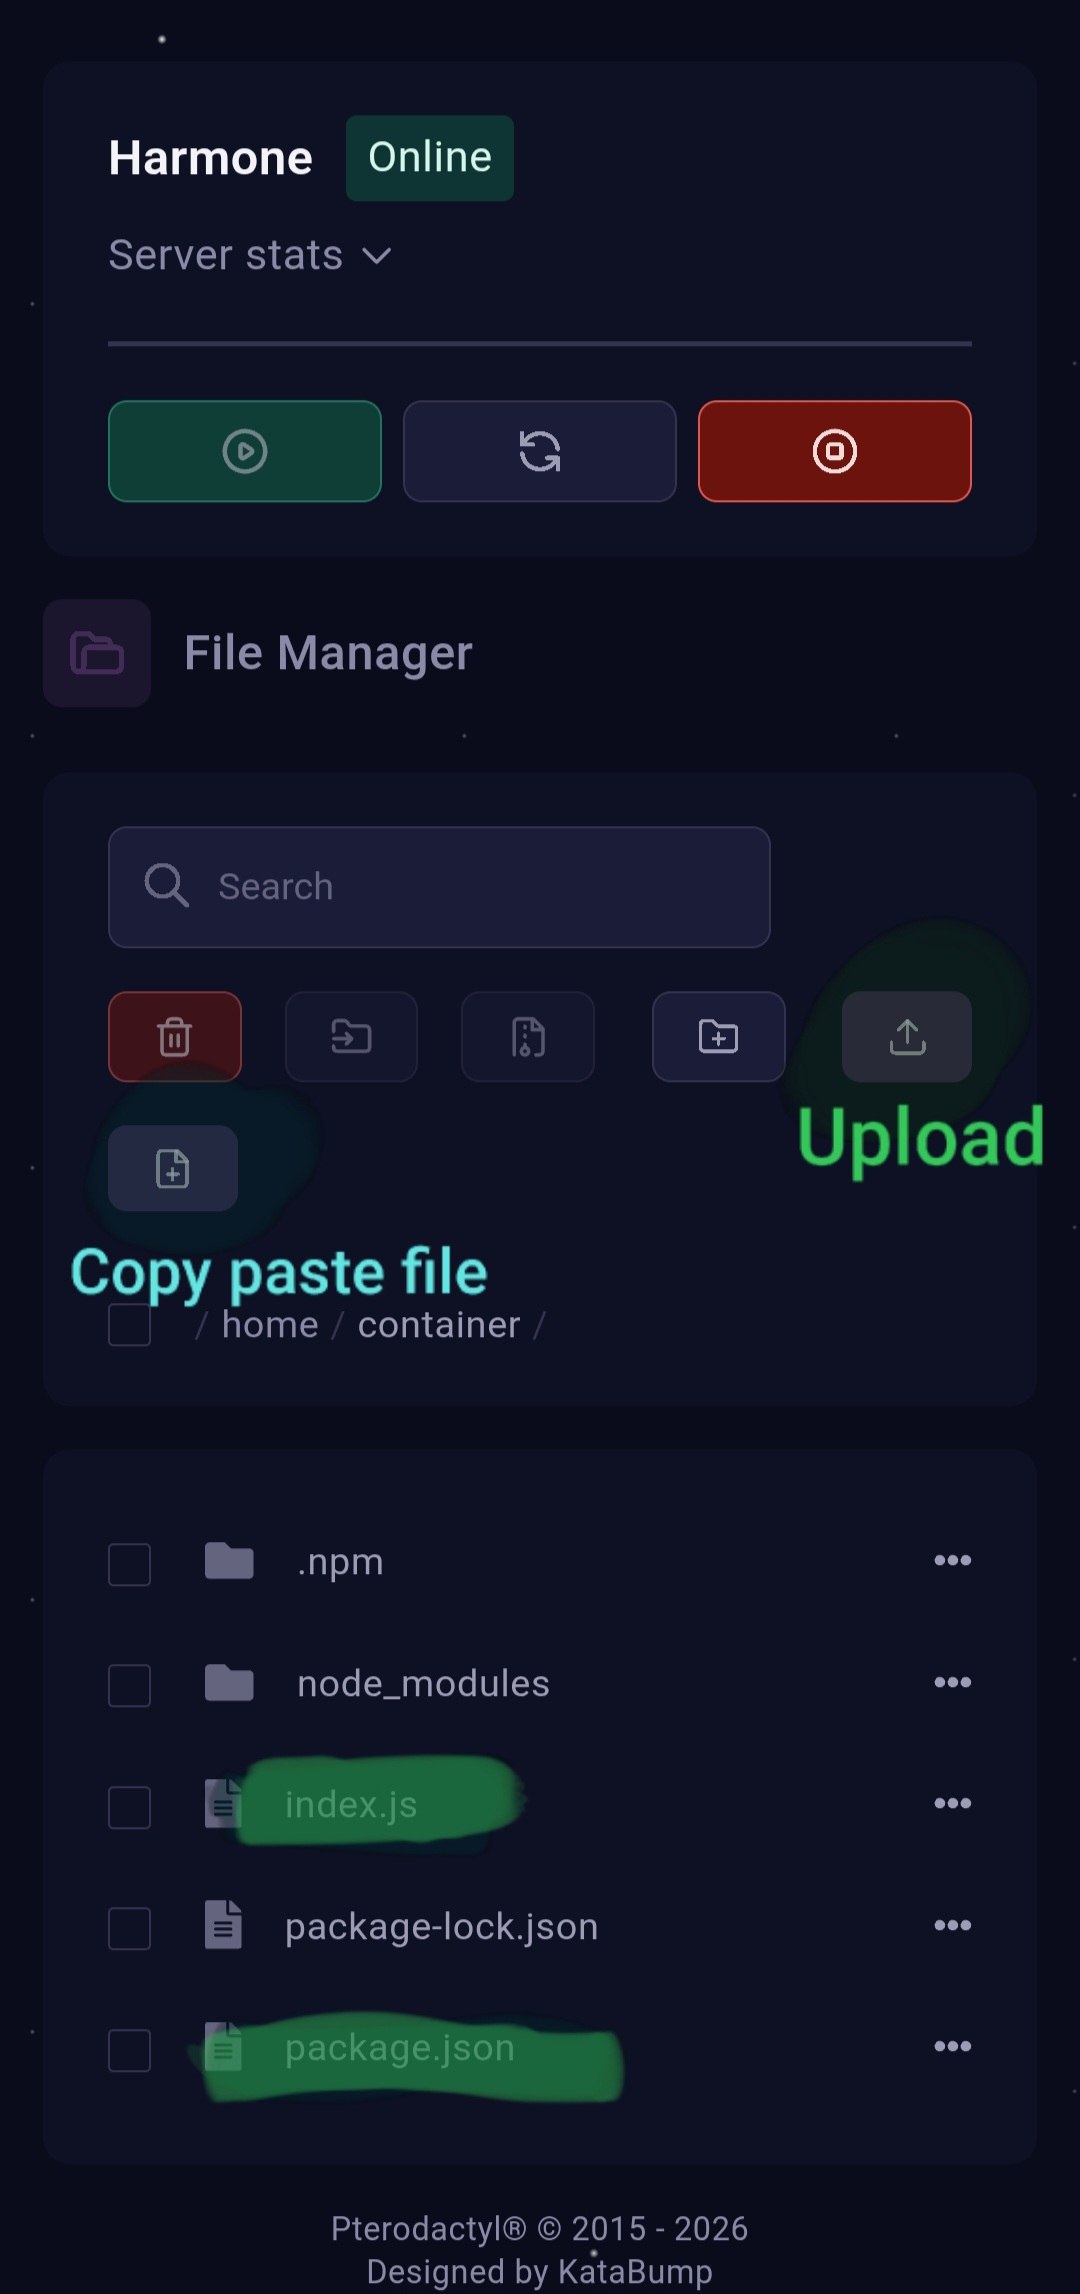
Image 3 of 3:
Step 4: Final step — getting the panel address and subscription
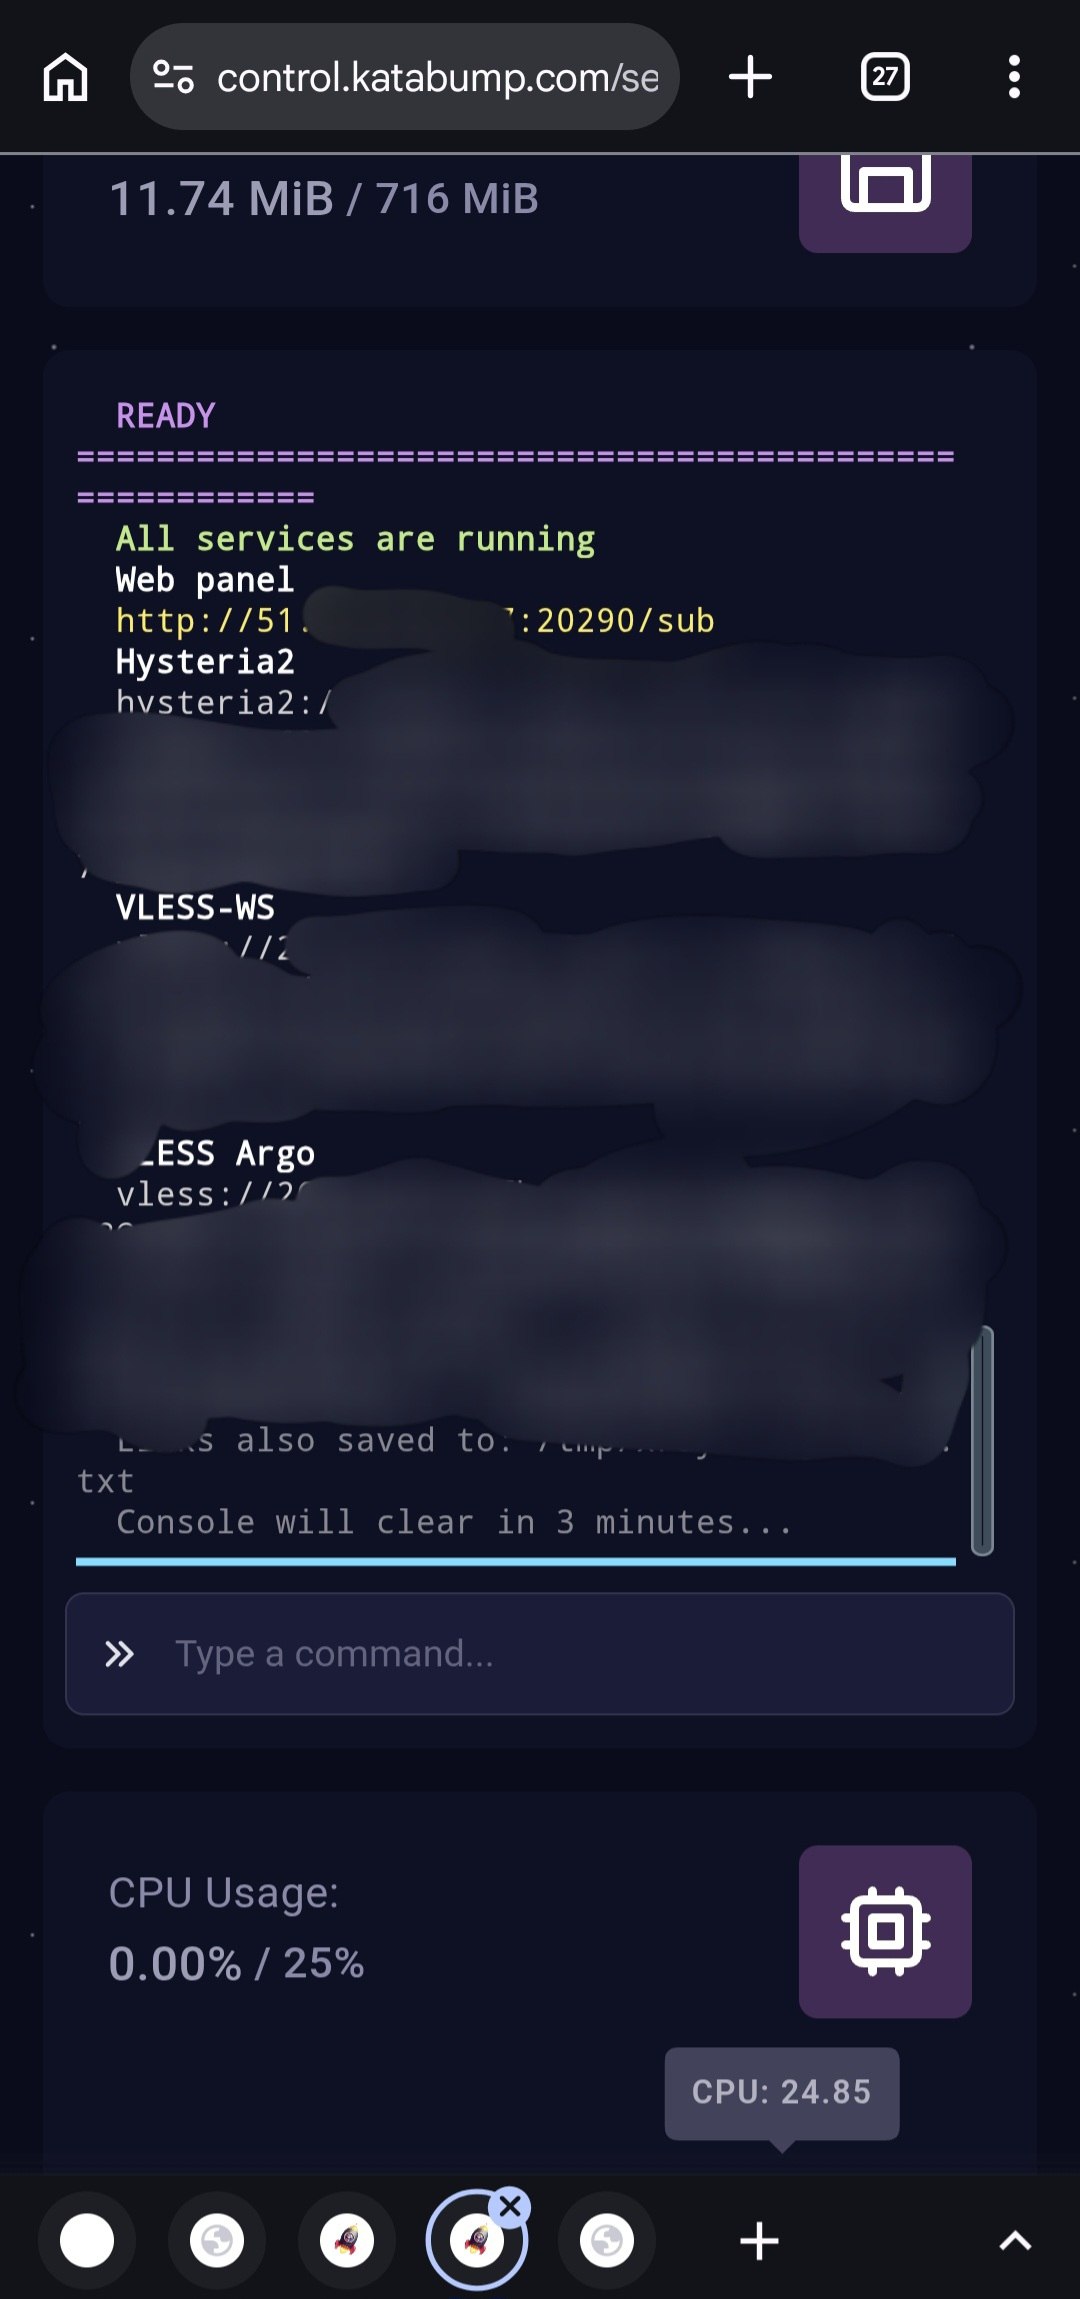
At this stage, as shown in the images below, the panel address and subscription link are displayed in the logs, and no extra work is needed — you can now access the panel and subscriptions.
📷 Images for this step:
Image 1 of 3:
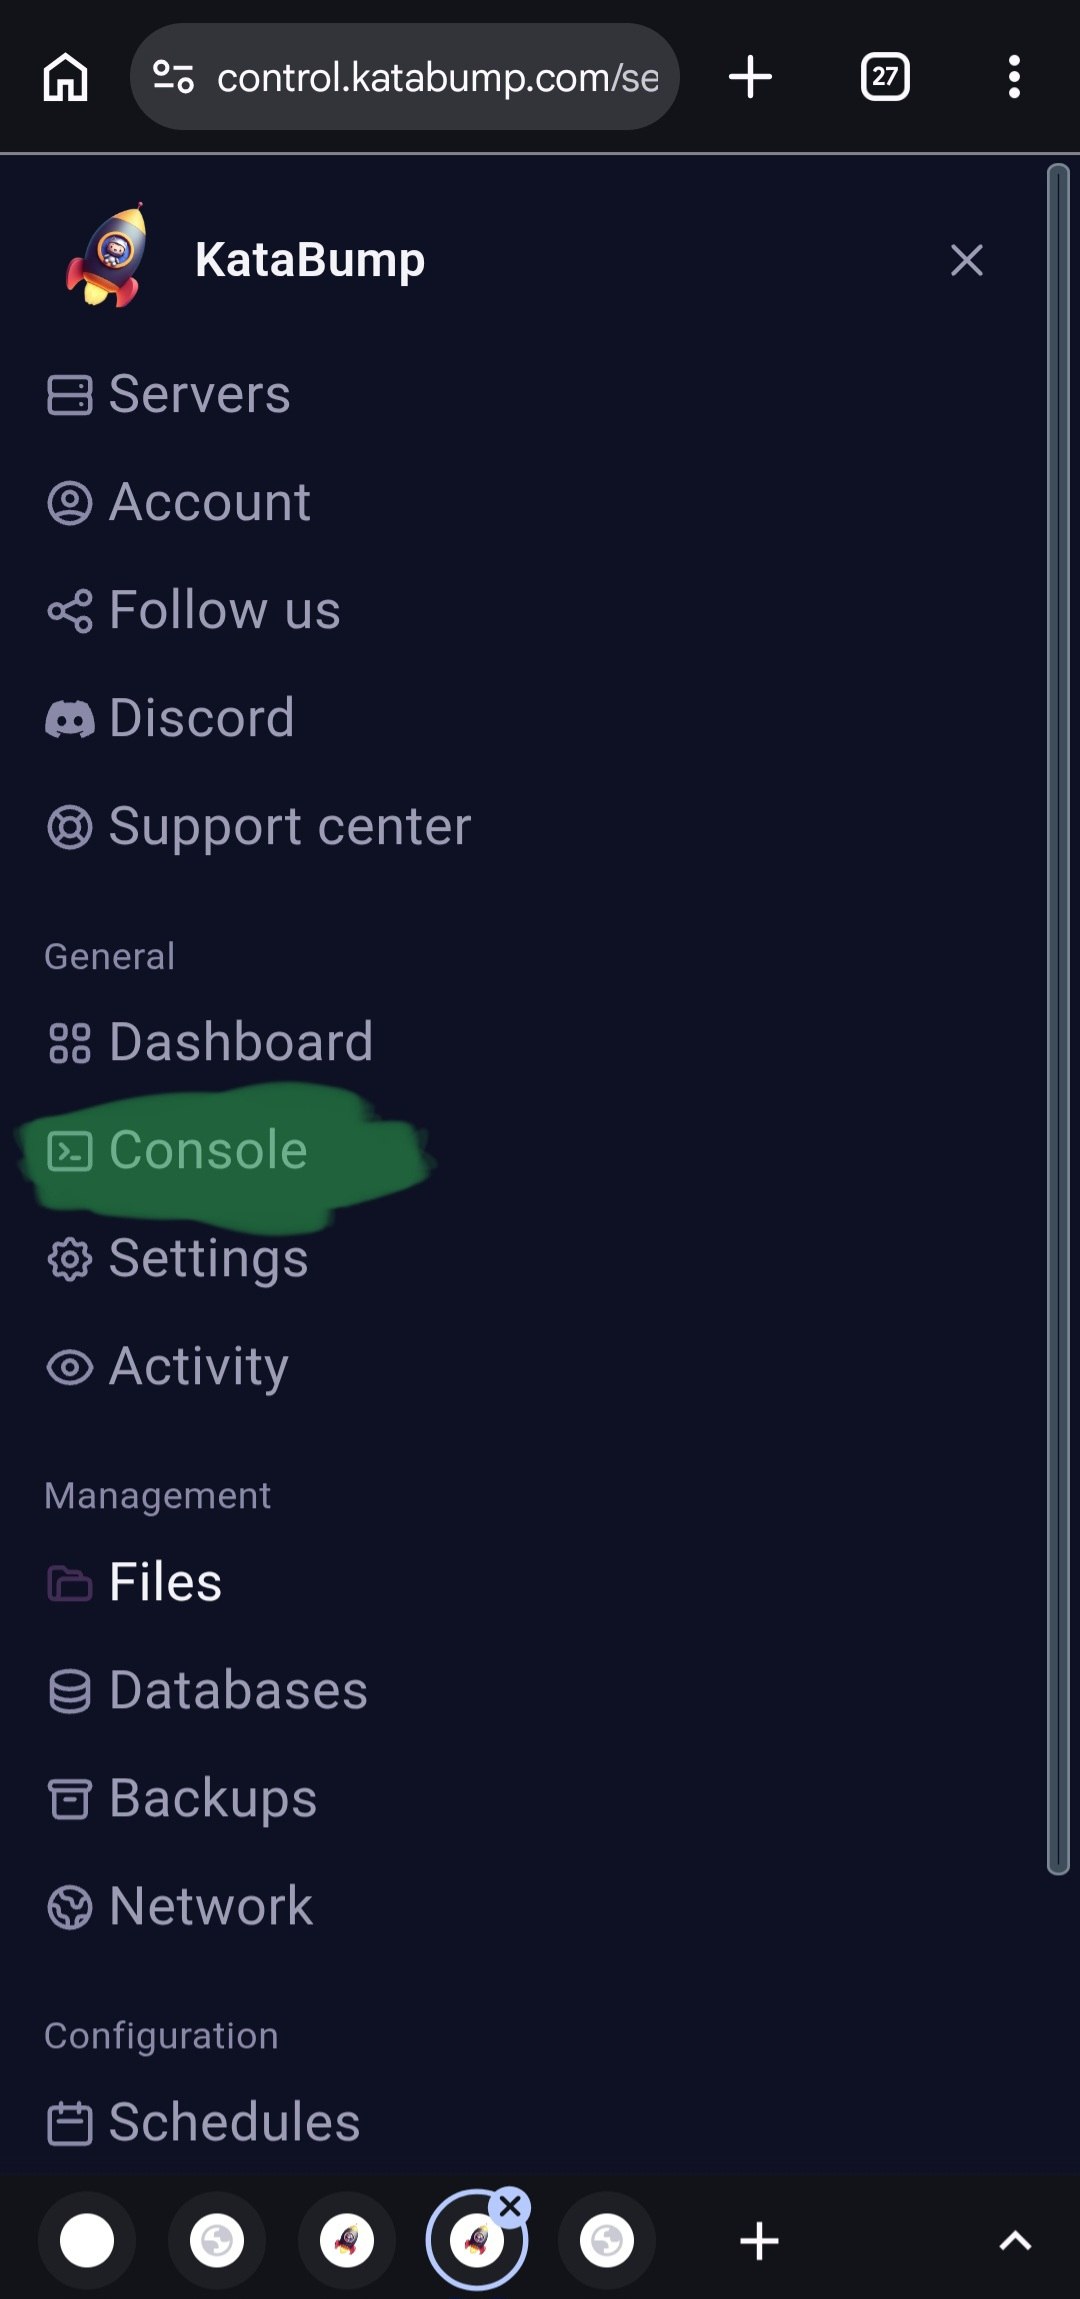
Image 2 of 3:
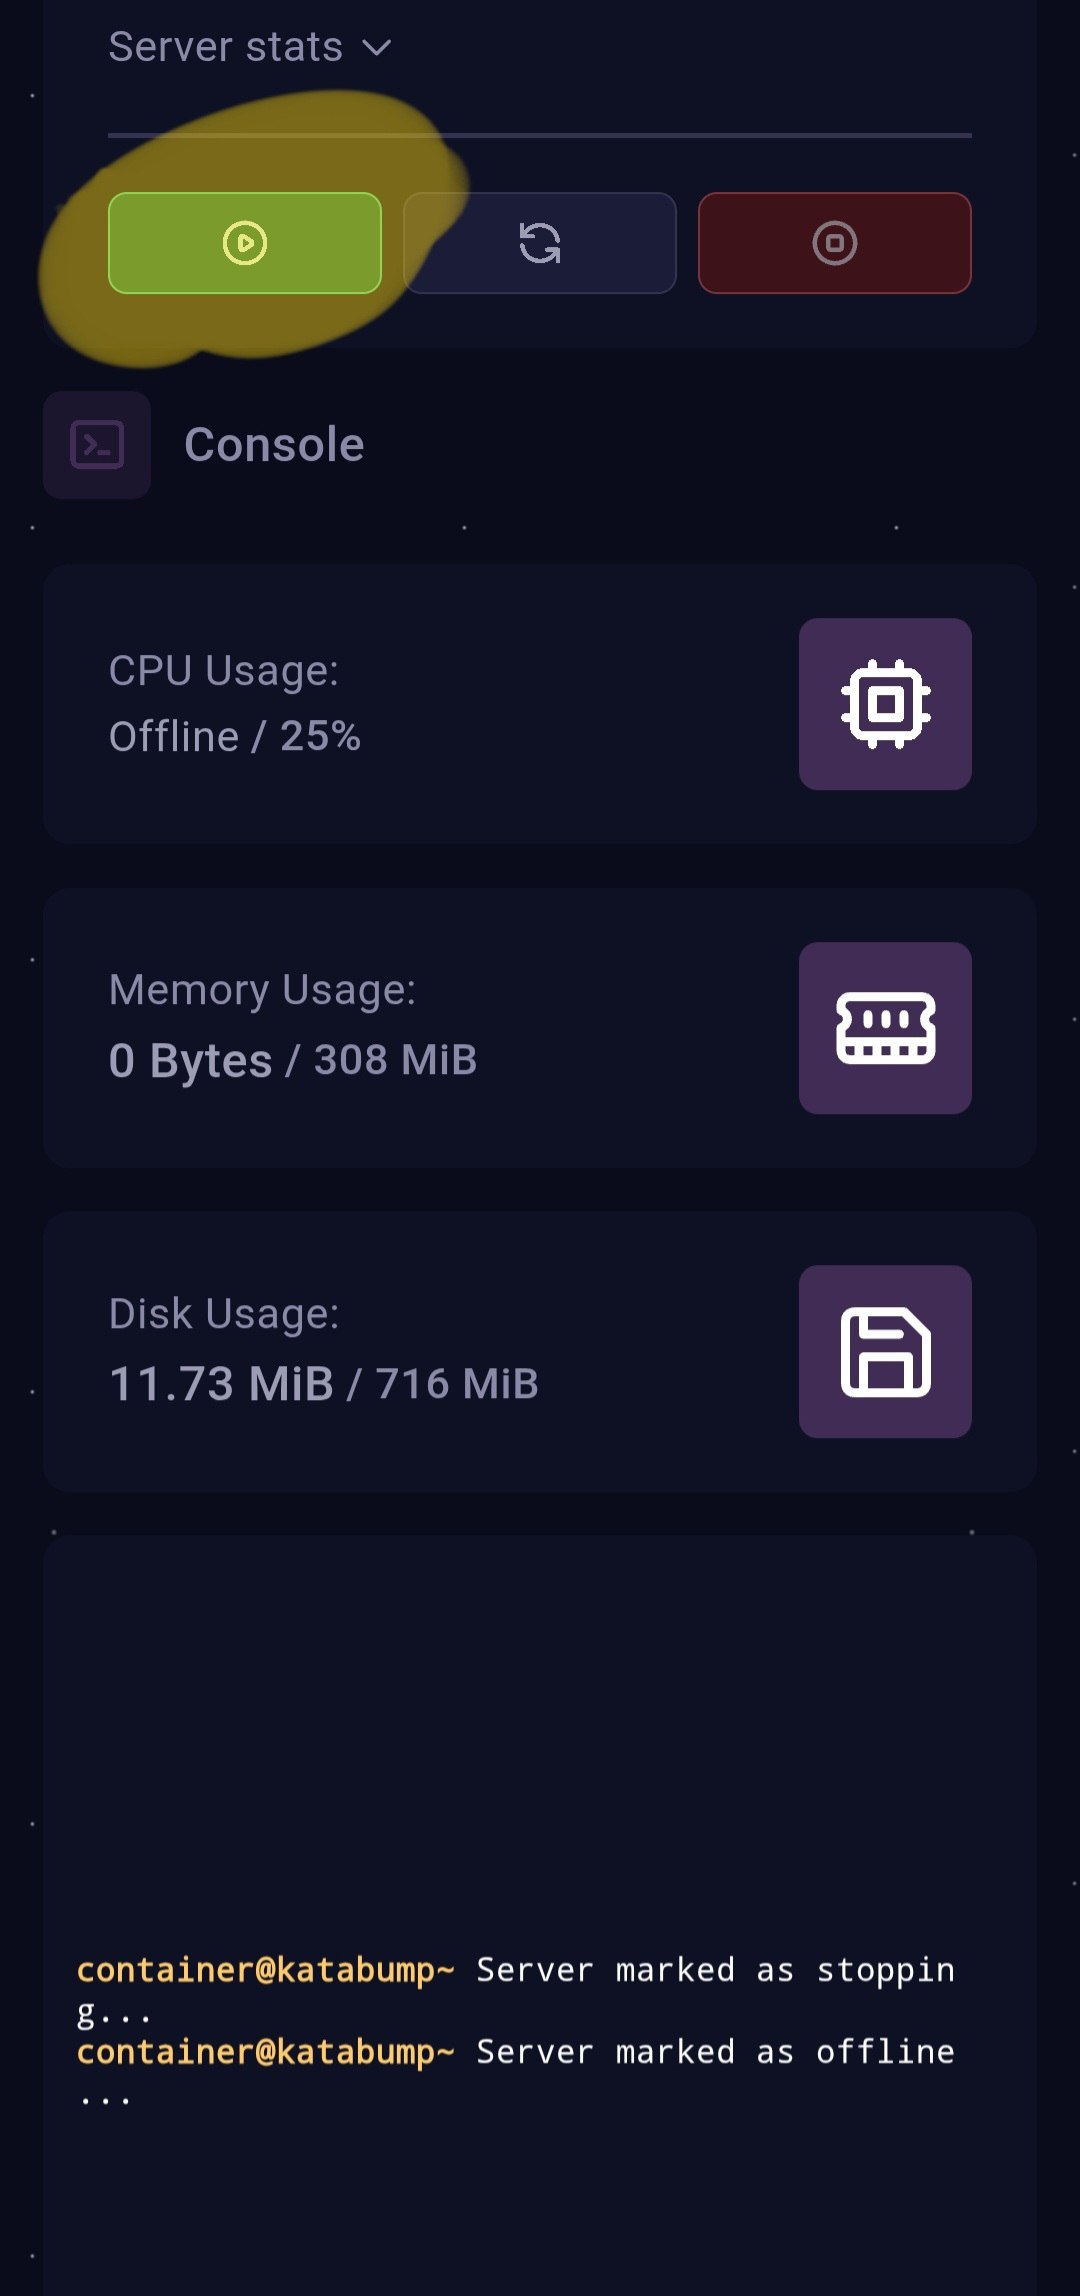
Image 3 of 3: